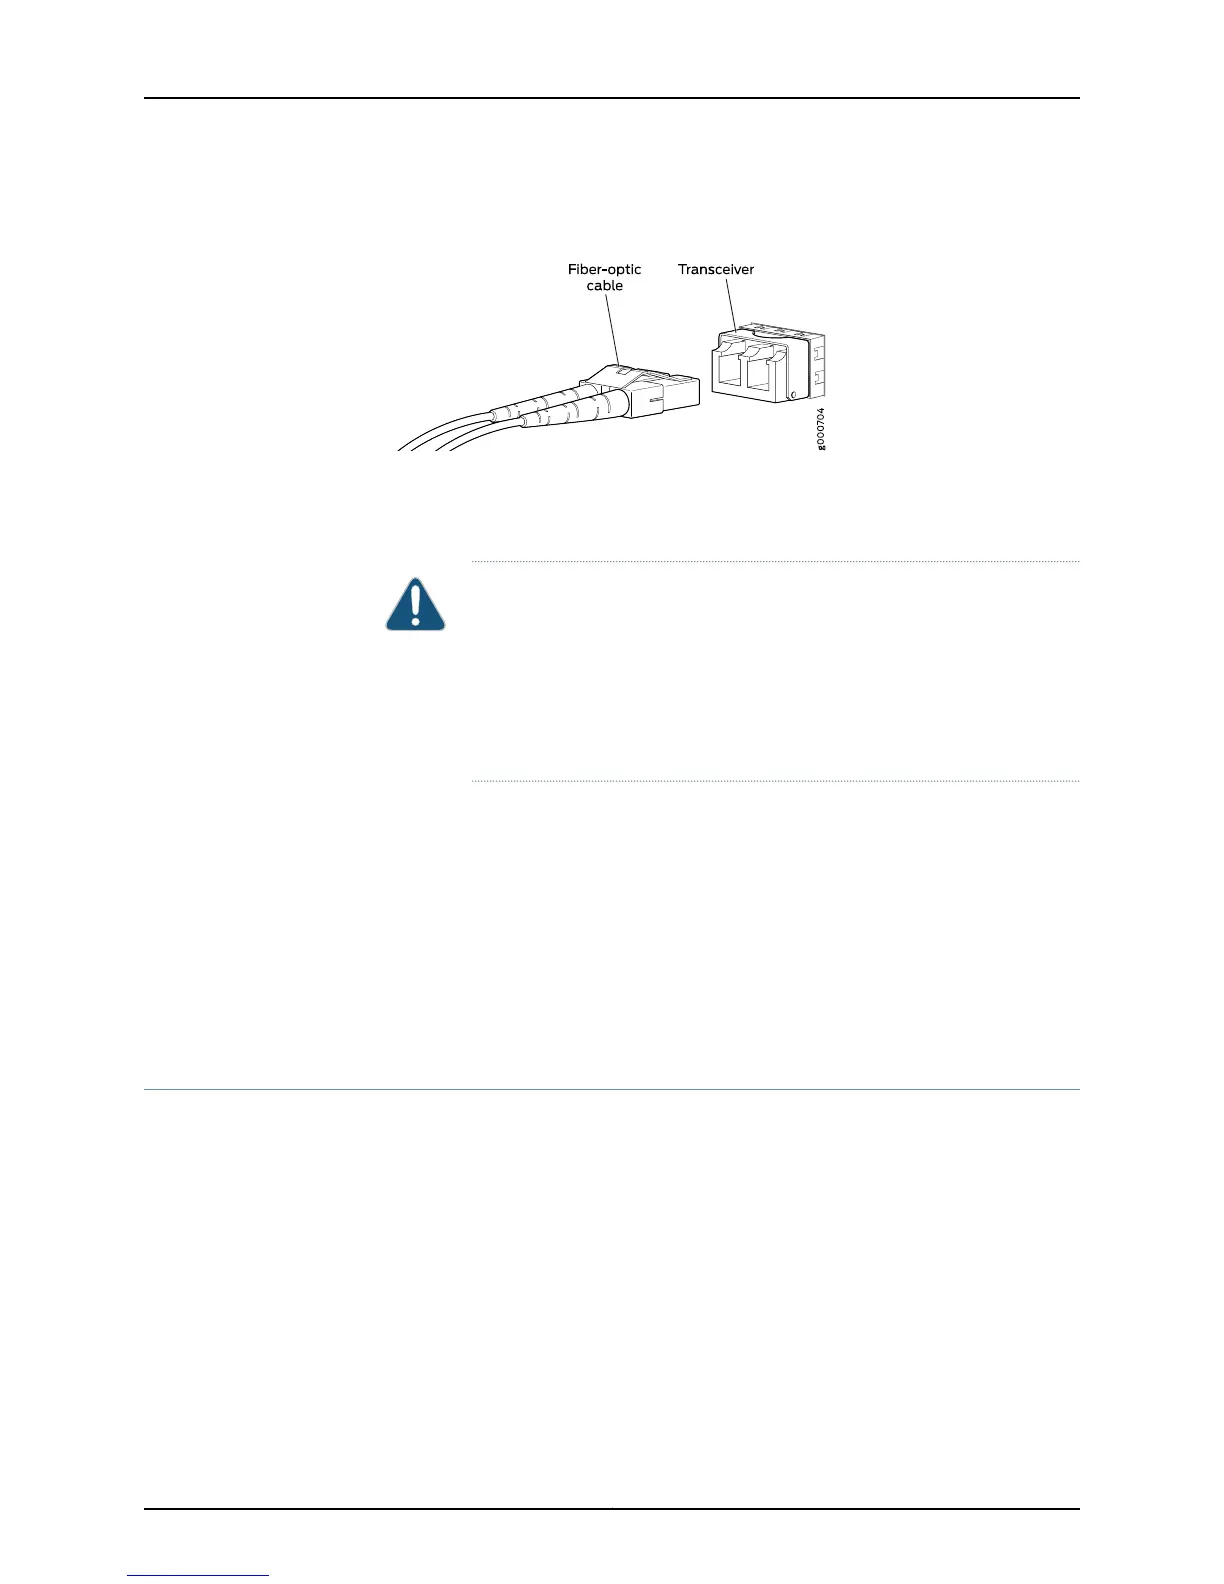
Figure 69: Connecting a Fiber-Optic Cable to an Optical Transceiver
Installed in a Switch
4. Secure the cables so that they are not supporting their own weight. Place excesscable
out of the way in a neatly coiled loop. Placing fasteners on a loop helps cables maintain
their shape.
CAUTION: Do not bend fiber-optic cables beyond their minimum bend
radius.An arcsmallerthan a few inches in diameter candamage the cables
and cause problems that are difficult to diagnose.
Do not let fiber-optic cables hang free from the connector. Do not allow
fastened loops of cables to dangle, which stresses the cables at the
fastening point.
Related
Documentation
Disconnecting a Fiber-Optic Cable from a Switch on page 222•
• Installing a Transceiver in an EX Series Switch on page 215
• Maintaining Fiber-Optic Cables in Switches on page 223
• Pluggable Transceivers Supported on EX Series Switches
• Installing a Transceiver in an OCX1100 Switch
• Pluggable Transceivers Supported on OCX1100 Switches
Disconnecting a Fiber-Optic Cable from a Switch
EX Series switches and OCX1100 switches have field-replaceable unit (FRU) optical
transceivers to which you can connect fiber-optic cables.
Before you begin disconnecting a fiber-optic cable from an optical transceiver installed
in a switch, ensure that you have taken the necessary precautions for safe handling of
lasers. See “Laser and LED Safety Guidelines and Warnings for Switches” on page 273.
Ensure that you have the following parts and tools available:
•
A rubber safety cap to cover the transceiver
•
A rubber safety cap to cover the fiber-optic cable connector
Copyright © 2015, Juniper Networks, Inc.222
EX4550 Switch Hardware Guide