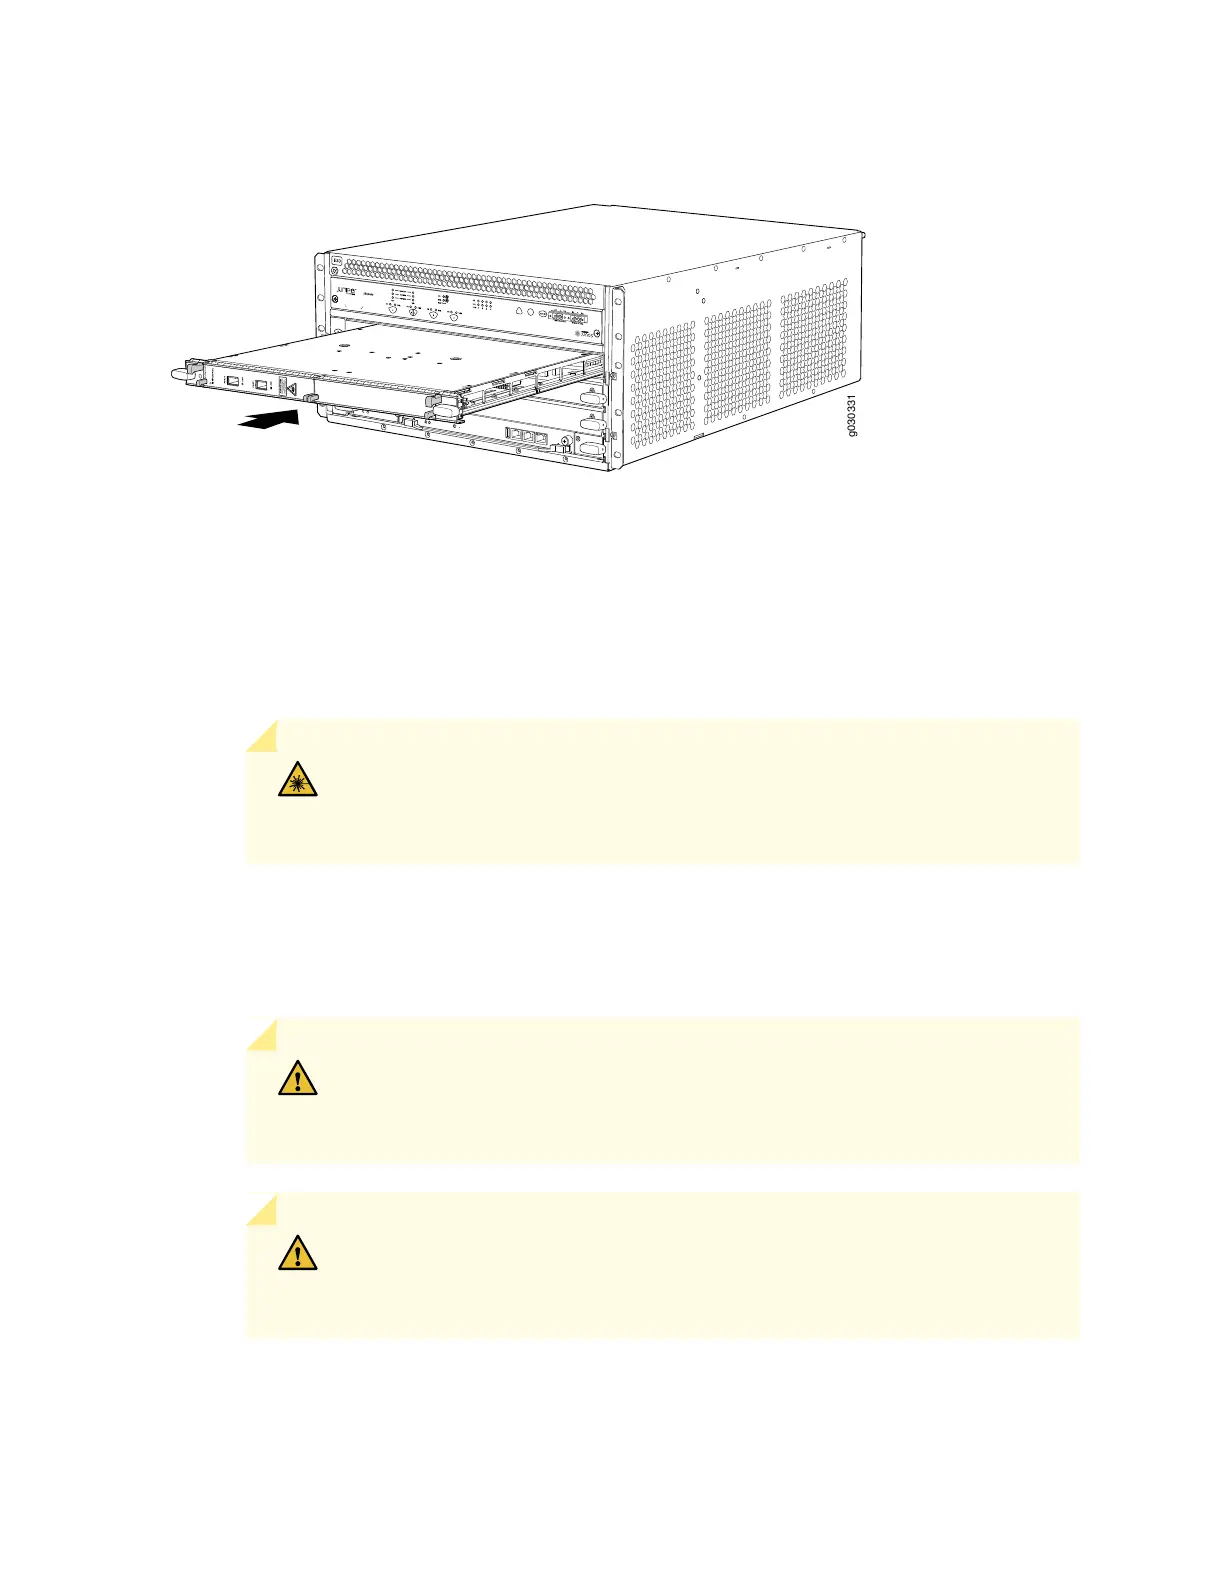
Figure 113: Installing an MPC in the SRX5400 Services Gateway
10. Slide the MPC all the way into the card cage until you feel resistance.
11. Grasp both ejector handles, and rotate them clockwise simultaneously until the MPC is fully seated.
12. If any of the MICs on the MPC connect to fiber-optic cable, remove the rubber safety cap from each
transceiver and cable.
WARNING: Do not look directly into a fiber-optic transceiver or into the ends
of fiber-optic cables. Fiber-optic transceivers and fiber-optic cables connected
to a transceiver emit laser light that can damage your eyes.
13. Insert the appropriate cable into the cable connector ports on each MIC on the MPC. Secure the cables
so that they are not supporting their own weight. Place excess cable out of the way in a neatly coiled
loop, using the cable management system. Placing fasteners on a loop helps to maintain its shape.
CAUTION: Do not let fiber-optic cables hang free from the connector. Do not
allow the fastened loops of a cable to dangle, which stresses the cable at the
fastening point.
CAUTION: Avoid bending a fiber-optic cable beyond its minimum bend radius.
An arc smaller than a few inches in diameter can damage the cable and cause
problems that are difficult to diagnose.
284

 Loading...


