M A E D A Mini-Crawler Crane Section 5 – PERIODIC MAINTENANCE
1/2019 MC285C-3 5-33
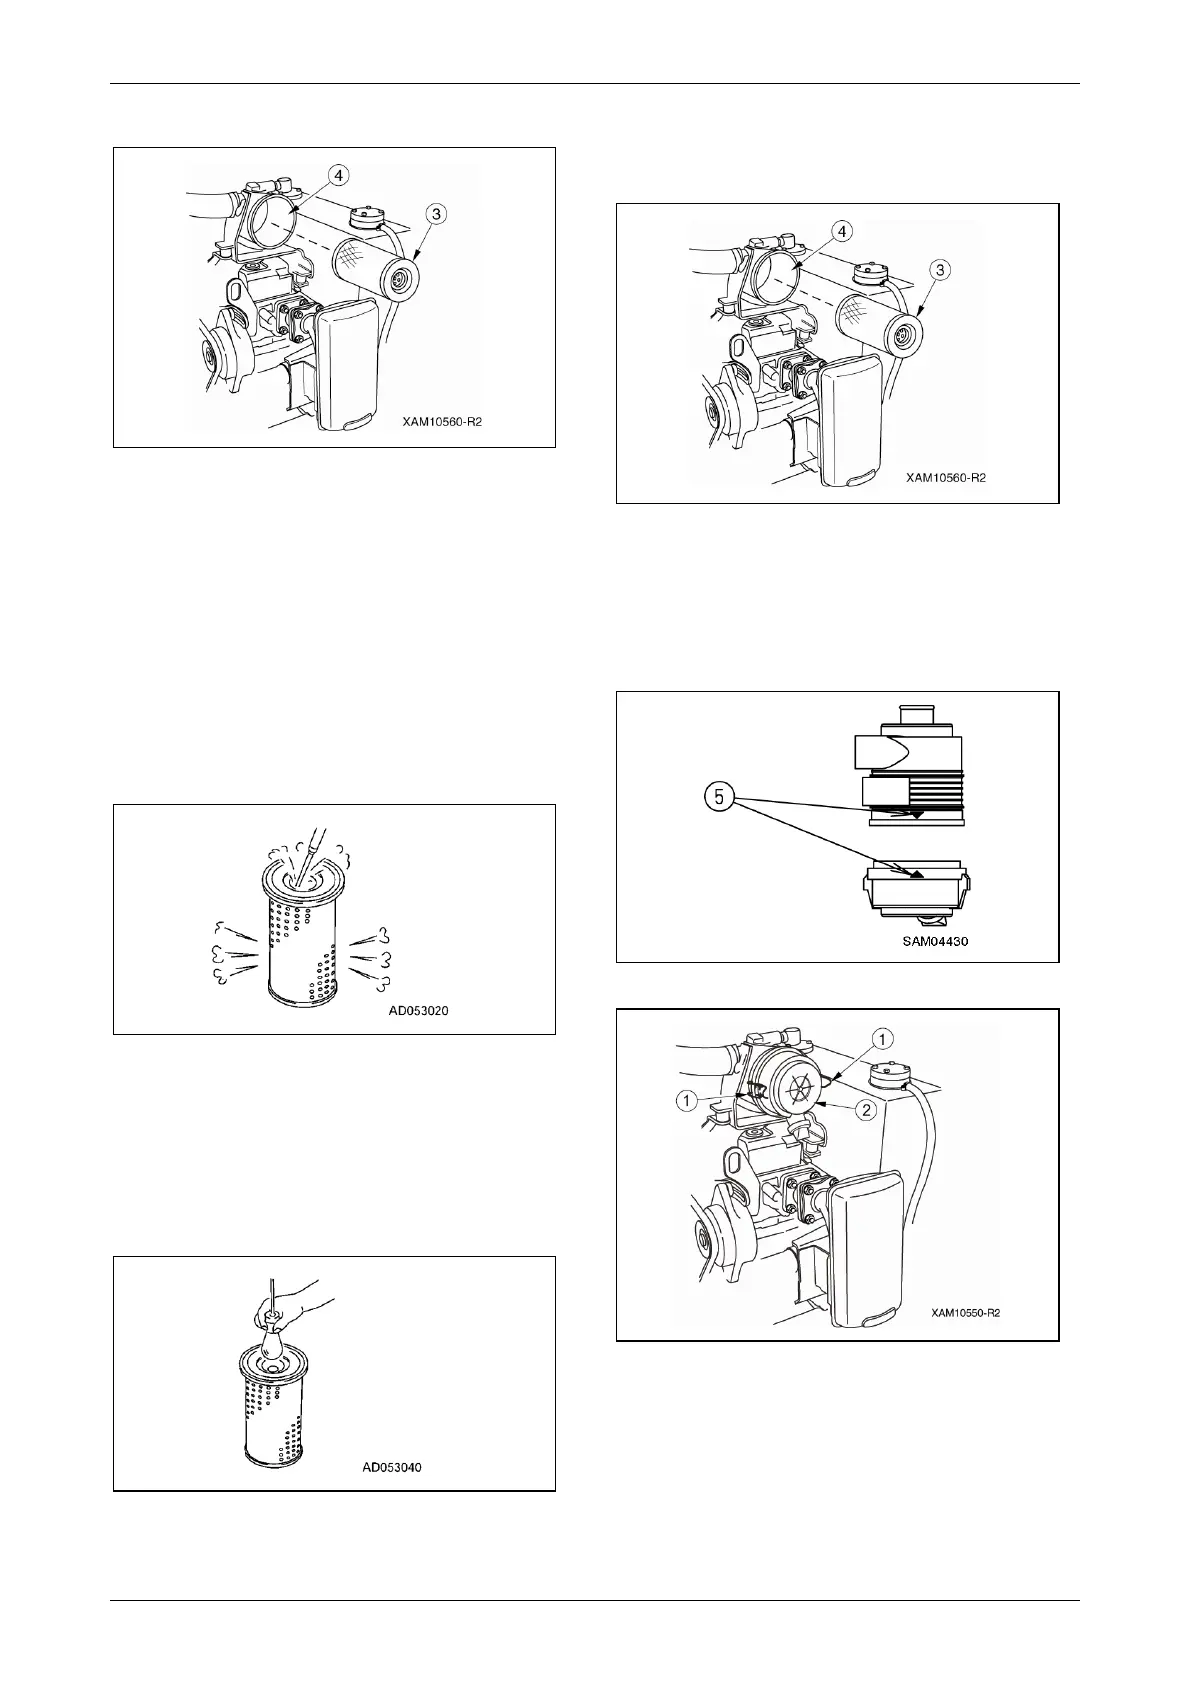
3. Pull out the element (3).
Fig. 5-48
4. Cover the duct entrance located at the back
of the air cleaner body (4) with a clean cloth
or tape, to keep impurities out of the duct
entrance.
5. Clean the inside of the air cleaner body.
6. Blow dry compressed air from the inside of
the element along the grooves at {max.
0.69 MPa (7kg/cm
2
)}.
Blow compressed air on the outside of the
element along the grooves, and re-blow the
air on the inside.
Fig. 5-49
NOTICE: Always replace the element with a new
one after 5 cleanings or a lapse of 1 year from
initial use.
7. Shine a light bulb into the element after
cleaning for check. If check finds a pore or
thinned part, replace the element.
Fig. 5-50
8. Remove the cloth or tape from the air
connector at the back of the air cleaner body
(4).
Fig. 5-51
9. Insert the cleaned element (3) into the air
cleaner body.
10. Connect dust pan (2) and air cleaner body
aligning the arrows (5). Securely fasten with
the clamps (1) in 2 places.
Fig. 5-52
Fig. 5-53
11. See “Installing Machinery Cover” on page
5-14 and install the machinery cover.