81 / 374
SOCT User Manual Version 10.0 rev. A
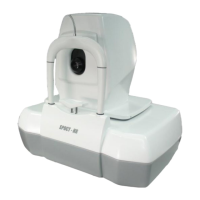
Figure 39. Central examination proper scan alignment
Disc area examination
1) Prepare the patient as explained in chapter 8.1 Preparation for examination.
2) Select Disc mode and scan type from program panel.
NOTE: Program settings do not change Fixation position.
3) When sound support system is not active instruct the patient to look at the fixation point
and follow it when it moves. Inform that after a while the fixation target will move to the
nasal direction. Ask the patient to follow when the fixation shifts.
4) Press [START] button for Full Auto or Semi Auto mode.
5) In Semi Auto or Manual when OCT signal is aligned properly, after a while the pSLO fundus
preview image of the optic nerve appears.
6) The Optic nerve head has to be in the center of scanned area.
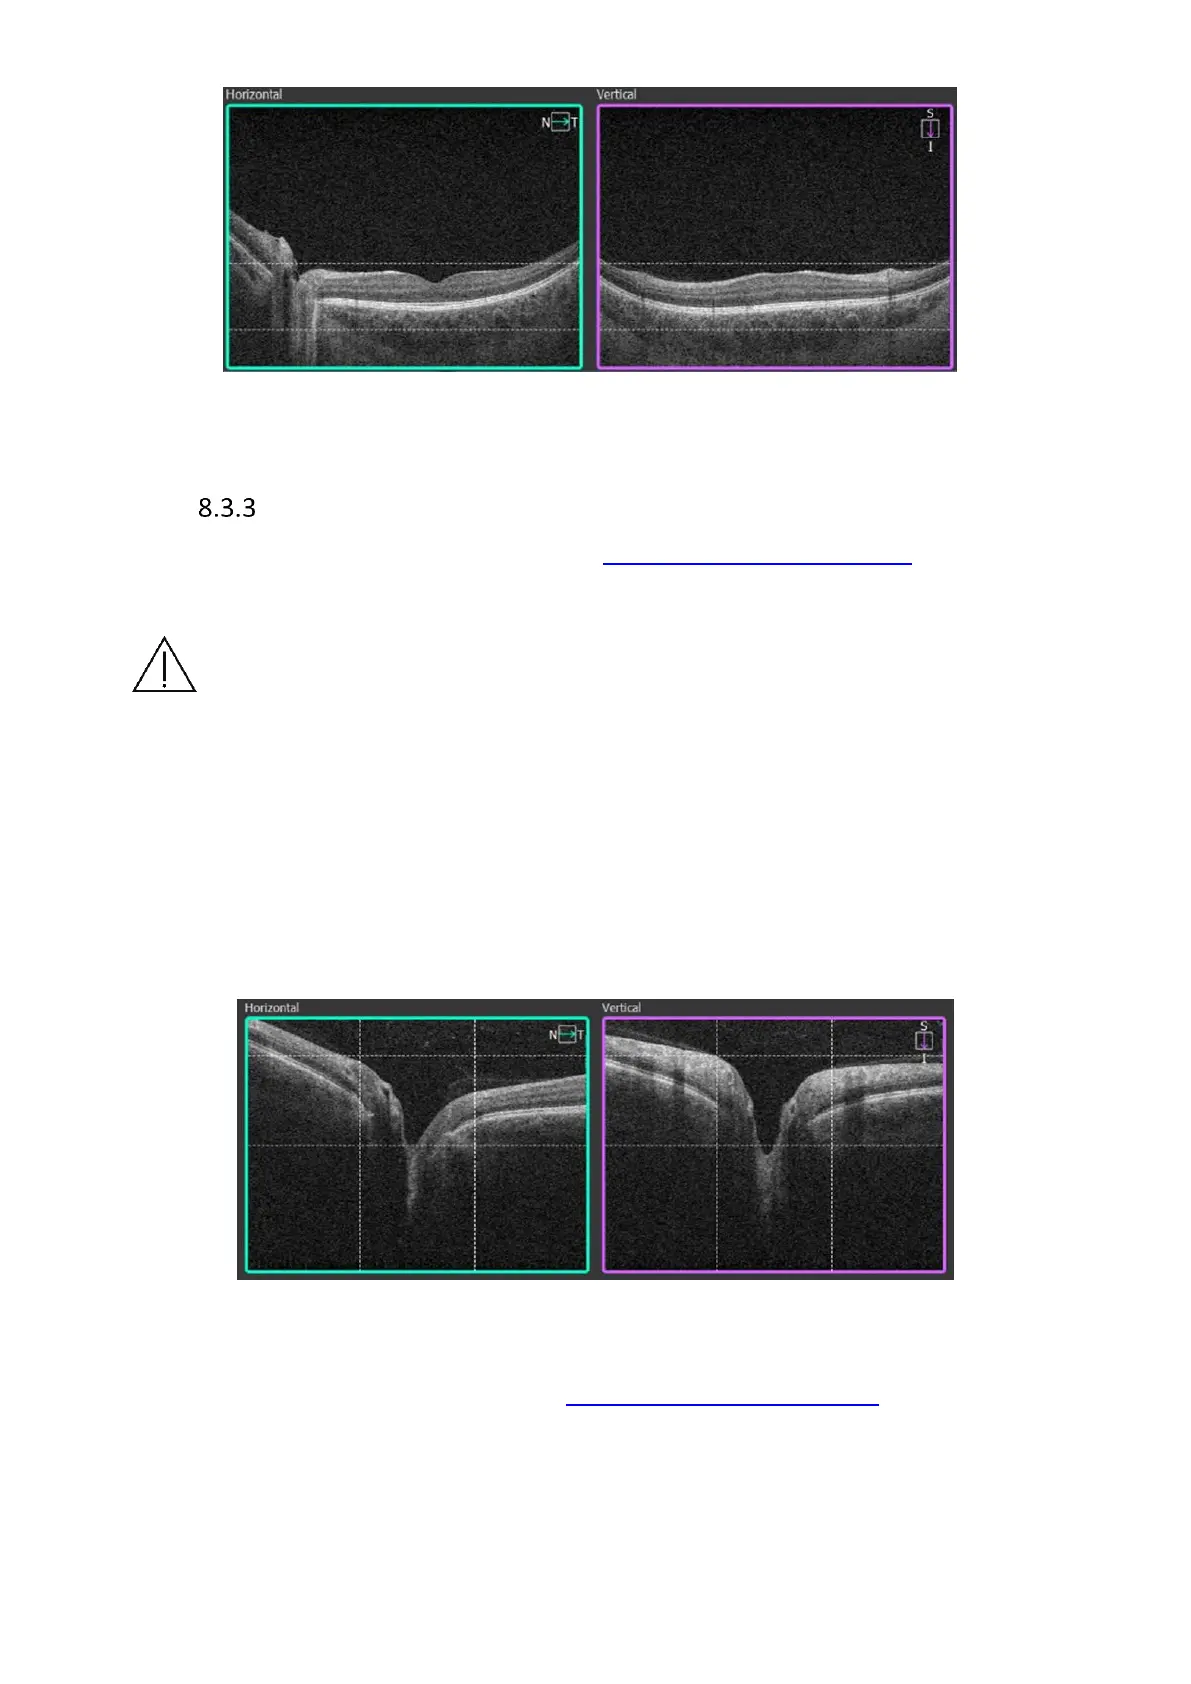
Figure 40. Proper Disk examination alignment
It may be required to correct the scanner position. Drag and move the scanner to the center
of optic nerve head. See details in chapter 7.7.1 Moving the Scanning Area. Dashed vertical
lines on the live tomogram preview correspond to the red circle on pSLO fundus preview.
Scanners are positioned correctly when the vertical lines on the live OCT window are equally
placed from RPE tips.
 Loading...