84 / 374
SOCT User Manual Version 10.0 rev. A
8.3.5.2 Manual mosaic acquisition mode
1. Prepare a patient as explained in chapter 8.1 Preparation for examination.
2. Instruct patient that you are going to take a few examinations and fixation target may
change the position.
3. Select one of Angiography mode program. If required you can change default
parameters.
4. After Acquire the first Angio scan on the confirmation screen check [Mosaic mode] to
activate the mosaic mode.
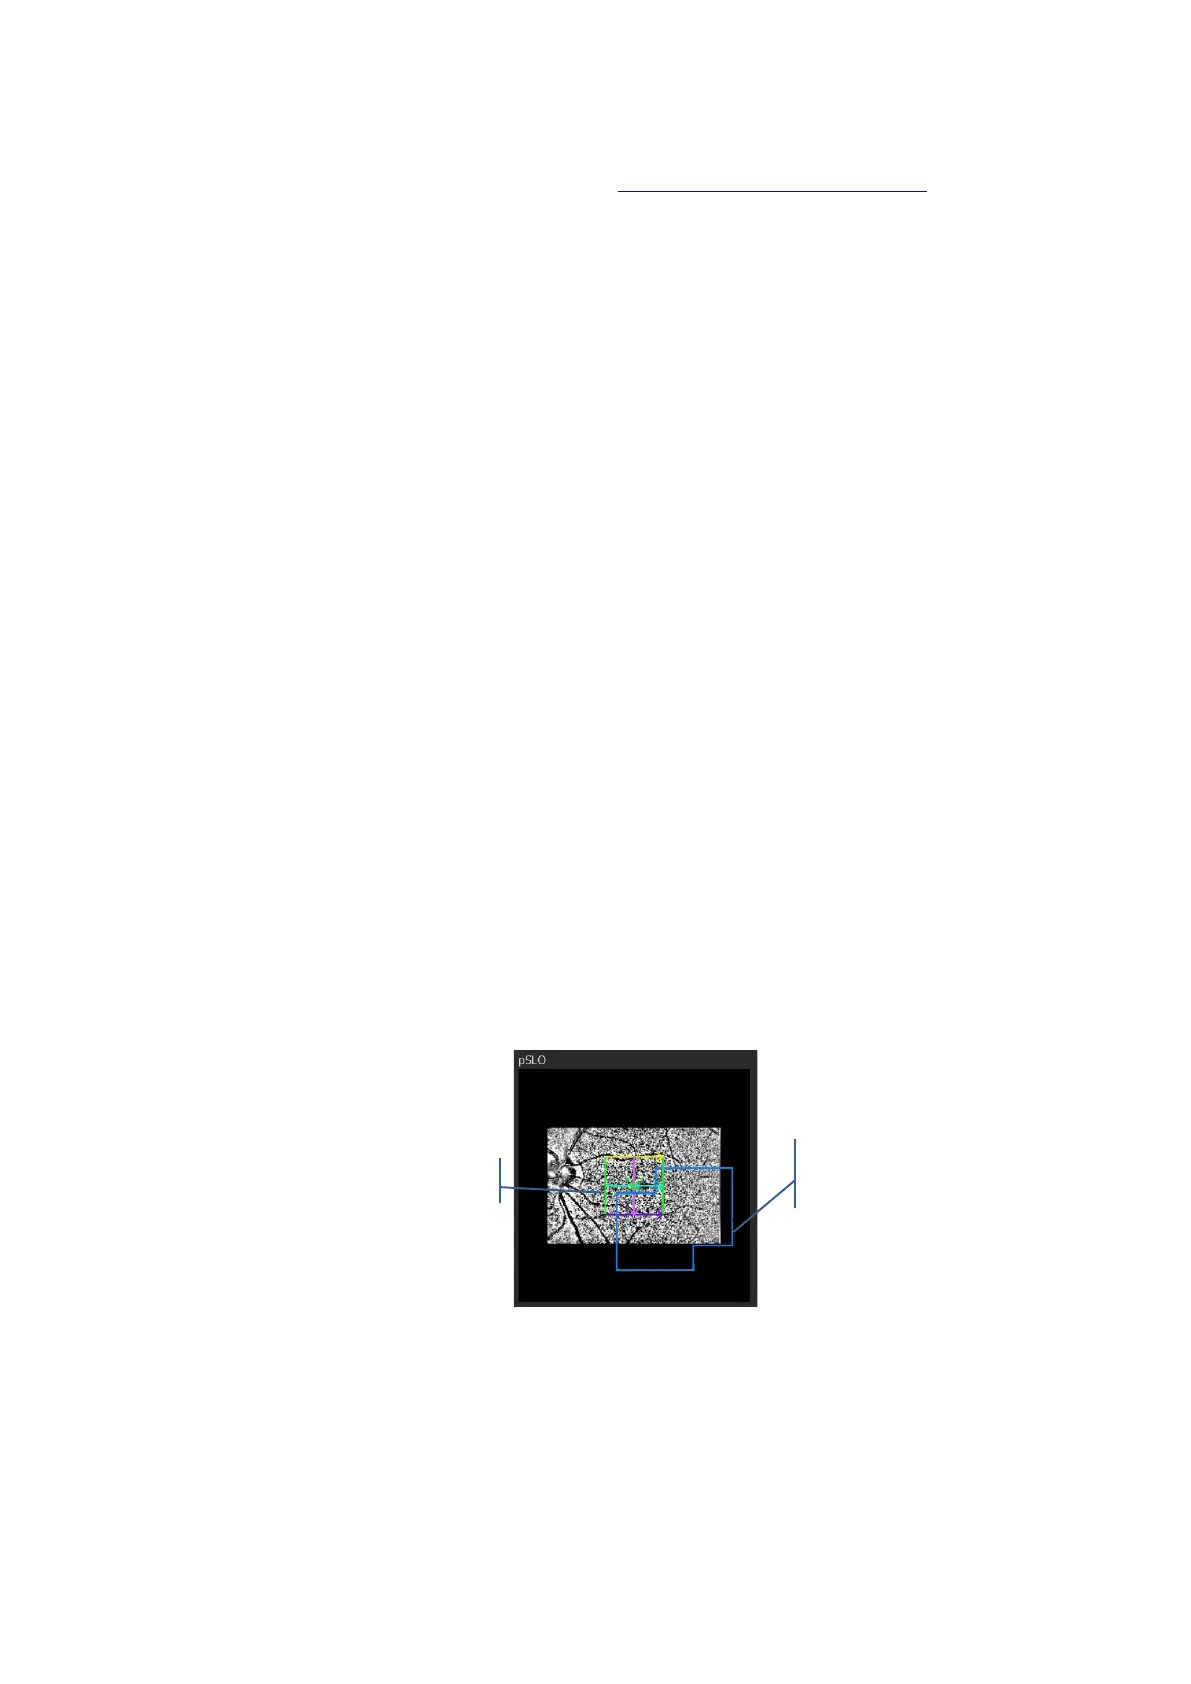
Verify the result. If you accept the result system will mark by blue lines scanned area
on pSLO window.
If you Repeat the examination system as default will use newer examination in mosaic
mode. If you use motion correction from specific location motion corrected exam will
be used.
5. If voice guide is switched off inform the patient to follow fixation target.
6. If required, correct the position of the tomogram and Acquire the image.
7. When you shift fixation and /or scanners frame change the color to guide you.
Green frame The new showed scanned area has enough coverage to allow automatic
superimpose.
Orange frame The new showed scanned area touch previously scanned area but it will
not guarantee enough data to automatic superimpose.
Red frame The new selected scanned area does not have any common area with
already scanned area.
Figure 43. Scanned area marked on pSLO window
 Loading...