86
Polyend Tracker+ Manual
NOTES
Sequencing Steps
5
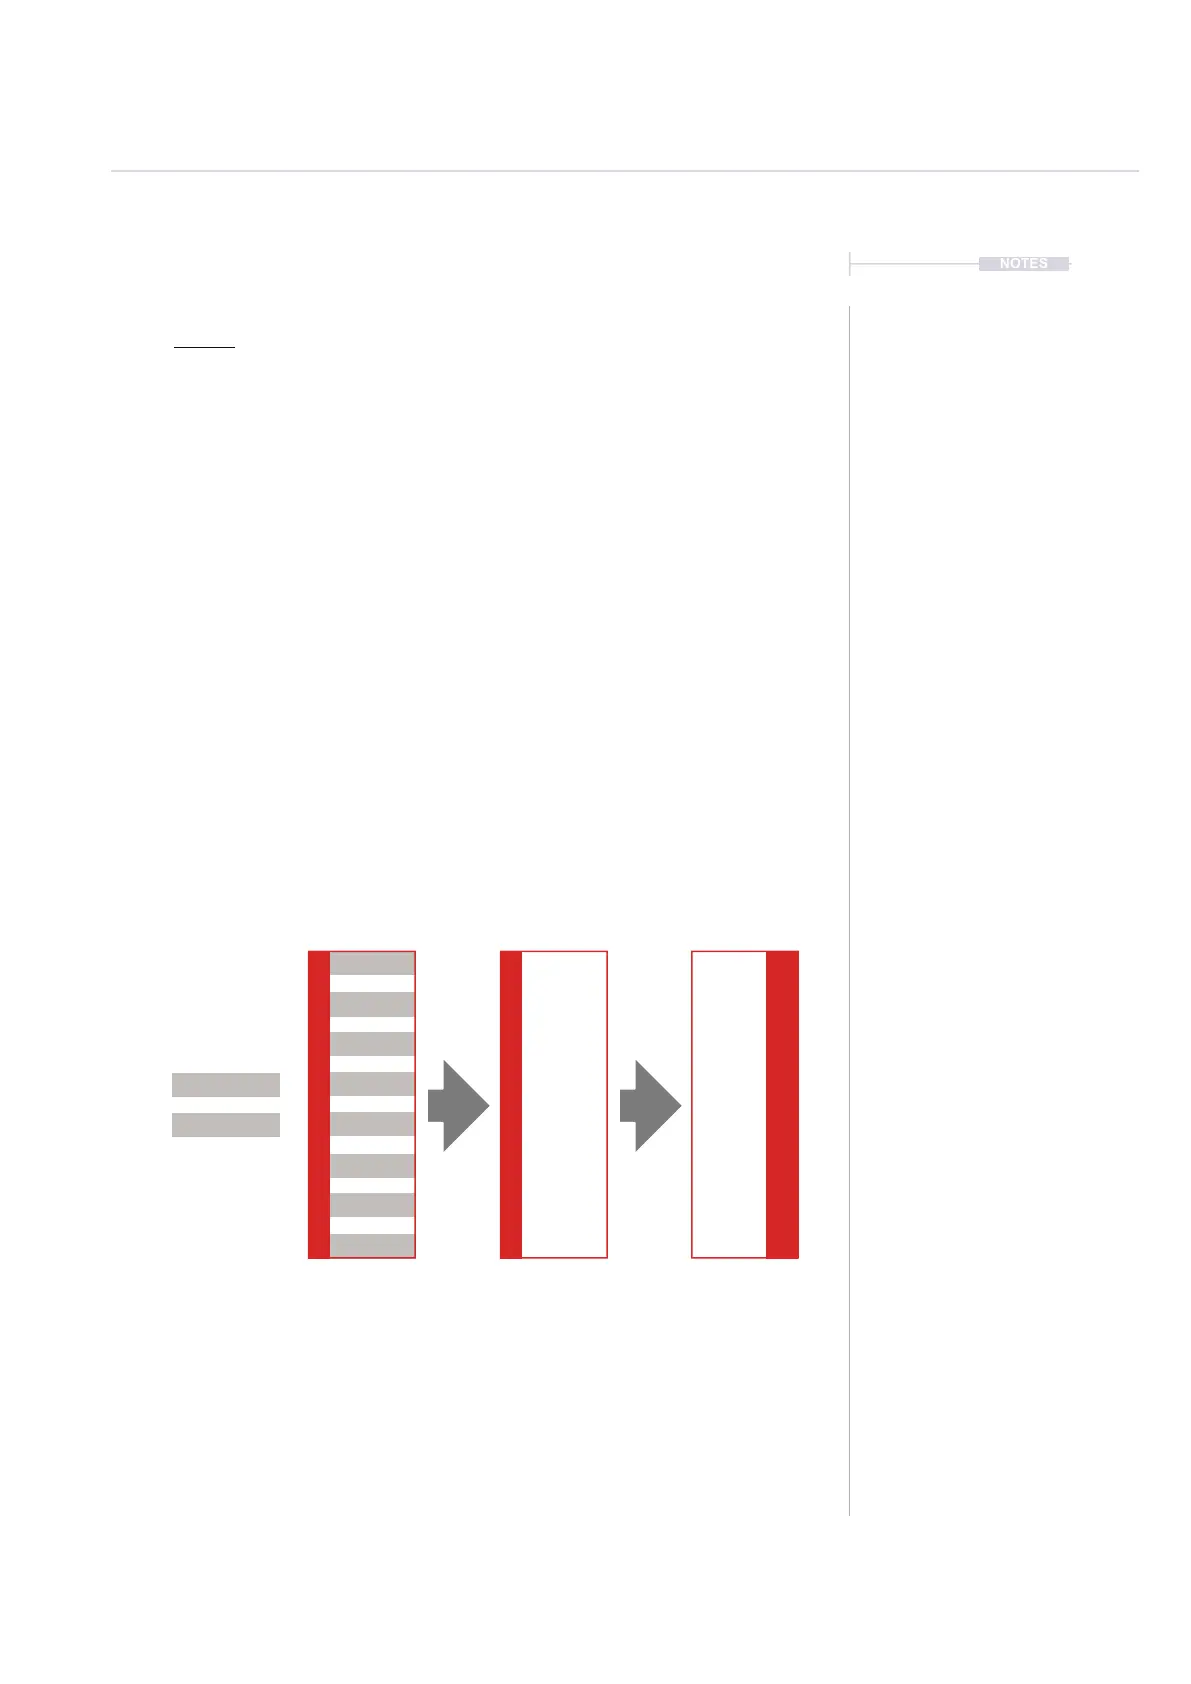
8. Select in the bounding box ‘No Note’. This option will select all steps
that do not have a note set. As the selected range is empty all 8 steps
will be lled with this option.
9. Press [Scale] - 3
rd
Screen Button. Repeat presses will cycle through the
options. Select ‘Chromatic’. As this is a percussion instrument the scale
is less important.
10. Press [Fill Type] - 4
th
Screen Button. Repeat presses will cycle through
the options. Select ‘Constant’. As this is a percussion pattern the
instrument does not require scale or note ranges so constant will repeat
the note.
11. Press [Note] - 5
th
Screen Button. Repeat presses will cycle through the
options. The quickest method here is to Hold [Note] + [PAD] or Turn
(Jog) to assign a note. Set to C5, the root note for the sample.
12. Press [Fill], 8
th
Screen button. This will activate the ll command and
populate the selected range.
Track 4 Track 4 Track 4Track 3
1
5
3
7
2
6
4
8
D6 03
----
V 10
D6 01
----
V 20
D6 01
----
V 20
D6 01
----
V 20
---- ------- ---
---- ------- ---
---- ------- ---
---- ------- ---
---- ------- ---
---- ------- ---
---- ------- ---
---- ------- ---
E6 03
----
D5 03
----
----
----
----
----
--- ---
--- ---
V 50
V 30
C5 06
---- ----
C5 06
---- P-50
C5 06
---- ----
C5 06
---- P-36
C5 06
---- ----
C5 06
---- P-22
C5 06
---- ----
C5 06
---- P -8
C5 06
---- ----
C5 06
---- P 7
C5 06
---- ----
C5 06
---- P 21
C5 06
---- ----
C5 06
---- P 50
C5 06
---- ----
C5 06
---- P 35
Note Fill FX Fill