COPIER INSTALLATION
SM 1-7 B121 Series/B259 Series
Installation
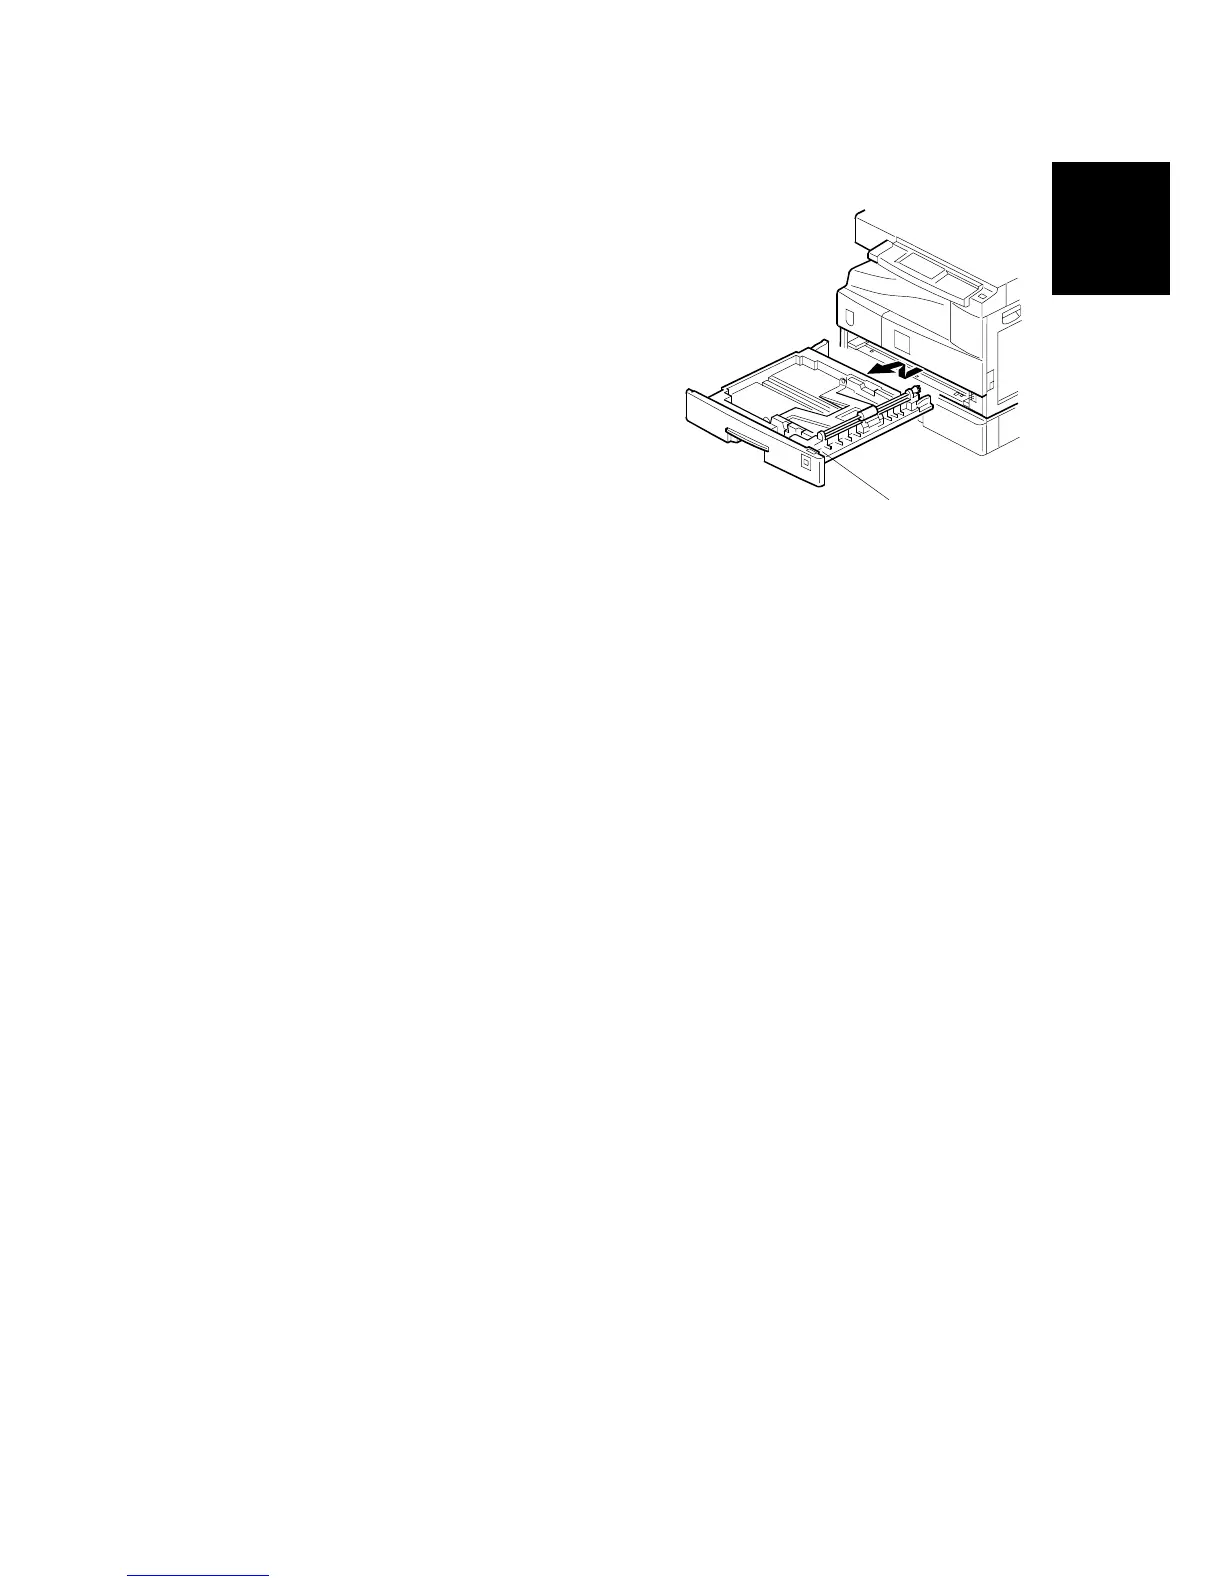
11. Pull out the paper tray [A] and turn the
paper size dial to the appropriate size.
Adjust the positions of the end and side
guides.
NOTE: To move the side guides, release
the green lock on the rear side
guide.
12. Install the optional ARDF, ADF, or platen cover ( 1.3/1.4/1.5).
13. Plug in the main power cord and turn on the main switch.
14. Activate the SP mode and execute "Devlpr Initialize" (SP2-214-001).
15. Wait until the message "Completed" is displayed (about 45 seconds).
16. Activate the User Tools and select the menu "Language."
17. Specify a language. This language is used for the operation panel.
18. Load the paper in the paper tray and make a full size copy, and check if the
side-to-side and leading edge registrations are correct. If they are not, adjust
the registrations ( 3.13).
B121I916.WMF
[A]