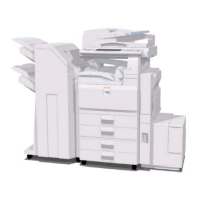
MFP EXPANSION
B121 Series/B259 Series 1-36 SM
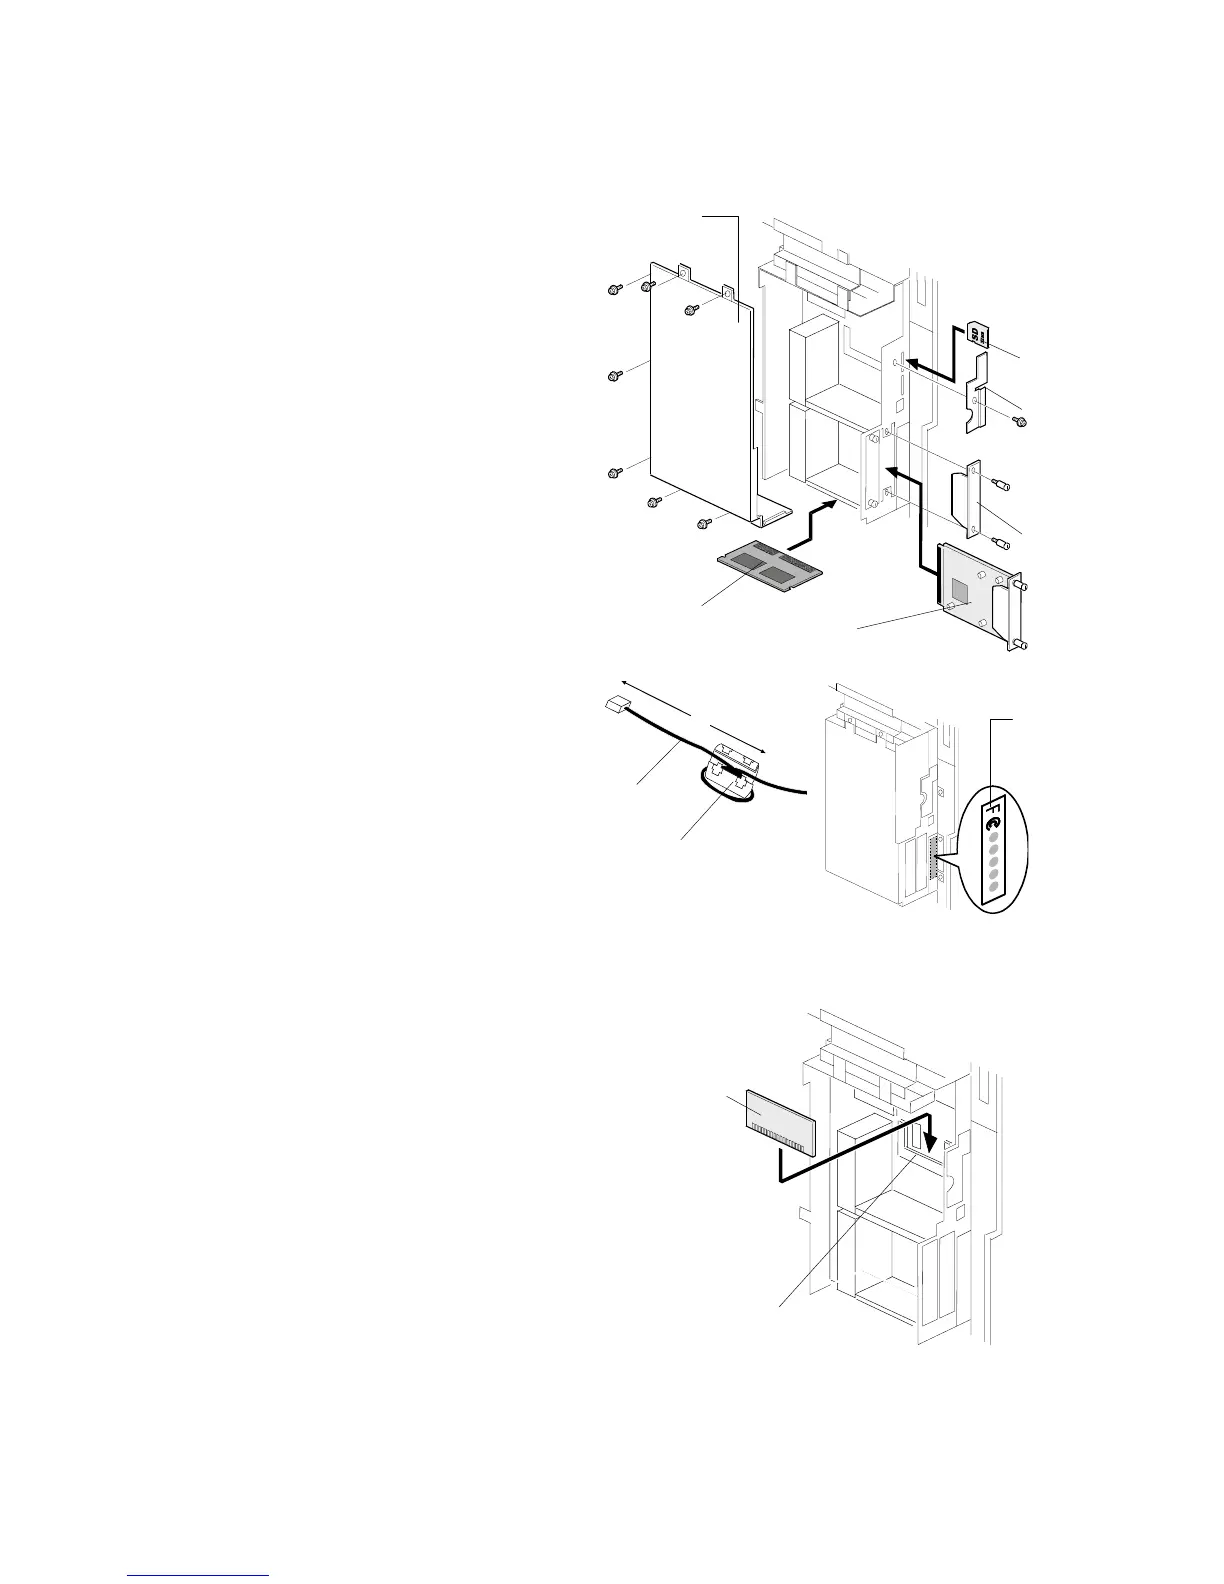
Step 2–Printer/Scanner
1. Remove the controller-box cover
[A] ( x 7)
2. Install the RAM DIMM [B].
3. Remove the SD-card cover [C]
( x 1).
4. Install the SD card [D] in the upper
slot.
NOTE: The lower slot is for service
work.
5. Install the SD-card cover.
6. Remove the slot cover [E] ( x 2)
7. Install the USB board [F] ( x 2).
8. Attach the ferrite core [G] to the
network cable [H]. The end of the
ferrite core must be about 15 cm
(6") from the end of the cable [I].
9. USA model only: Attach the FCC
label [J] at the right-hand side of the
USB connector on the controller
box.
Step 3–PostScript
Install the PS3 card [A] in the DIMM socket [B].
B658I903.WMF
B658I912.WMF
B658I904.WMF
B681I903.WMF
[B]
[C]
[D]
[E]
[F]
[A]
[G]
[H]
[I]
[A]
[B]
[J]