U.4.6
SEL-421 Relay User’s Guide Date Code 20090715
Basic Relay Operations
Changing the Default Passwords
Step 5. To check the communications link, press <Enter> to confirm
that you can communicate with the relay.
You will see the Access Level 0
= prompt at the left side of your
computer screen (column 1).
If you do not see the prompt, check the cable connections and
confirm the settings for the default communications parameters
of Tab le 4.2 in your terminal emulation program.
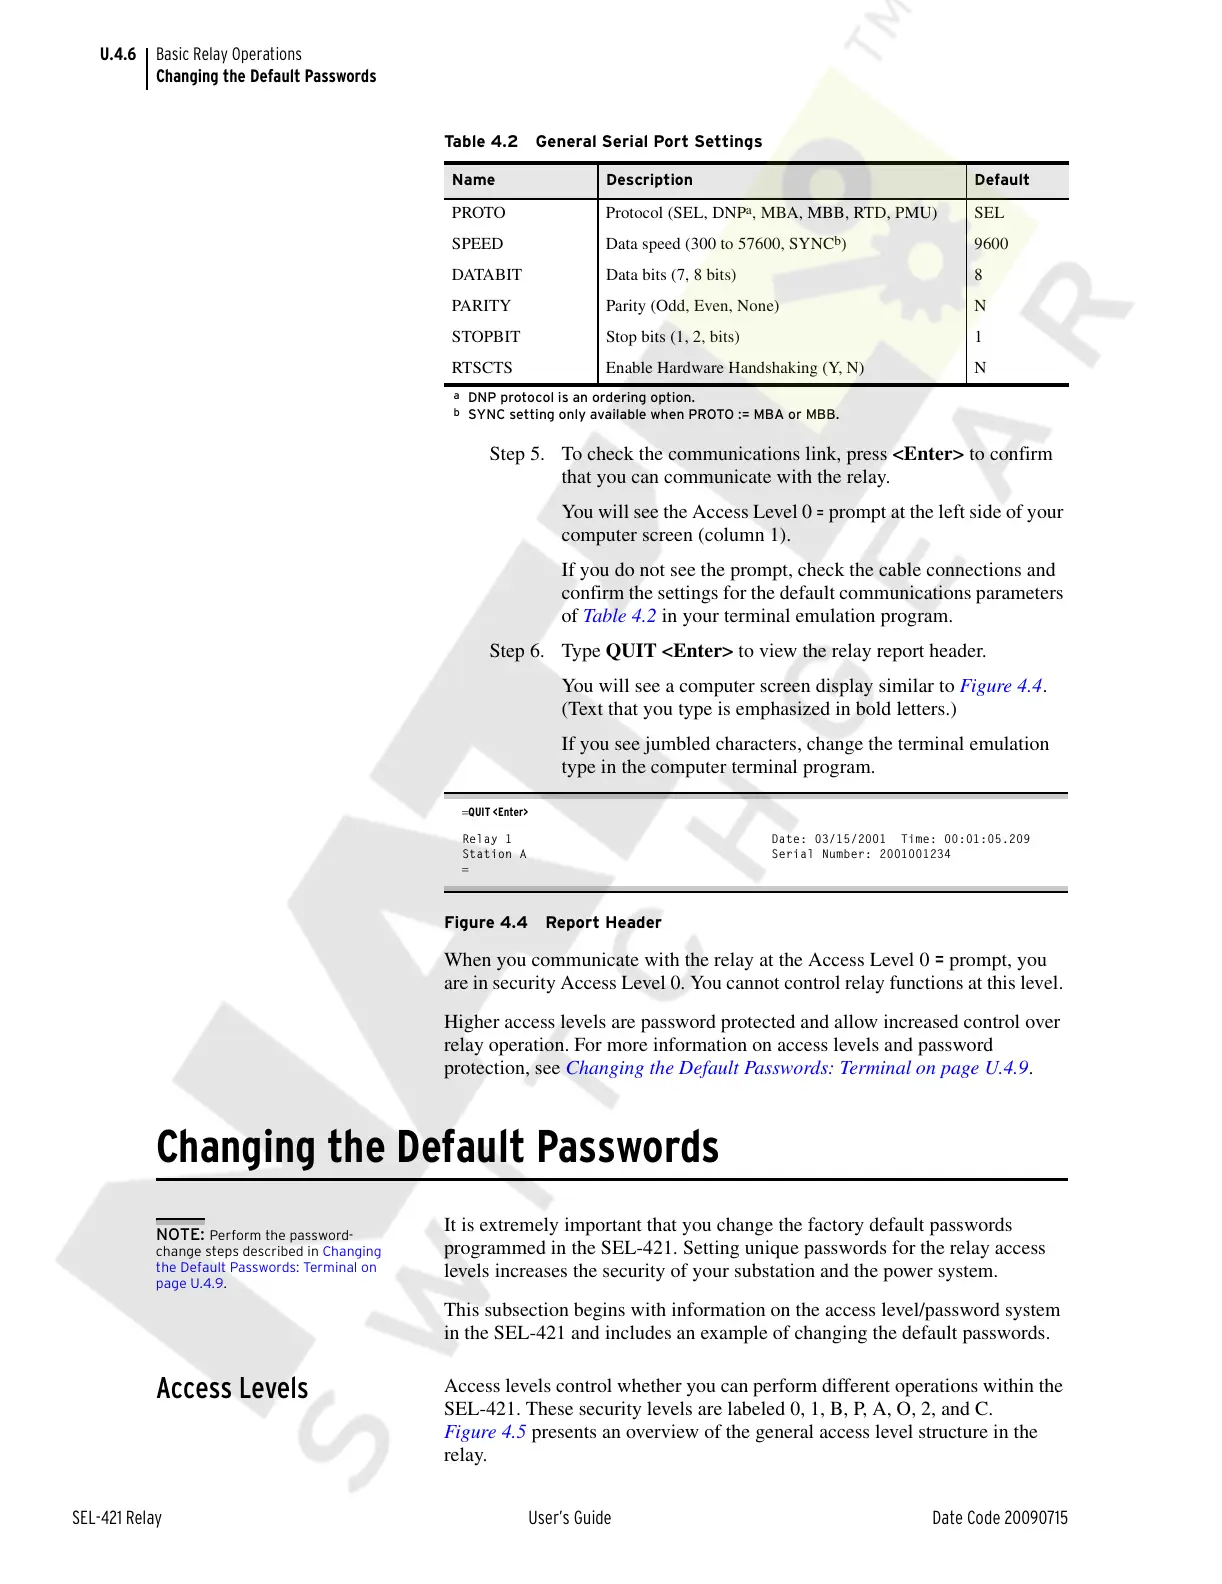
Step 6. Type QUIT <Enter> to view the relay report header.
You will see a computer screen display similar to Figure 4.4.
(Text that you type is emphasized in bold letters.)
If you see jumbled characters, change the terminal emulation
type in the computer terminal program.
=QUIT <Enter>
Relay 1 Date: 03/15/2001 Time: 00:01:05.209
Station A Serial Number: 2001001234
=
Figure 4.4 Report Header
When you communicate with the relay at the Access Level 0 = prompt, you
are in security Access Level 0. You cannot control relay functions at this level.
Higher access levels are password protected and allow increased control over
relay operation. For more information on access levels and password
protection, see Changing the Default Passwords: Terminal on page U.4.9.
Changing the Default Passwords
It is extremely important that you change the factory default passwords
programmed in the SEL-421. Setting unique passwords for the relay access
levels increases the security of your substation and the power system.
This subsection begins with information on the access level/password system
in the SEL-421 and includes an example of changing the default passwords.
Access Levels
Access levels control whether you can perform different operations within the
SEL-421. These security levels are labeled 0, 1, B, P, A, O, 2, and C.
Figure 4.5 presents an overview of the general access level structure in the
relay.
Table 4.2 General Serial Port Settings
Name Description Default
PROTO Protocol (SEL, DNP
a
, MBA, MBB, RTD, PMU)
a
DNP protocol is an ordering option.
SEL
SPEED Data speed (300 to 57600, SYNC
b
)
b
SYNC setting only available when PROTO := MBA or MBB.
9600
DATABIT Data bits (7, 8 bits) 8
PARITY Parity (Odd, Even, None) N
STOPBIT Stop bits (1, 2, bits) 1
RTSCTS Enable Hardware Handshaking (Y, N) N
NOTE: Perform the password-
change steps described in Changing
the Default Passwords: Terminal on
page U.4.9.
Courtesy of NationalSwitchgear.com