U.2.36
SEL-421 Relay User’s Guide Date Code 20090715
Installation
Connection
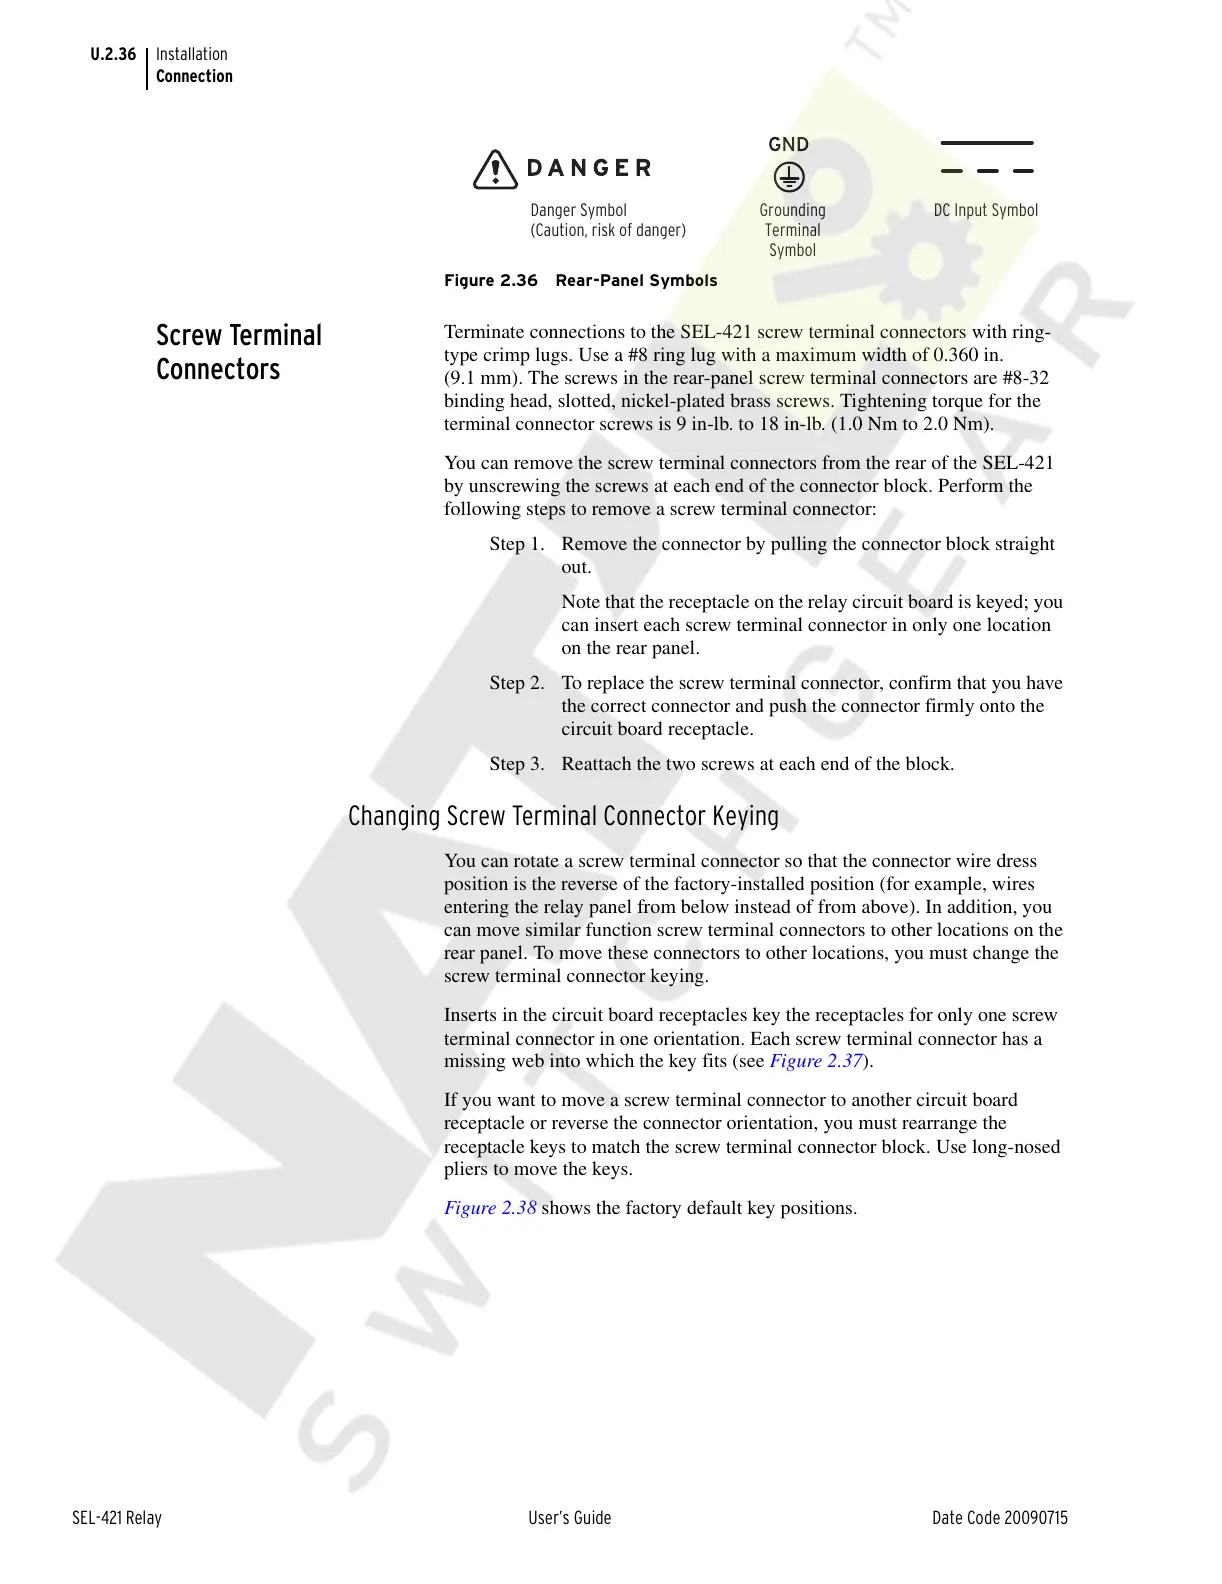
Figure 2.36 Rear-Panel Symbols
Screw Terminal
Connectors
Terminate connections to the SEL-421 screw terminal connectors with ring-
type crimp lugs. Use a #8 ring lug with a maximum width of 0.360 in.
(9.1 mm). The screws in the rear-panel screw terminal connectors are #8-32
binding head, slotted, nickel-plated brass screws. Tightening torque for the
terminal connector screws is 9 in-lb. to 18 in-lb. (1.0 Nm to 2.0 Nm).
You can remove the screw terminal connectors from the rear of the SEL-421
by unscrewing the screws at each end of the connector block. Perform the
following steps to remove a screw terminal connector:
Step 1. Remove the connector by pulling the connector block straight
out.
Note that the receptacle on the relay circuit board is keyed; you
can insert each screw terminal connector in only one location
on the rear panel.
Step 2. To replace the screw terminal connector, confirm that you have
the correct connector and push the connector firmly onto the
circuit board receptacle.
Step 3. Reattach the two screws at each end of the block.
Changing Screw Terminal Connector Keying
You can rotate a screw terminal connector so that the connector wire dress
position is the reverse of the factory-installed position (for example, wires
entering the relay panel from below instead of from above). In addition, you
can move similar function screw terminal connectors to other locations on the
rear panel. To move these connectors to other locations, you must change the
screw terminal connector keying.
Inserts in the circuit board receptacles key the receptacles for only one screw
terminal connector in one orientation. Each screw terminal connector has a
missing web into which the key fits (see Figure 2.37).
If you want to move a screw terminal connector to another circuit board
receptacle or reverse the connector orientation, you must rearrange the
receptacle keys to match the screw terminal connector block. Use long-nosed
pliers to move the keys.
Figure 2.38 shows the factory default key positions.
Danger Symbol
(Caution, risk of danger)
DC Input SymbolGrounding
Terminal
Symbol
Courtesy of NationalSwitchgear.com