U.5.9
Date Code 20090715 User’s Guide SEL-421 Relay
Front-Panel Operations
Front-Panel Layout
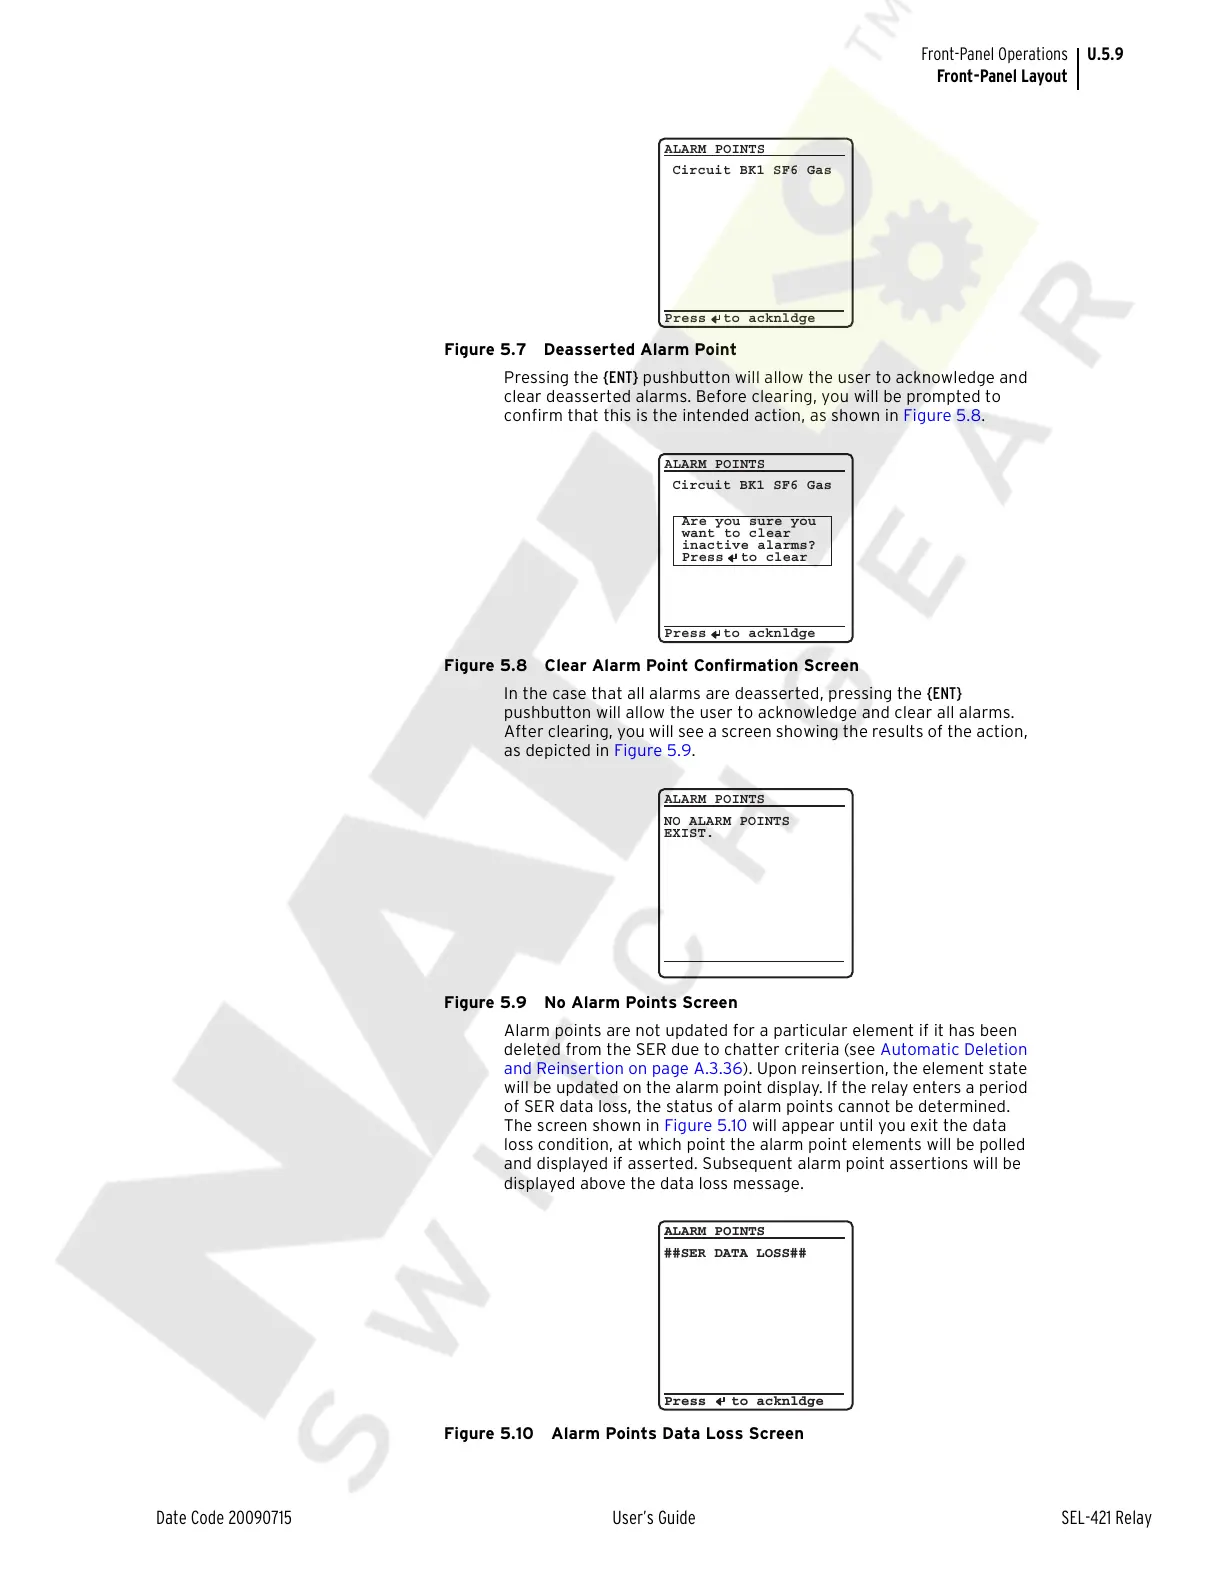
Figure 5.7 Deasserted Alarm Point
Pressing the {ENT} pushbutton will allow the user to acknowledge and
clear deasserted alarms. Before clearing, you will be prompted to
confirm that this is the intended action, as shown in Figure 5.8.
Figure 5.8 Clear Alarm Point Confirmation Screen
In the case that all alarms are deasserted, pressing the {ENT}
pushbutton will allow the user to acknowledge and clear all alarms.
After clearing, you will see a screen showing the results of the action,
as depicted in Figure 5.9.
Figure 5.9 No Alarm Points Screen
Alarm points are not updated for a particular element if it has been
deleted from the SER due to chatter criteria (see Automatic Deletion
and Reinsertion on page A.3.36). Upon reinsertion, the element state
will be updated on the alarm point display. If the relay enters a period
of SER data loss, the status of alarm points cannot be determined.
The screen shown in Figure 5.10 will appear until you exit the data
loss condition, at which point the alarm point elements will be polled
and displayed if asserted. Subsequent alarm point assertions will be
displayed above the data loss message.
Figure 5.10 Alarm Points Data Loss Screen
Circuit BK1 SF6 Gas
ALARM POINTS
Press to acknldge
Circuit BK1 SF6 Gas
ALARM POINTS
Press to acknldge
Are you sure you
want to clear
inactive alarms?
Press to clear
NO ALARM POINTS
EXIST.
ALARM POINTS
##SER DATA LOSS##
ALARM POINTS
Press to acknldge
Courtesy of NationalSwitchgear.com