Customer Replaceable Units Y-Belt Idler Pulley
Page 212
© Copyright 2021 Stratasys. All rights reserved.
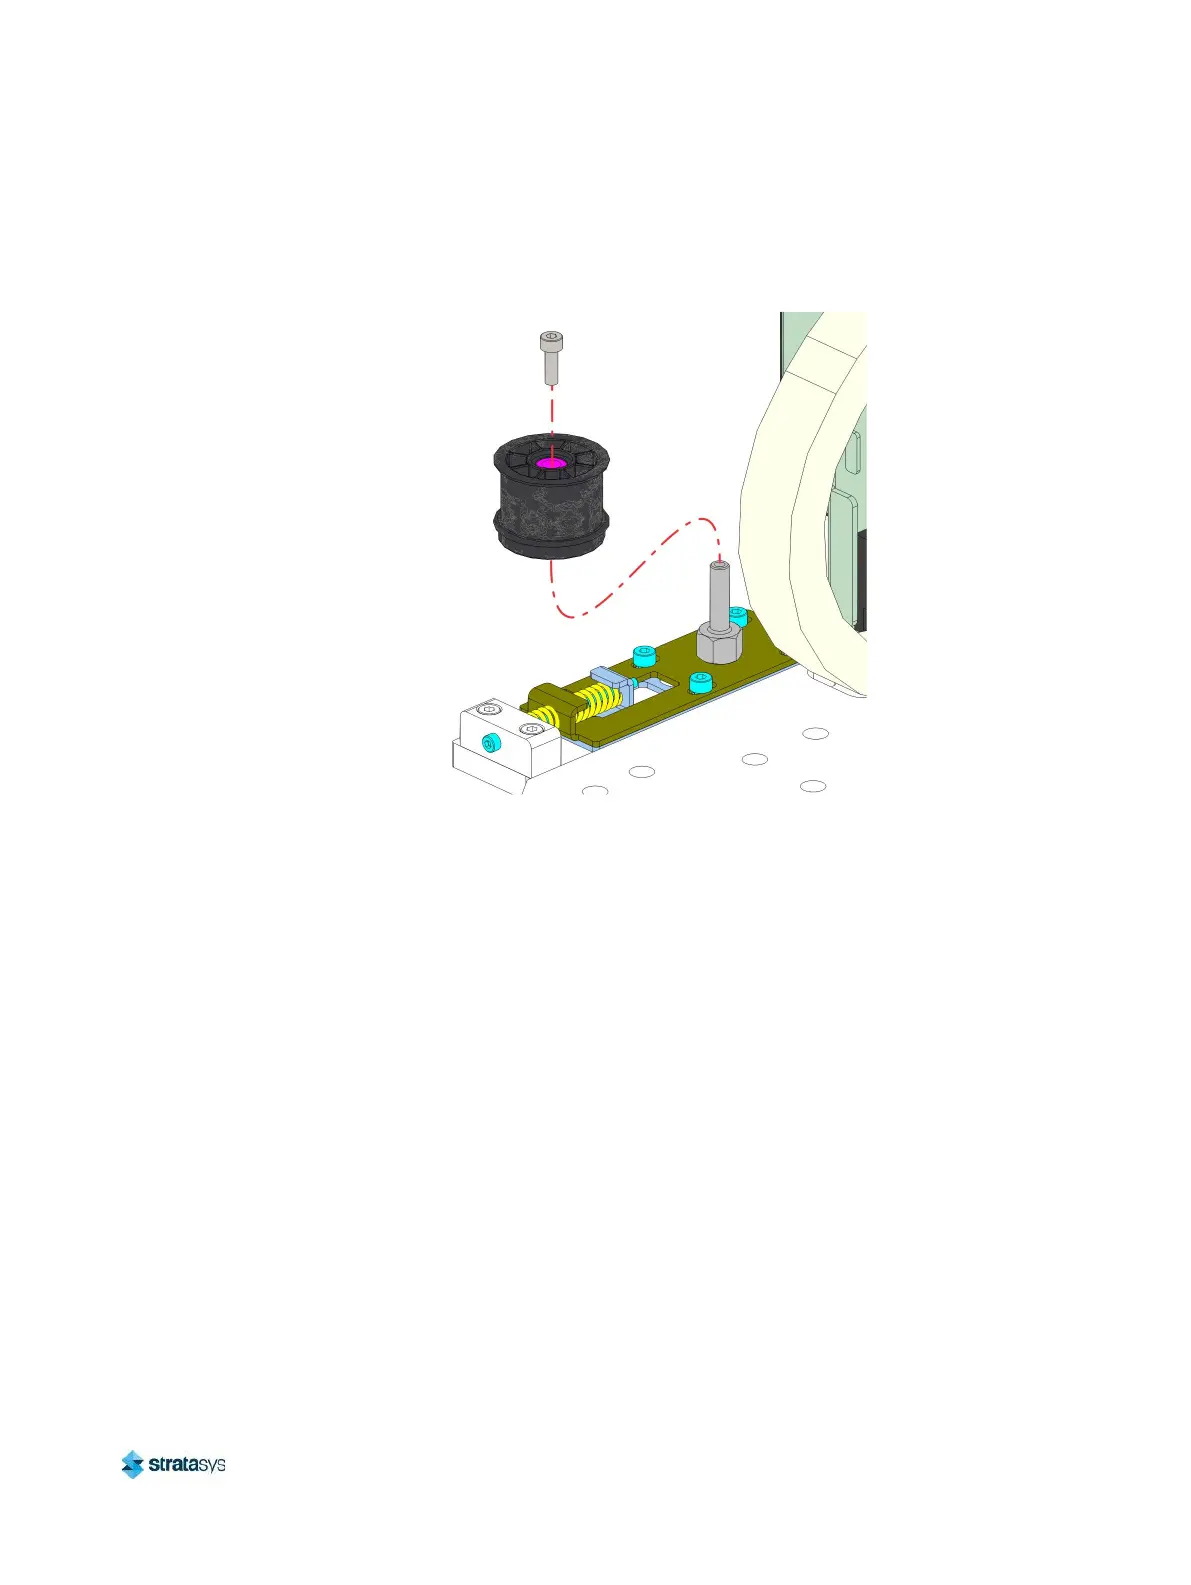
6. Using a 3 mm hex wrench, remove the Y belt idler pulley mounting screw. See Figure 44.
7. Remove the pulley from the idler shaft. See Figure 44.
Figure 44: Y Belt idler pulley detail
Installing the Y Belt Idler Pulley
1. Using a 3 mm hex wrench, install the Y belt idler pulley to the idler shaft. See Figure 44.
2. Reinstall the screw securing the pulley to the idler shaft. See Figure 44.
3. Install the Y drive belt to the Y axis idler pulley.
4. Use a 2.5 mm hex wrench to adjust the Y belt tension screw. See “Y Belt Tension”
(page 215).
5. Using a 3 mm hex wrench, tighten the locking screws (4) that secure the Y-belt tension
adjustment bracket. See Figure 43.
6. Close the top front access door.
7. Power ON the printer.
8. Perform the Automatic Tip Calibration as described in “Automatic Tip Calibration”
(page 151).
9. Perform the Manual Tip Calibration as described in “Manual Tip Calibration” (page 154).
 Loading...


