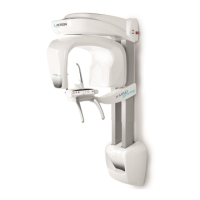
Service Manual – Installation
SERVICE MANUAL • X-MIND prime 3D • (19) • 11/2019 • NXMPEN080A
4.
Place the clips of the instrument on the relevant pins according to the
measurement to be performed as described in the following table, having care
to avoid short circuits.
Multimeter or oscilloscope
PIN 1
→
GND
PIN 4
→
kV feedback
Multimeter or oscilloscope
PIN 1
→
GND
PIN 3
→
mA feedback
PIN 1
→
GND
PIN 3
→
mA feedback
Warning
Beware that the probes do not interfere with columns during the rotation
of the arm.
5.
Switch ON the system and as soon as the green led starts blinking, press >0<
for initialization.
6.
Open the PhD_C_Test software (located at C:\Program Files (x86)\Acteon
Imaging\Panoramic X-Mind Prime Ceph) and check that the unit is connected
to the PC (the message "MCU is connected" is displayed in the bottom left
corner of the program window).
 Loading...