Service Manual – Corrective maintenance
SERVICE MANUAL • X-MIND prime 3D • (19) • 11/2019 • NXMPEN080A
11.2.7
Ceph sensor IP address modification
1.
Check that the network card connected to the Ceph sensor - i.e. the one
connected to the machine port labelled with “Ethernet” - is configured with a
static IP in the family of the current sensor IP. The factory default is: IP
address:192.168.0.16, Subnet Mask: 255.255.255.0 (refer to paragraph 7.7.1).
2.
Switch ON the unit.
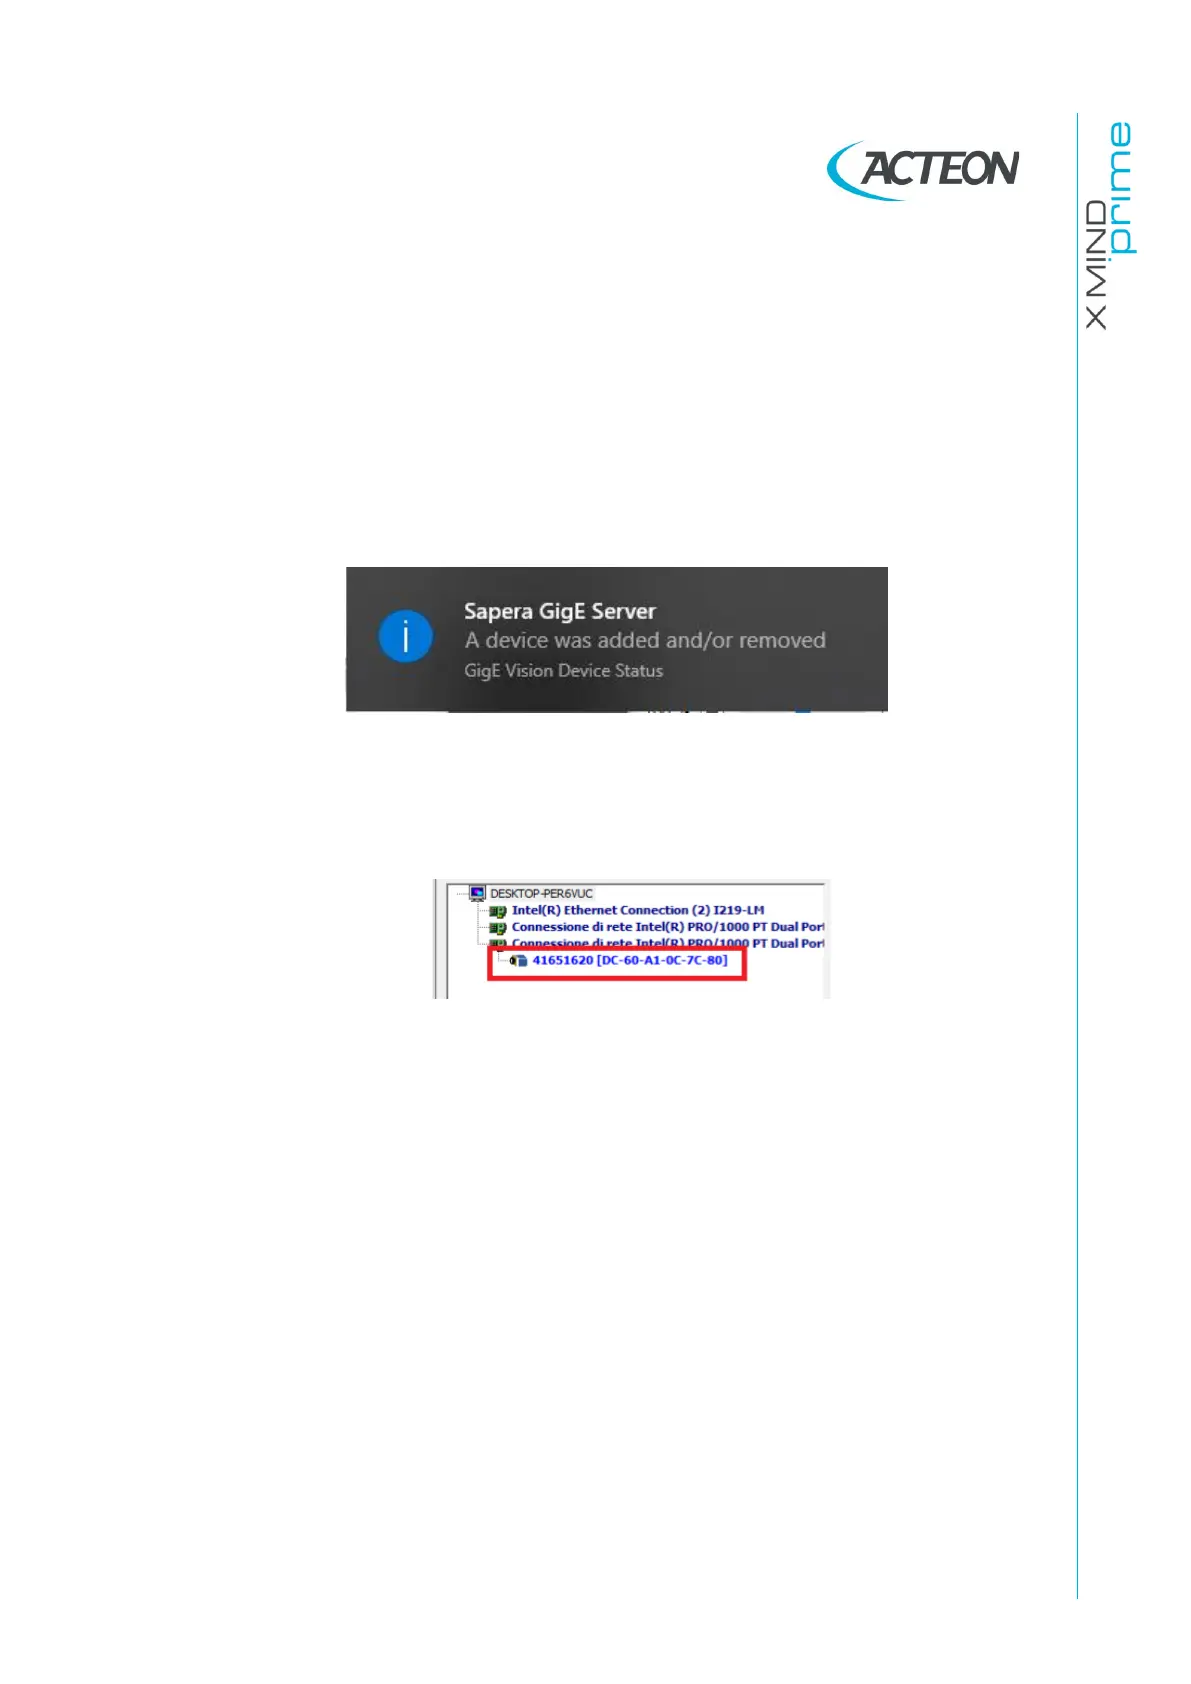
3.
Wait until connection with the sensor presence is recognized by the PC, i.e.
when this message is displayed by windows:
4.
Start the program “CorNetConfigApp.exe” present on desktop (C:\Program
Files (x86)\Teledyne DALSA\Network Interface\Bin).
5.
In the left side select the item with the S/N of the sensor (check that it is
matching with the S/N present on your sensor).
6.
In the right side of the menu select the window “Device IP Configuration”. Select
“Persistent IP Mode”.
7.
In the field “IP Address” set the static IP to apply to the sensor (the default is
192.168.0.99).
8.
In the field “Subnet Mask” set the value. (the default is 255.255.255.0).
9.
Click on Apply