Record page
157
■ Recording a new sample
Here’s how to record an input signal as a new sample, and assign it to a program.
1. Move the cursor to the Input source field, and select the source that you want
to record.
You can choose from the following sources.
• ANALOG IN .............. The input signal from the rear panel REC IN [PHONO] jacks
or REC IN [LINE/MIC] jacks.
• DIGITAL IN ............... The input signal from the rear panel [DIGITAL IN] jack (only
if the ID-4D option is installed).
• MAIN OUT ................ The same signal as is output from the rear panel [MAIN
OUT] jacks.
• ADAT 1/2–7/8............. The input signal from the ADAT interface (only if the ADAT
option is installed).
2. Move the cursor to the Mode field, and select either stereo or monaural as the
recording method.
3. Move the cursor to Bit depth, and select the bit depth (16-bit or 24-bit) for
recording.
4. Move the cursor to the Record start field, and specify how recording will start.
Select THRESHOLD if you want recording to start automatically when a signal is input,
or MANUAL if you want recording to begin the instant you press a key.
5. Move the cursor to the Time field and specify the recording time.
Recording will end automatically when the time specified in this field has elapsed.
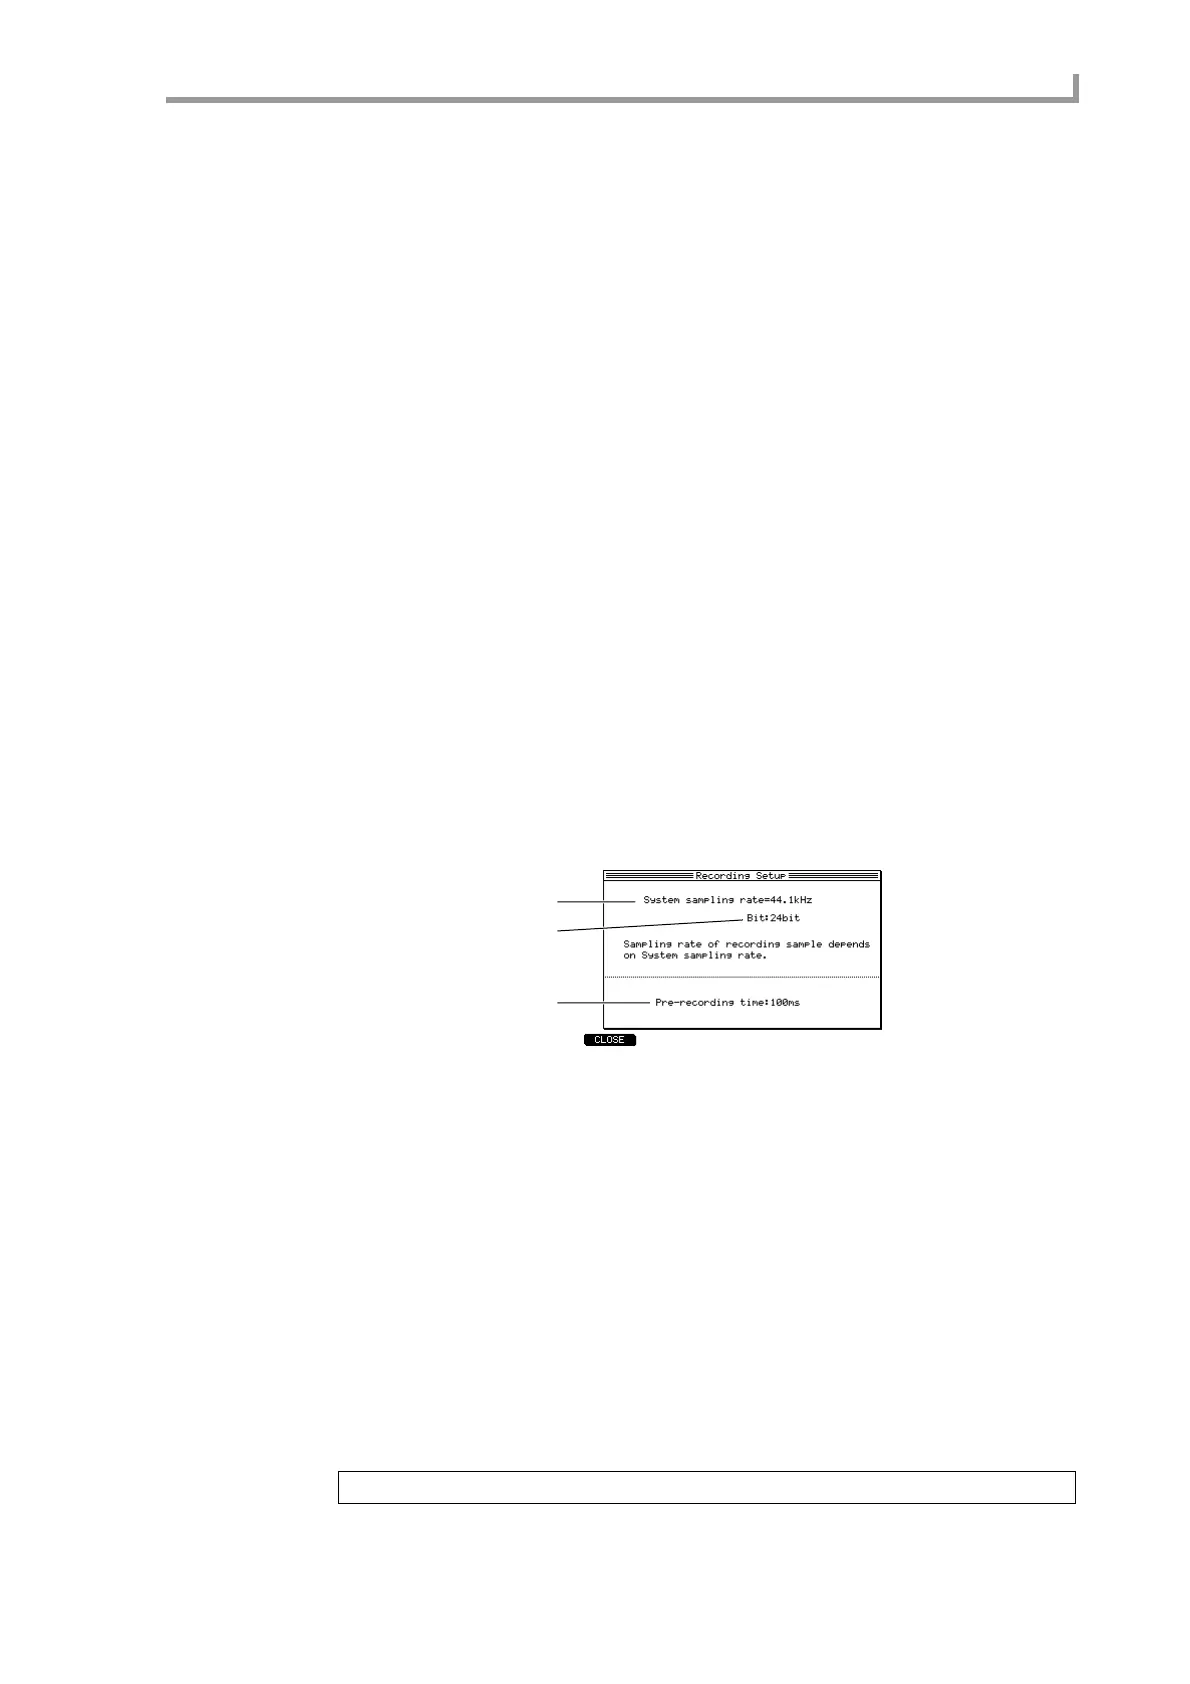
6. Press the [WINDOW] key.
The Recording Setup popup window will appear, allowing you to set various options for
recording.
A System sampling rate field
Indicates the sampling rate for the entire system (specified in GLOBAL mode). This field
is for display only, and cannot be edited.
B Bit depth field
Selects the bit depth (16-bit or 24-bit) for recording.
C Pre-recording time field
Specifies how much of the preceding signal will be included in the recording when
recording begins. You can set this in a range of 0–999 ms.
7. Specify the Pre-recording time as necessary, and press the [WINDOW] key or
the [F1] key (CLOSE) to return to the previous screen.
8. While you watch the level meters, play the audio source that you want to
record and use the [REC GAIN] knob to adjust the recording level. (If you
selected MAIN OUT as the input source, either play back a sequence/song or
strike the pads.)
Note: The [REC GAIN] knob has no effect if an input source other than ANALOG IN is selected.
1
3
2
 Loading...


