Inspection and
Adjustment
Inspection and
Adjustment
4 - 11
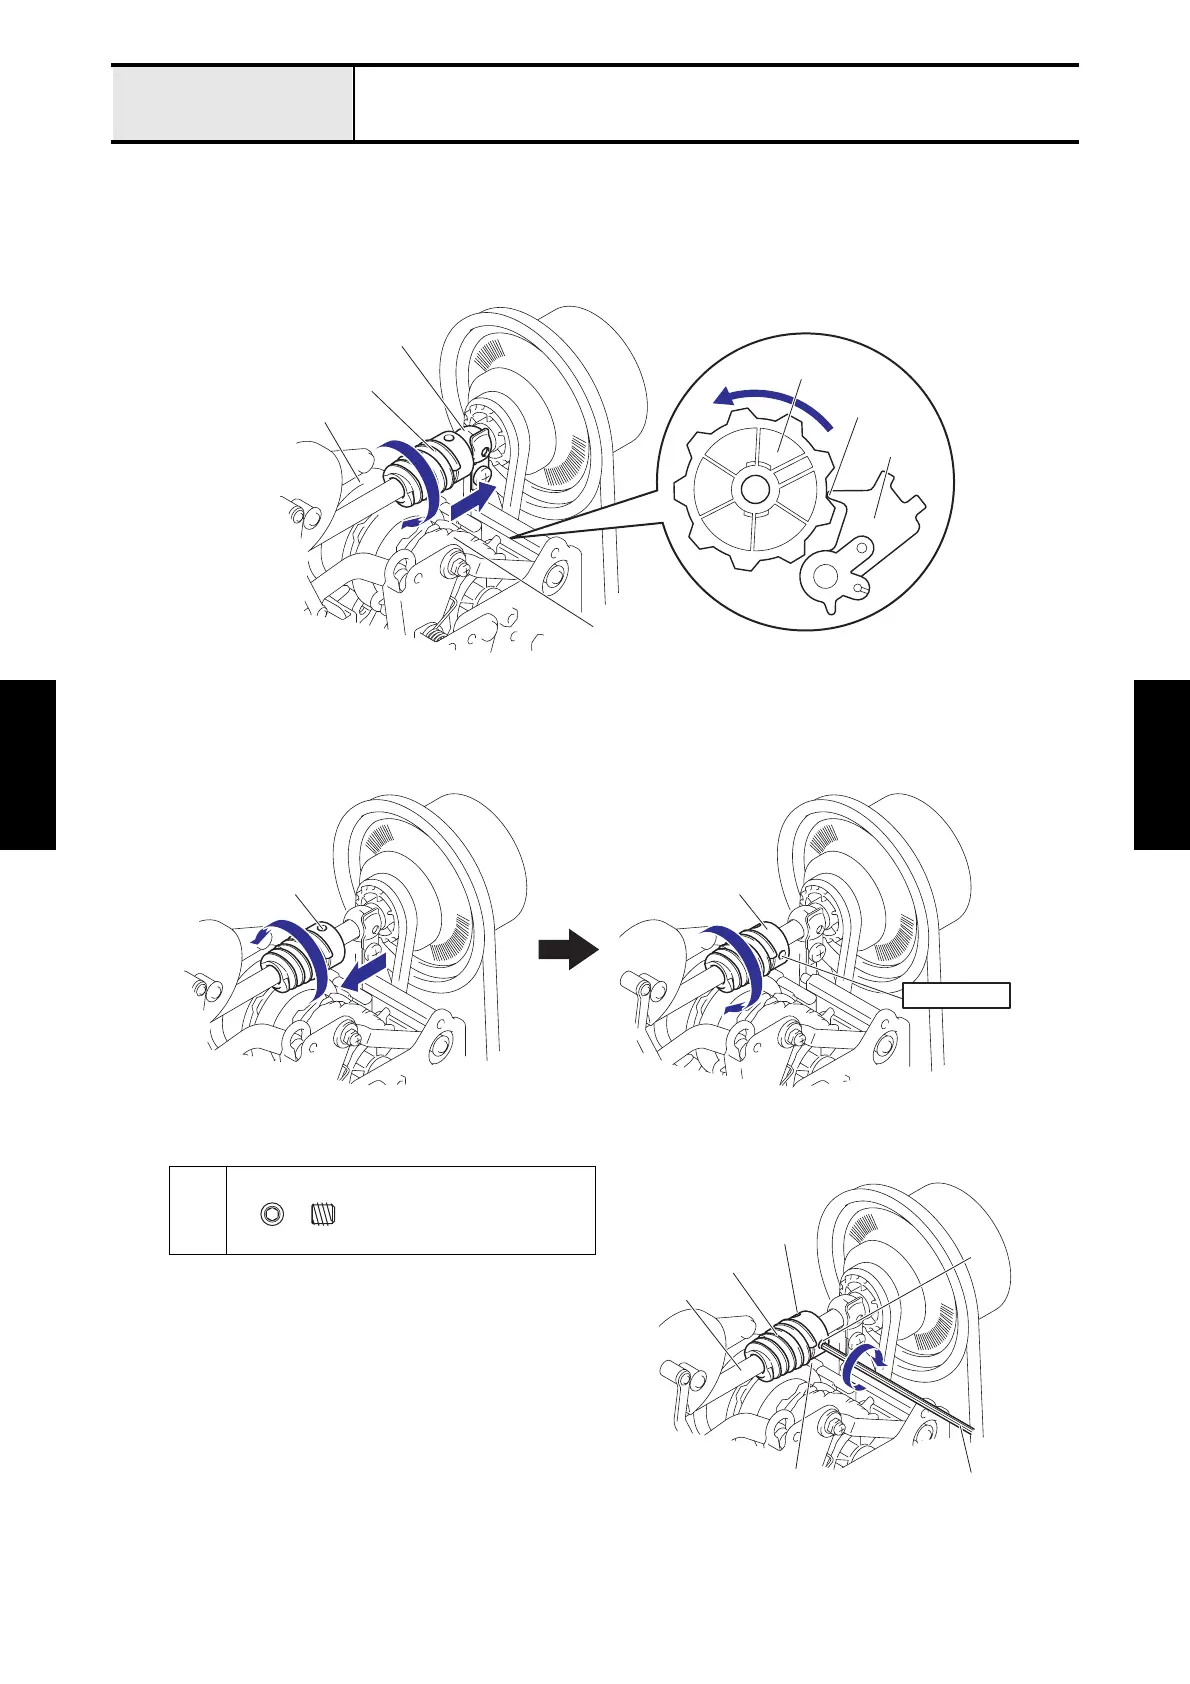
Adjustment Needle swing timing
<From previous page>
10. Move the worm gear to the right side until the right side surface of the worm gear contacts to the upper shaft
bushing by turning the worm gear by hand to the direction of the arrow 1.
11. Turn the worm gear by hand to the direction of the arrow 1 to turn the pattern cam gear until the Z finger and
the pattern cam in the state shown in Fig. A. (Starting position of oscillating from left to right)
12. Move the worm gear to the left side until feels a response by turning the worm gear by hand to the direction of
the arrow 2.
13. Move the screw hole of the worm gear to the position in which facing directly frontward by turning the worm
gear by hand to the direction of the arrow 3 (10 to 60 degrees).
14. Tighten the screw 1 of the worm gear to secure the worm gear to the upper shaft.
15. Turn the pulley by hand and tighten the screws 2, 3 of the worm gear, and then retighten the screw 1.
<To next page>
1
2
3
Upper shaft bushing
Worm gear
Pattern cam
Fig. A
Pattern cam gear
1
Pattern cam
Z finger
Contact
Worm gear Worm gear
Screw hole
2
3
Set Screw, Socket (FT)
M4X4
Hex wrench
2 mm
Worm gear
2
1
3
Upper shaft
 Loading...


