2 - 38
Feed control mechanism
Basic of Assembly
Basic
Basic
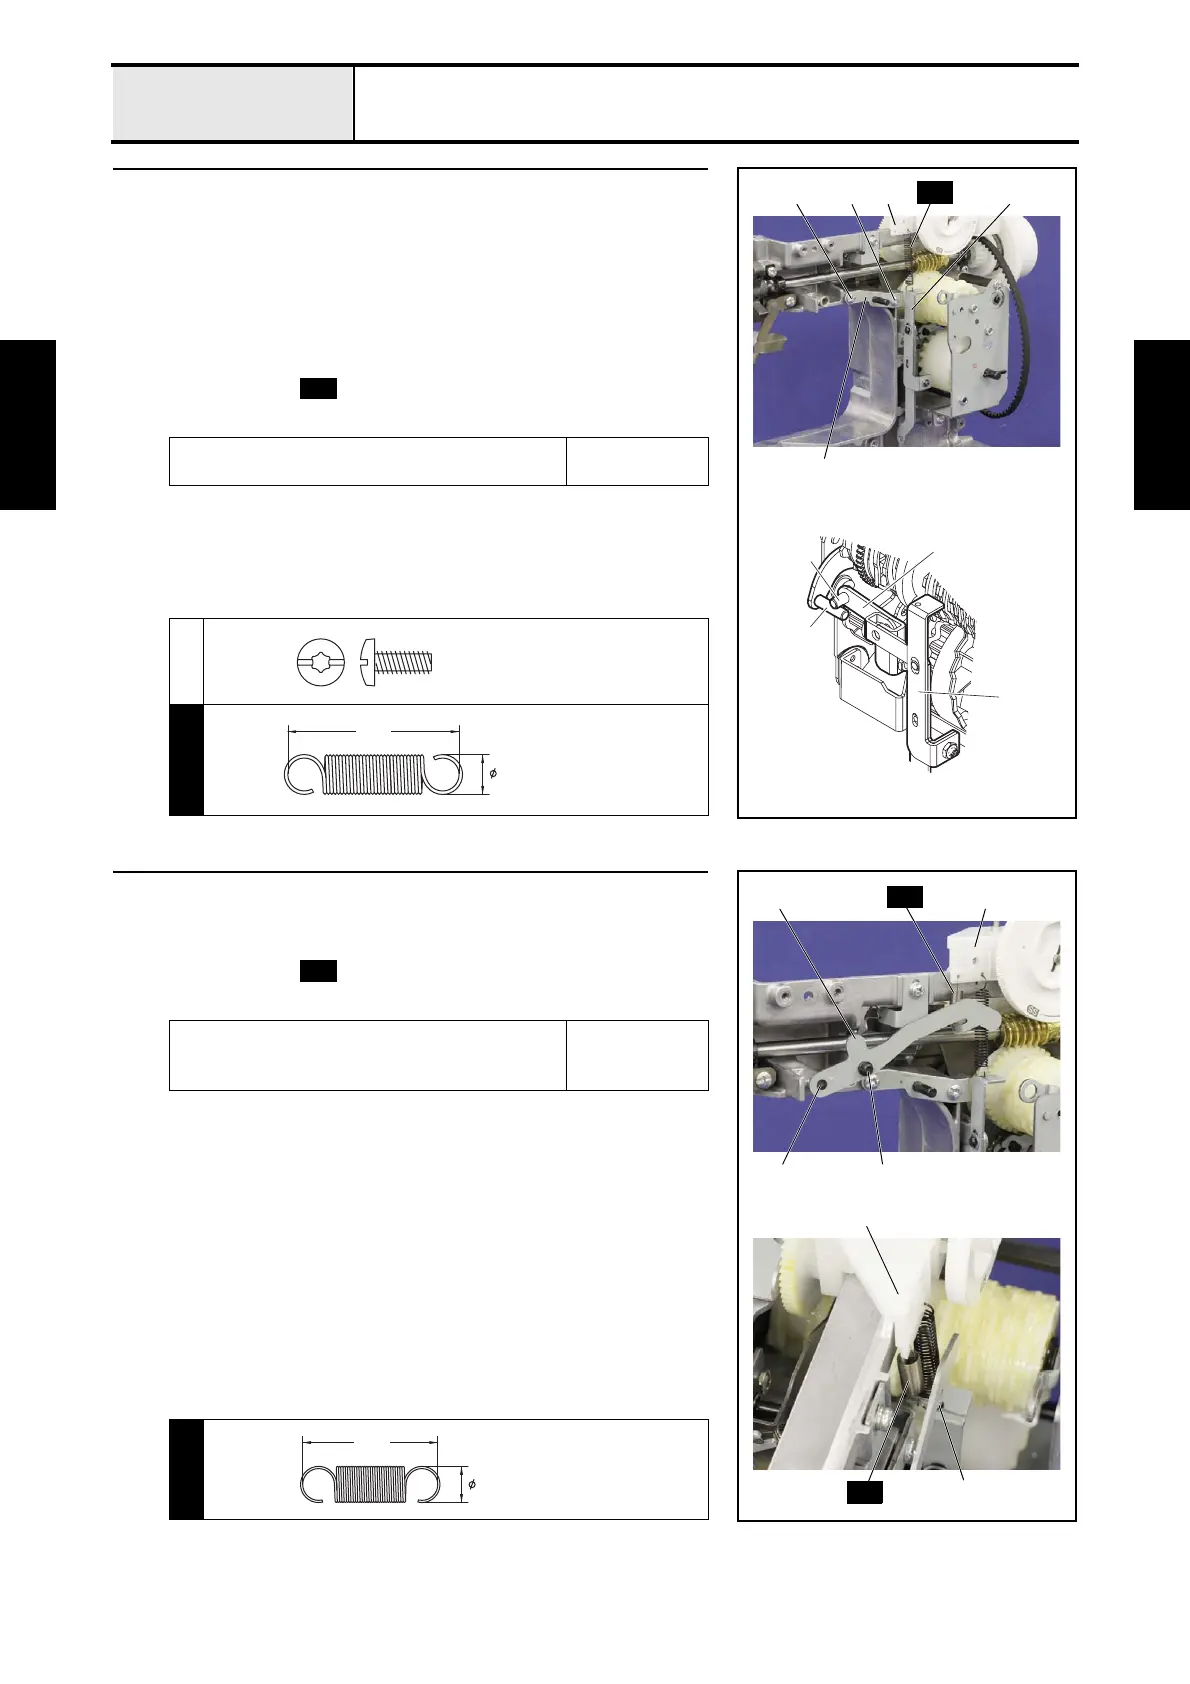
2 Attachment of Lever holder assy
1. Set the lever holder assy 1 to the arm bed, and then secure it with the
screw 1 and the screw 2.
*Key point
• Check that there is the shaft 2 of the reverse sewing lever D
assy 3 above the shaft 4 of the pattern selecting unit assy.
• Tighten the screw 1 temporarily, fully tighten the screw 2
and fully tighten the screw 1 in this order.
2. Attach the spring to the feed bracket sub assy 5 and the connecting
rod U 6.
→Refer to 3 - 55 of the Assembly.
Lubricate the EPNOC AP(N) 0 to the shaft of the
lever holder assy 1.
3mm dia. ball
1
2
S02
3
6
2
4
1
1 6
S02
5
2
S02
Taptite, Bind S
M4X10
7
30.2
SPRING EXTENSION C
XE9262***
3 Attachment of Reverse sewing lever B assy
1. Insert the shaft 1 of the reverse sewing lever B assy 2 to the positioning
hole of the arm bed.
2. Attach the spring to the reverse sewing lever B assy 2 and the feed
bracket sub assy 3.
Lubricate the EPNOC AP(N) 0 to the shaft 1 of
the arm bed side and the shaft 4 of the reverse
sewing lever B assy 2.
3mm dia. ball
S01
2 3
S01
2
3
S01
1
4
S01
6.4
23.8
SPRING
XA8111***
 Loading...


