EasyManuals Logo

Brother LX27NT User Manual

Brother LX27NT
205 pages
To Next Page IconTo Next Page
To Previous Page IconTo Previous Page
Page #61 background imageLoading...
Page #61 background image
2 - 45
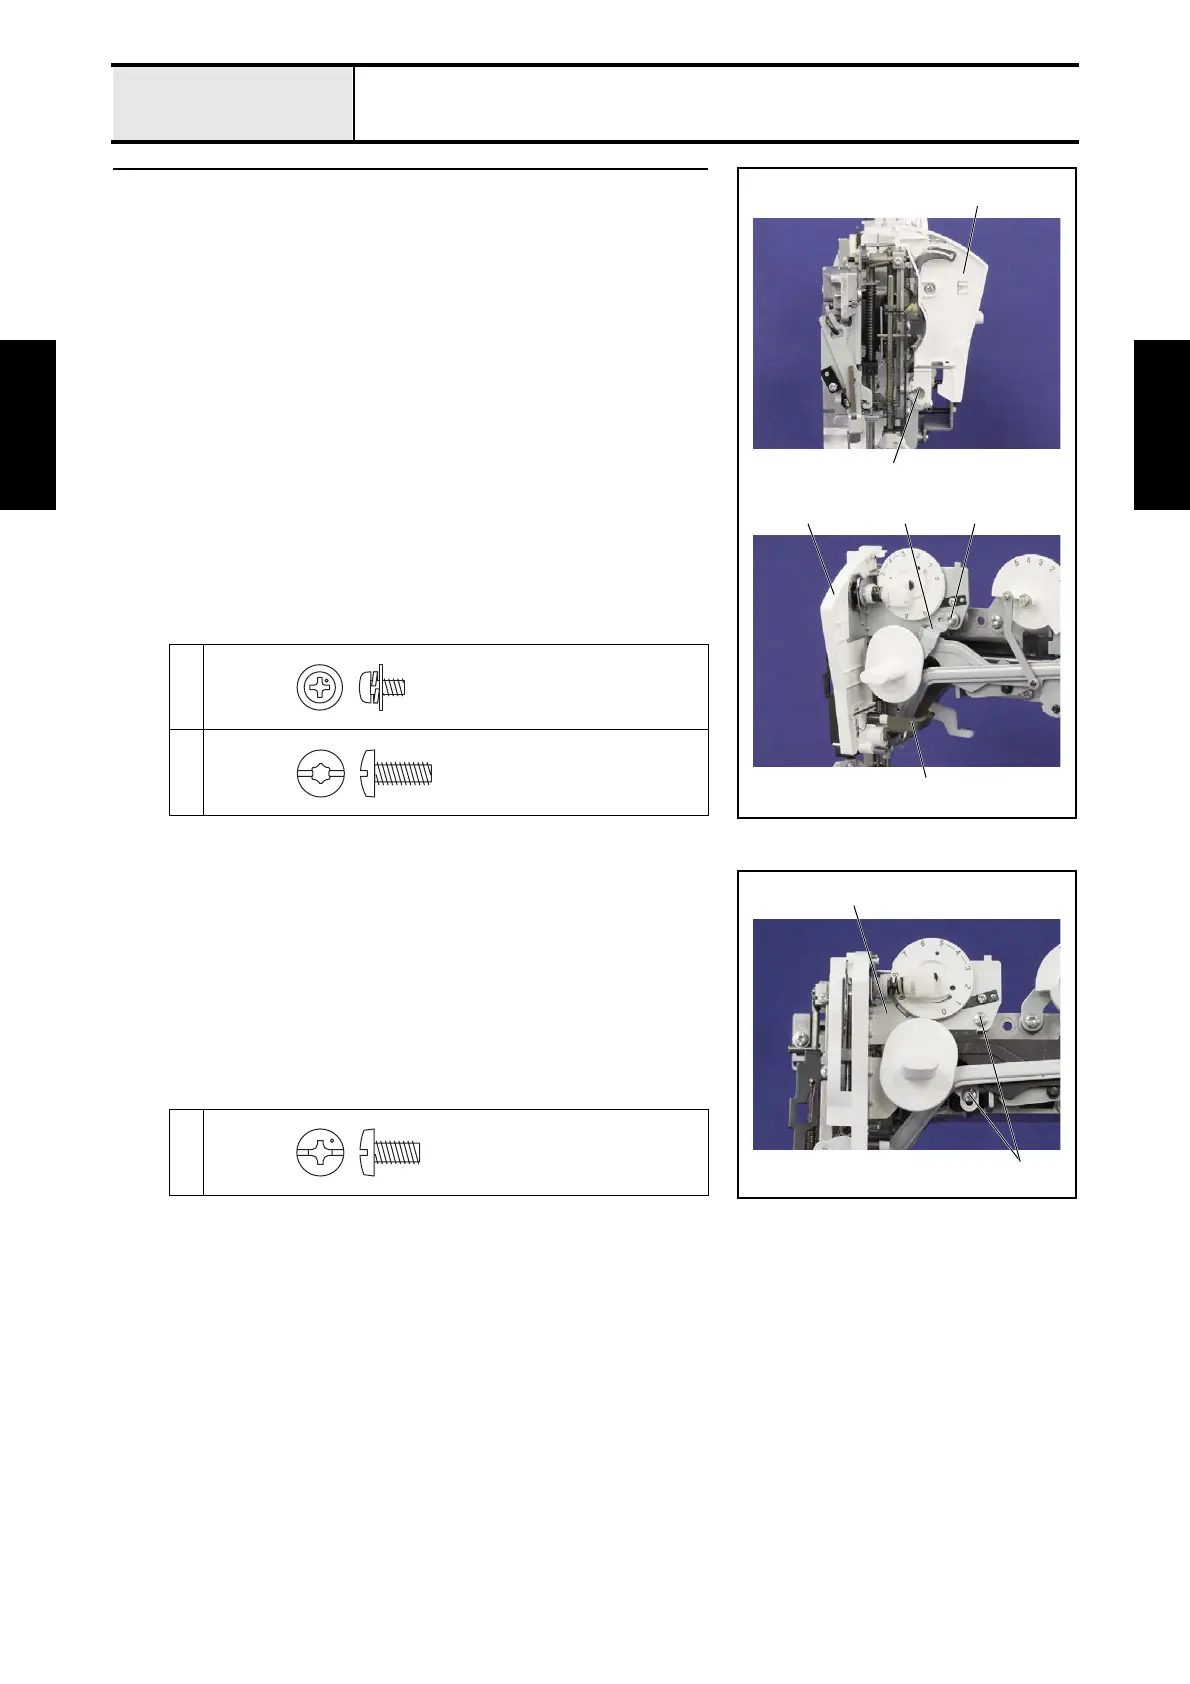
Needle threading mechanism
Basic of Assembly
Basic
Basic
1 Attachment of Thread guard assy
Type A
1. Set the thread guard assy 1 to the arm bed and the thread guard supporter
assy 2, and then tighten the screw 1.
2. Set the reverse lever supporter 3 to the thread guard assy 1, and then
secure them to the arm bed with the screw 2.
*Key point
Check that align the boss of the thread guard assy 1 with the
positioning hole of the reverse lever supporter 3.
Refer to 3 - 59 of the Assembly.
1
2
1
1
2
2
31
Screw, Pan (S/P washer)
M3X6DB
Taptite, Bind S
M4X10
Type B
1. Set the thread guard assy 1 to the arm bed, and then tighten the 2 screws
1.
Refer to 3 - 59 of the Assembly.
1
1
1
Screw, Bind
M4X8

Table of Contents

Questions and Answers:

Question and Answer IconNeed help?

Do you have a question about the Brother LX27NT and is the answer not in the manual?

Brother LX27NT Specifications

General IconGeneral
TypeManual sewing machine
Sewing speed800
Stitch width5 mm
Feed dog type5 point
Product colorWhite
Buttonhole type1 Step
Number of programs-
Number of button holes1
Sewing machine functionsSewing
Automatic needle threaderYes
Number of stitch patterns27
Power supply typeElectric

Related product manuals