2 - 42
Zigzag mechanism
Basic of Assembly
Basic
Basic
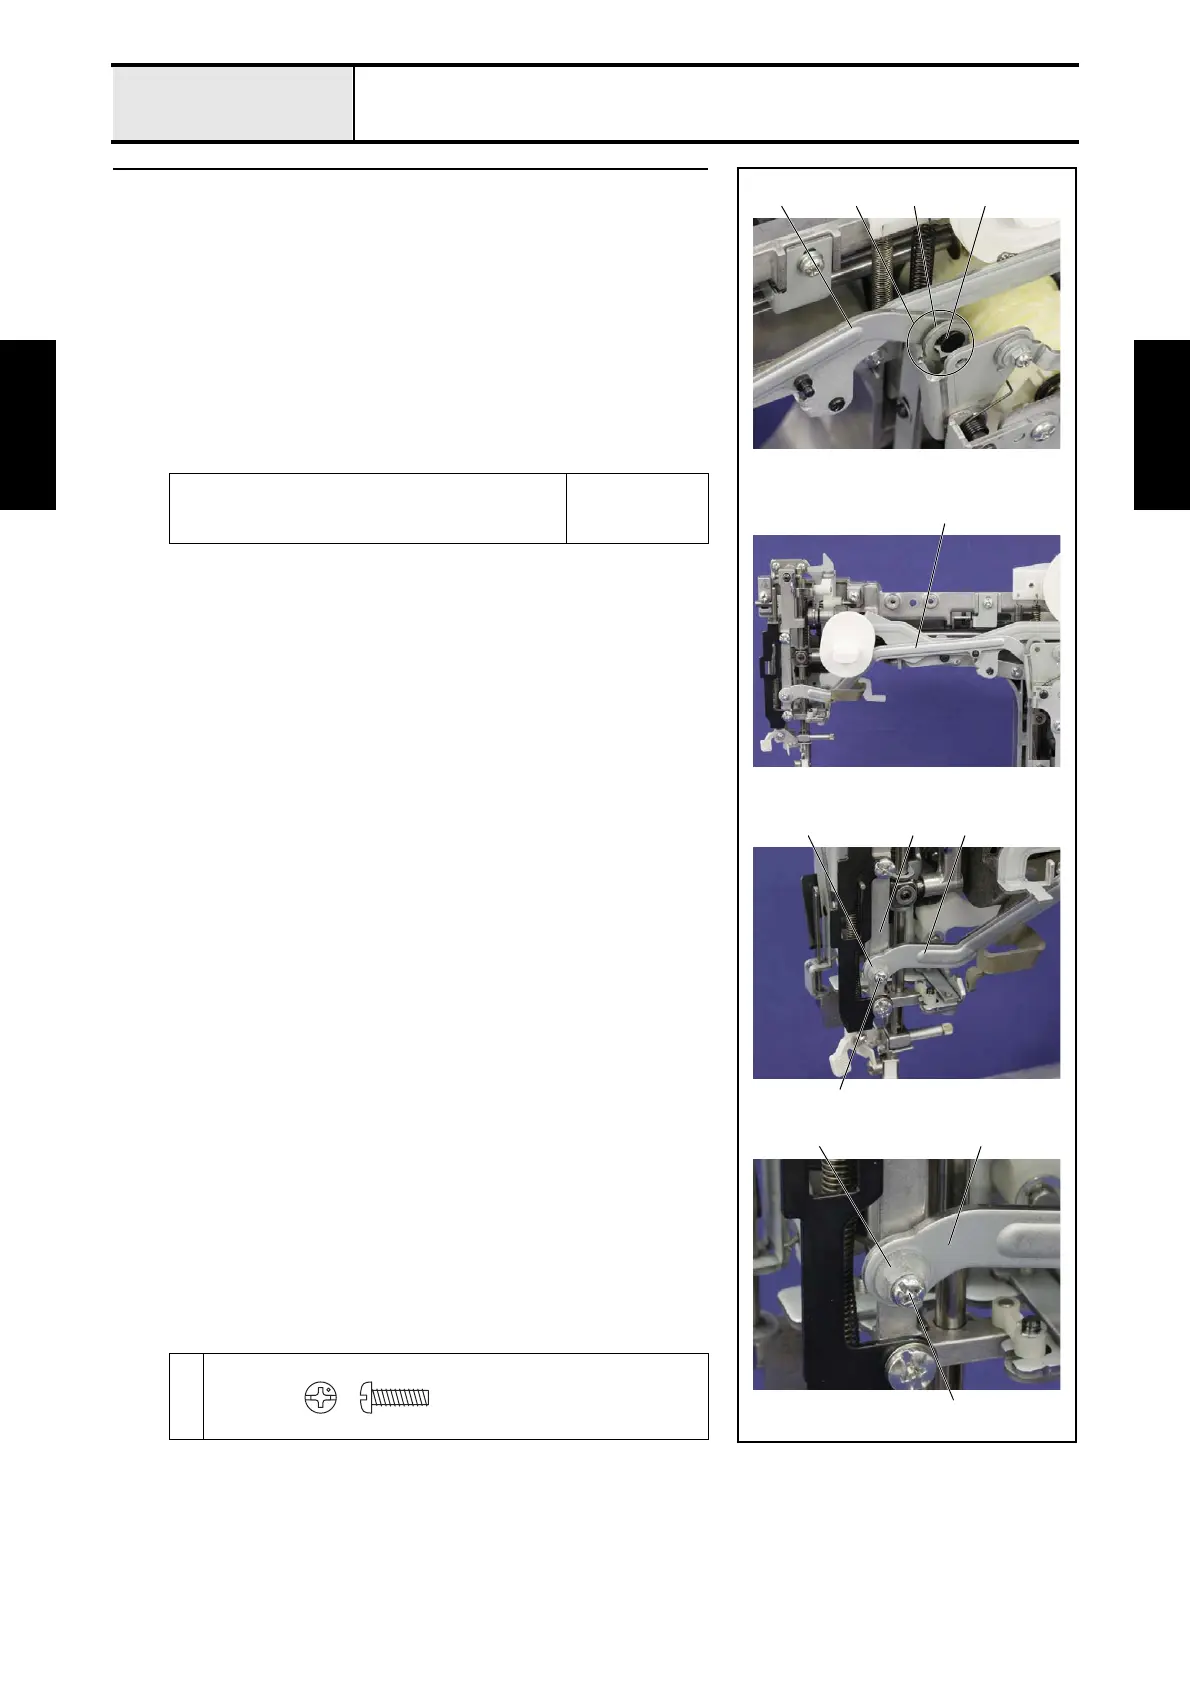
2 Attachment of Zigzag connecting rod assy
1. Insert the shaft 1 of the zigzag connecting rod assy 2 into the positioning
hole of the back side 3 of the zigzag link holder assy 4 as shown in the
right figure.
2. Set the zigzag adjusting nut 5 to the zigzag connecting rod assy 2, and
set them to the needle bar supporter assy 6, and then tighten the screw 1
temporarily.
*Key point
• Check that place the zigzag adjusting nut 5 with the larger
end facing the top side.
• Fully tighten the screw 1 after performing "4-13 Adjustment:
Three point needle drop".
Lubricate the EPNOC AP(N) 0 to the groove (2
places) of the shaft 1 of the zigzag connecting
rod assy 2.
5mm dia. ball
1
1432
2
25
1
6
25
1
Screw, Pan
M3X10
 Loading...


