3 - 16
Feed unit
Application of Disassembly
Application
Application
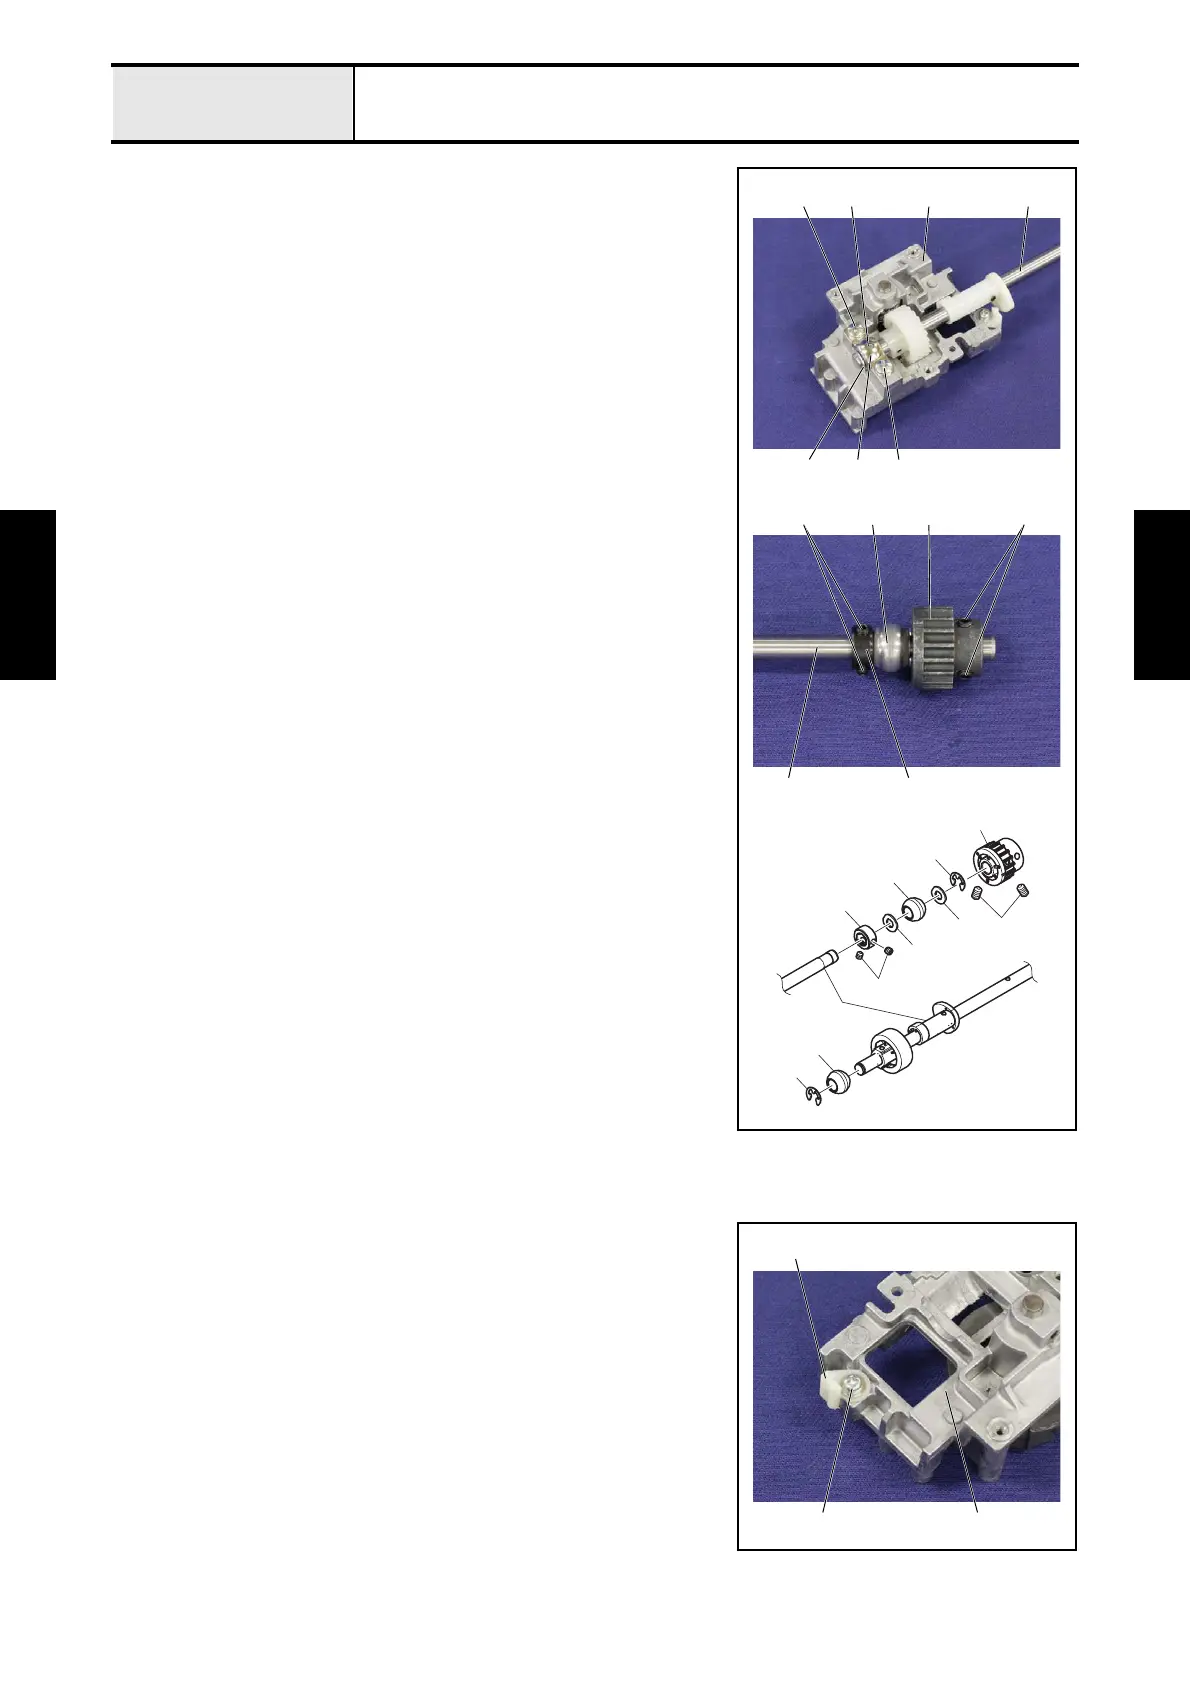
2-13 Removal/Disassembly of Lower shaft assy
1. Remove the 2 screws 1, and then remove the bushing presser 1 and the
lower shaft assy 2 from the feed holder 3.
2. Remove the retaining ring E6 4, and then remove the lower shaft bushing
5 from the lower shaft assy 2.
3. Remove the 2 screws 2, and then remove the timing pulley D 6 from the
lower shaft assy 2.
4. Remove the retaining ring E6 7, and then remove the washer thrust 8,
the lower shaft bushing 9 and the washer thrust 0 from the lower shaft
assy 2.
5. Remove the 2 screws 3, and then remove the set screw collar A from the
lower shaft assy 2.
2
5
3
2
7
6
9
A
8
0
4
1
1 2
14
35
3
A
29 6
2
2-14 Removal of Feed arm supporter
1. Remove the screw 1, and then remove the feed arm supporter 1 from the
feed holder 2.
1
1
2
 Loading...


