4
Check that the size and type of paper displayed on the screen is loaded in the
machine, and select <OK>.
5
Conrm the procedure, and select <Start>.
➠ An adjustment image is printed.
6
Open the feeder after the screen displayed during printing disappears.
7
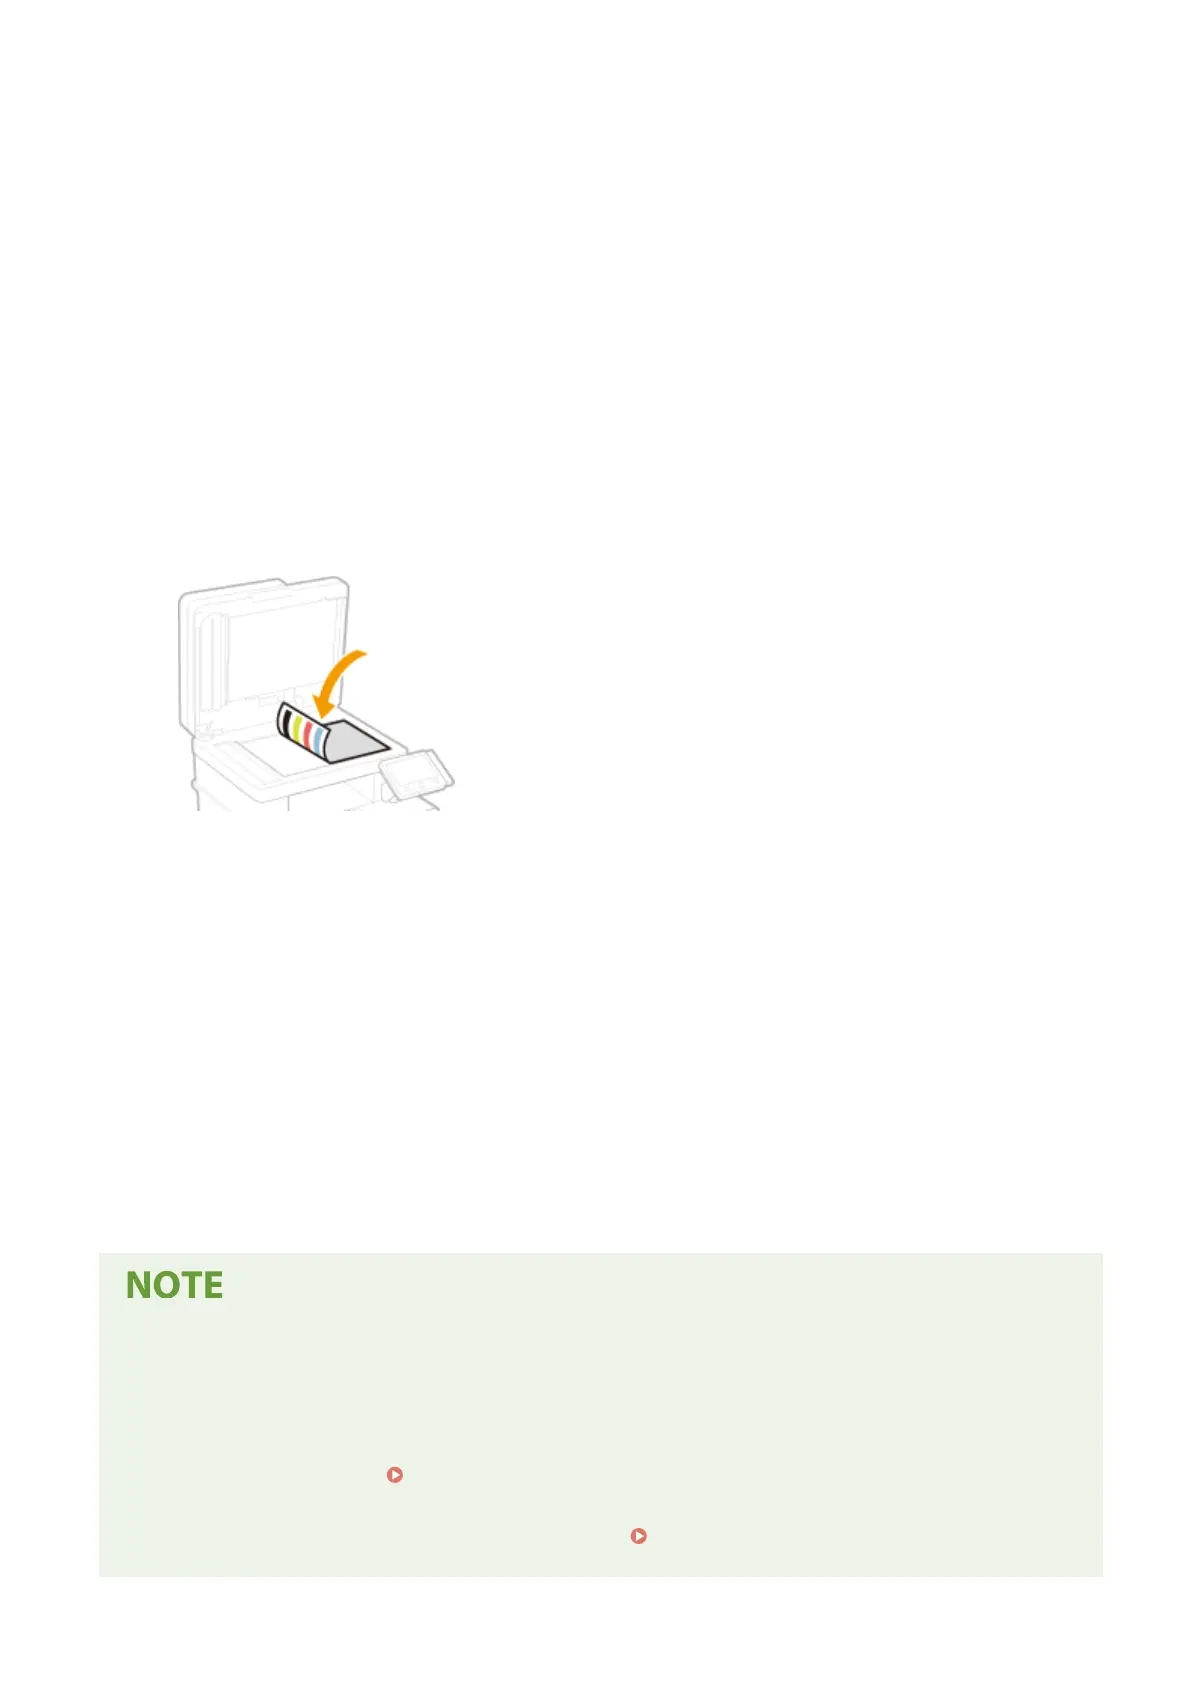
Place the adjustment image on the platen glass.
● Place the adjustment image with the print side facing down while checking that the black stripe is placed on
the back side of the machine.
8
Gently close the feeder.
9
Select <Start Scanning>.
➠
The adjustment image is scanned and adjustment starts.
10
When a message appears notifying that adjustment is complete, open the feeder,
and remove the adjustment image.
11
Gently close the feeder.
If the <Could not perform correction.> message is displayed
● Did you load the paper displayed in step 4 into the paper source?
● Did you place the adjustment image with the print side face down, with the black stripe toward the back side
of the machine?
● Has a paper jam occurred? Clearing Paper Jams(P. 668)
● Is the amount remaining in toner cartridge sucient? If the amount remaining in the toner cartridge is low,
it is recommended that you replace the toner cartridge.
Checking the Remaining Amount of
Consumables(P. 590)
Maintenance
597