1
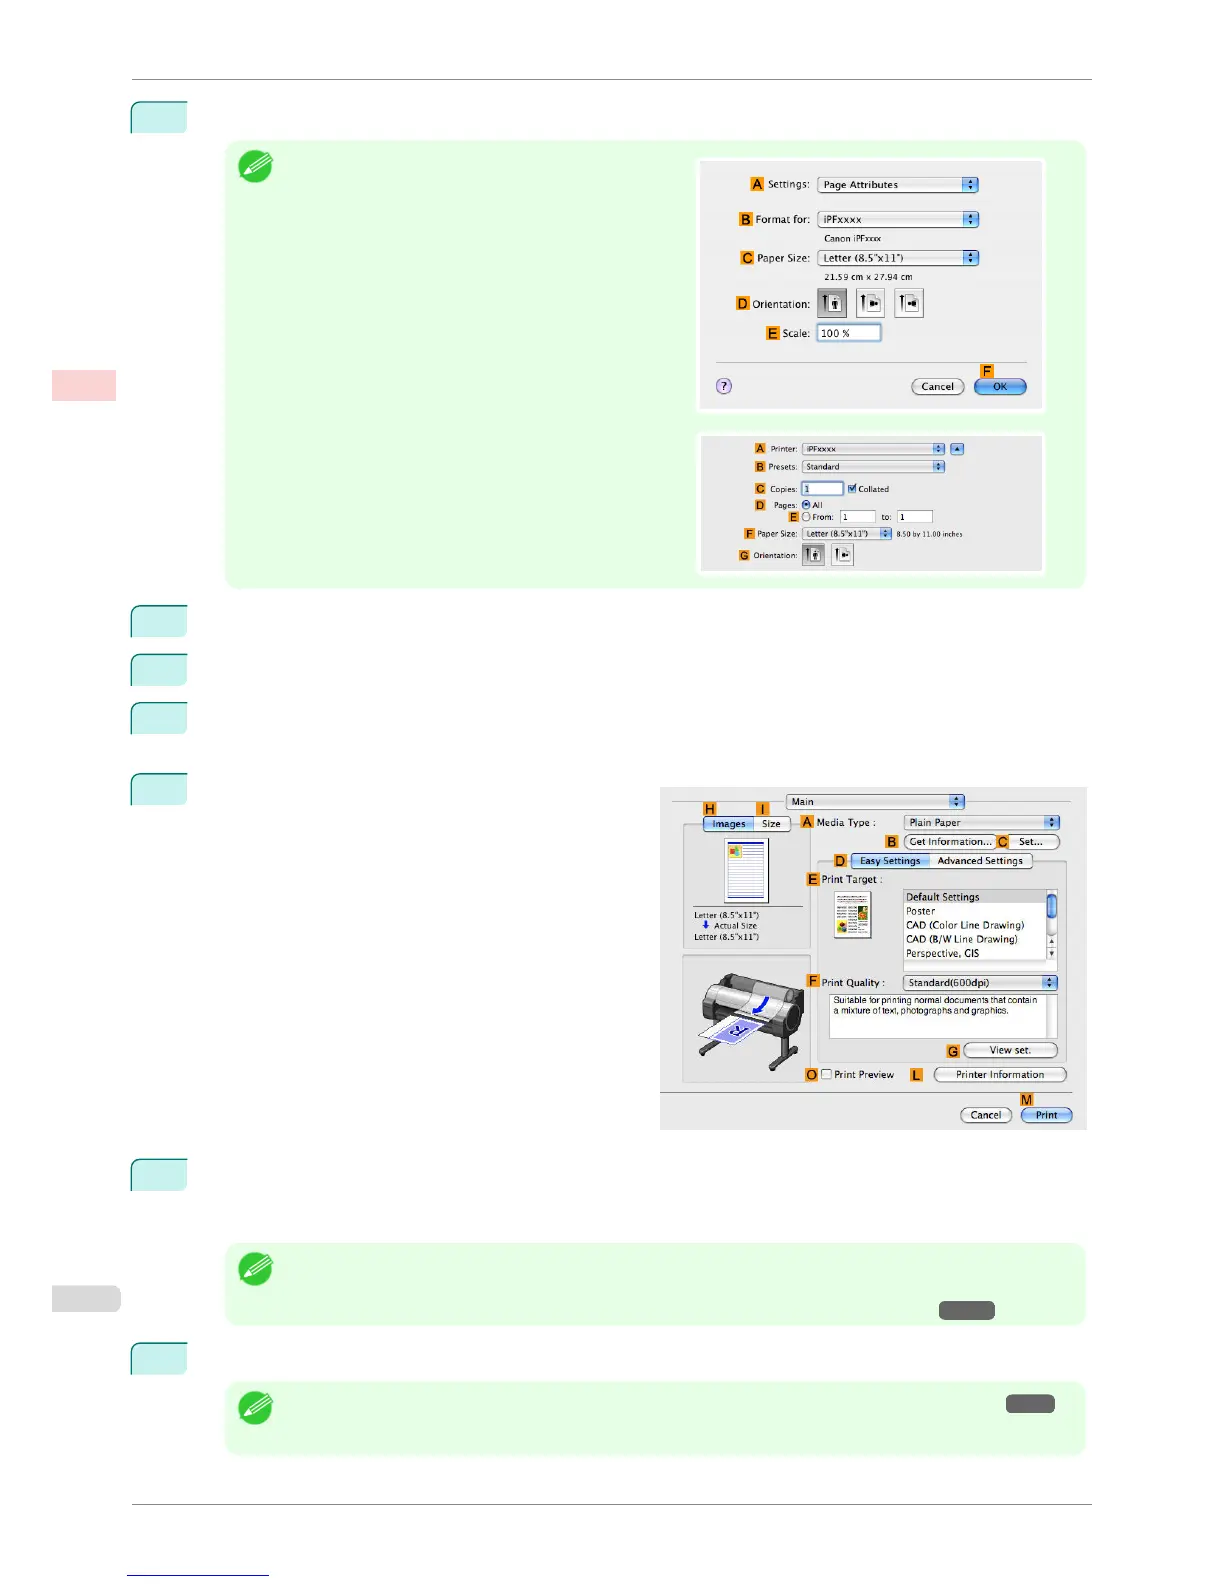
This sets the B Format for and C Paper Size.
Note
•
The configuration method varies depending on the OS
and application software you are using.
If Page Setup is displayed in the application menu, the
settings are configured by opening the Page Attributes
dialog box from Page Setup.
If it is not displayed, the settings are configured in the
upper part of the printer driver displayed when you se-
lect Print from the application software menu.
2
Select the printer in the A Printer list.
3
In the F Paper Size list, click the size of the original. In this case, click 10"x12".
4
If you configured the settings using the Page Attributes dialog box, click FOK to close the dialog box, and
then select Print from the application software menu.
5
Access the Main pane.
6
In the A Media Type list, select the type of paper that is loaded. In this case, click Premium Glossy Paper
200.
Make sure the paper you select is loaded in the printer.
Note
• The types of paper indicated in the printer driver and related software (as well as on the Control Panel) are
updated when you install the Media Configuration Tool from the User Software CD-ROM or if you change paper
information by using the Media Configuration Tool. For details, see Media Configuration Tool →P.376 .
7
After confirming that D Easy Settings is selected, click Photo (Color) in the E Print Target list.
Note
• For information on settings optimized for printing photos and images, see "Printing Photos and Images →P.31 "
• You can check the settings values selected in the E Print Target list by clicking G View set..
Printing Photos and Images (Mac OS X)
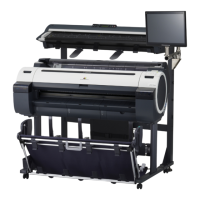
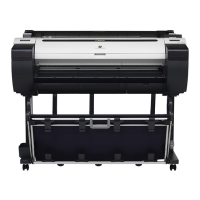
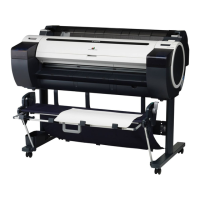
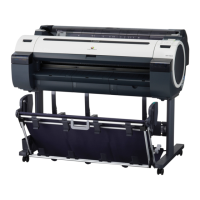
iPF760
User's Guide
Enhanced Printing Options Printing Photos and Office Documents
34