3
On the Tab Selection screen of the Control Panel, press
◀ or ▶ to
select the Settings/Adj. tab (
).
Note
• If the Tab Selection screen is not displayed, press the Menu button.
4
Press the OK button.
The Set./Adj. Menu is displayed.
5
Press ▲ or ▼ to select Maintenance, and then press the OK button.
6
Press ▲ or ▼ to select Replace P.head, and then press the OK button.
Ink is now drawn into the Maintenance Cartridge.
After about two minutes, a message is shown on the Display Screen instructing you to open the Top Cover.
Replace the Printhead
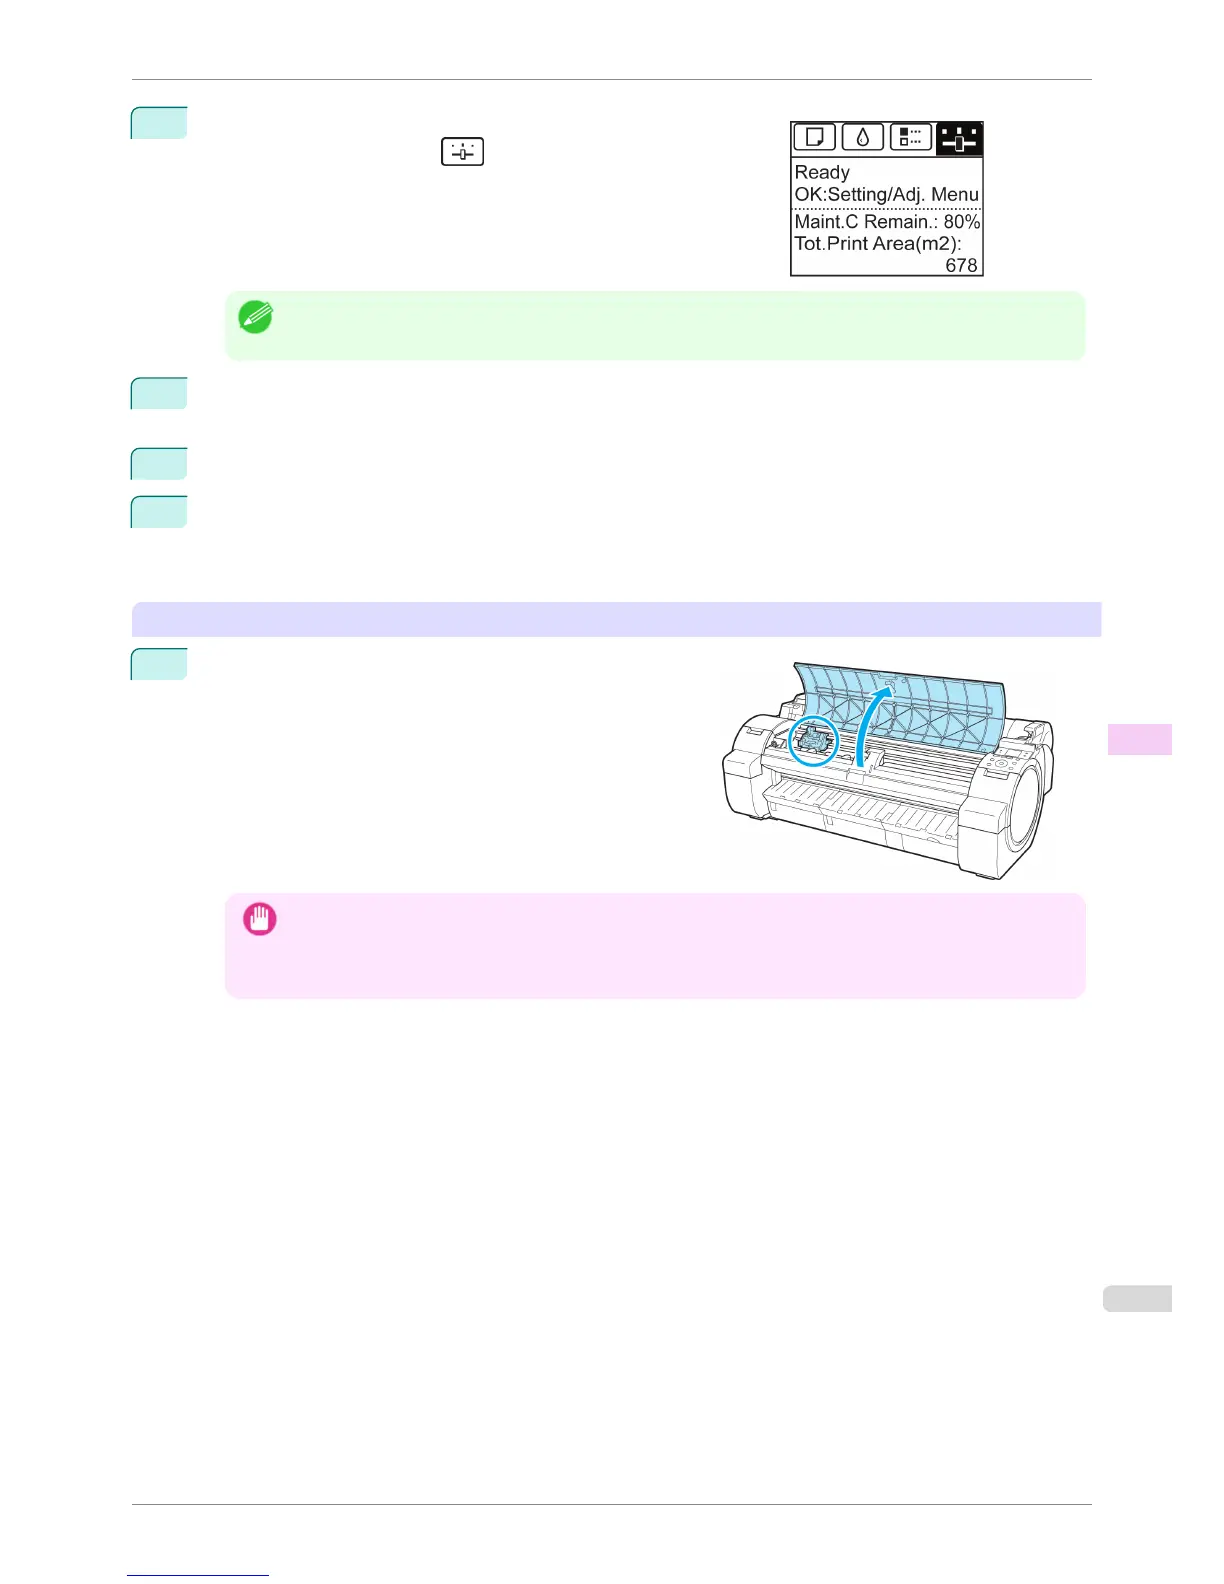
1
Open the Top Cover.
Instructions are now shown on the Display Screen regarding
Printhead replacement.
Important
• During Printhead replacement, do not move the Carriage from the position indicated. If you accidentally move
the Carriage, you will hear a warning tone, and Printhead replacement is no longer possible.
If you move the Carriage by mistake, close the Top Cover. The Carriage will be moved to the position as indi-
cated.
iPF760
Replacing the Printhead
User's Guide
Maintenance and Consumables Printheads
527