REAR BRAKE SHOE SPECIFICATIONS
Standard Brake Shoe Thickness 5 mm
Minimum Brake Shoe Thickness 1 mm
Brake Pedal
Removal & Installation
1. Disconnect the negative battery cable.
2. Remove the instrument panel (See Instrument Panel Removal & Installation in Section 15 Body & Accessories).
3. Disconnect the stop lamp switch electrical connector.
4. Remove the stop lamp switch.
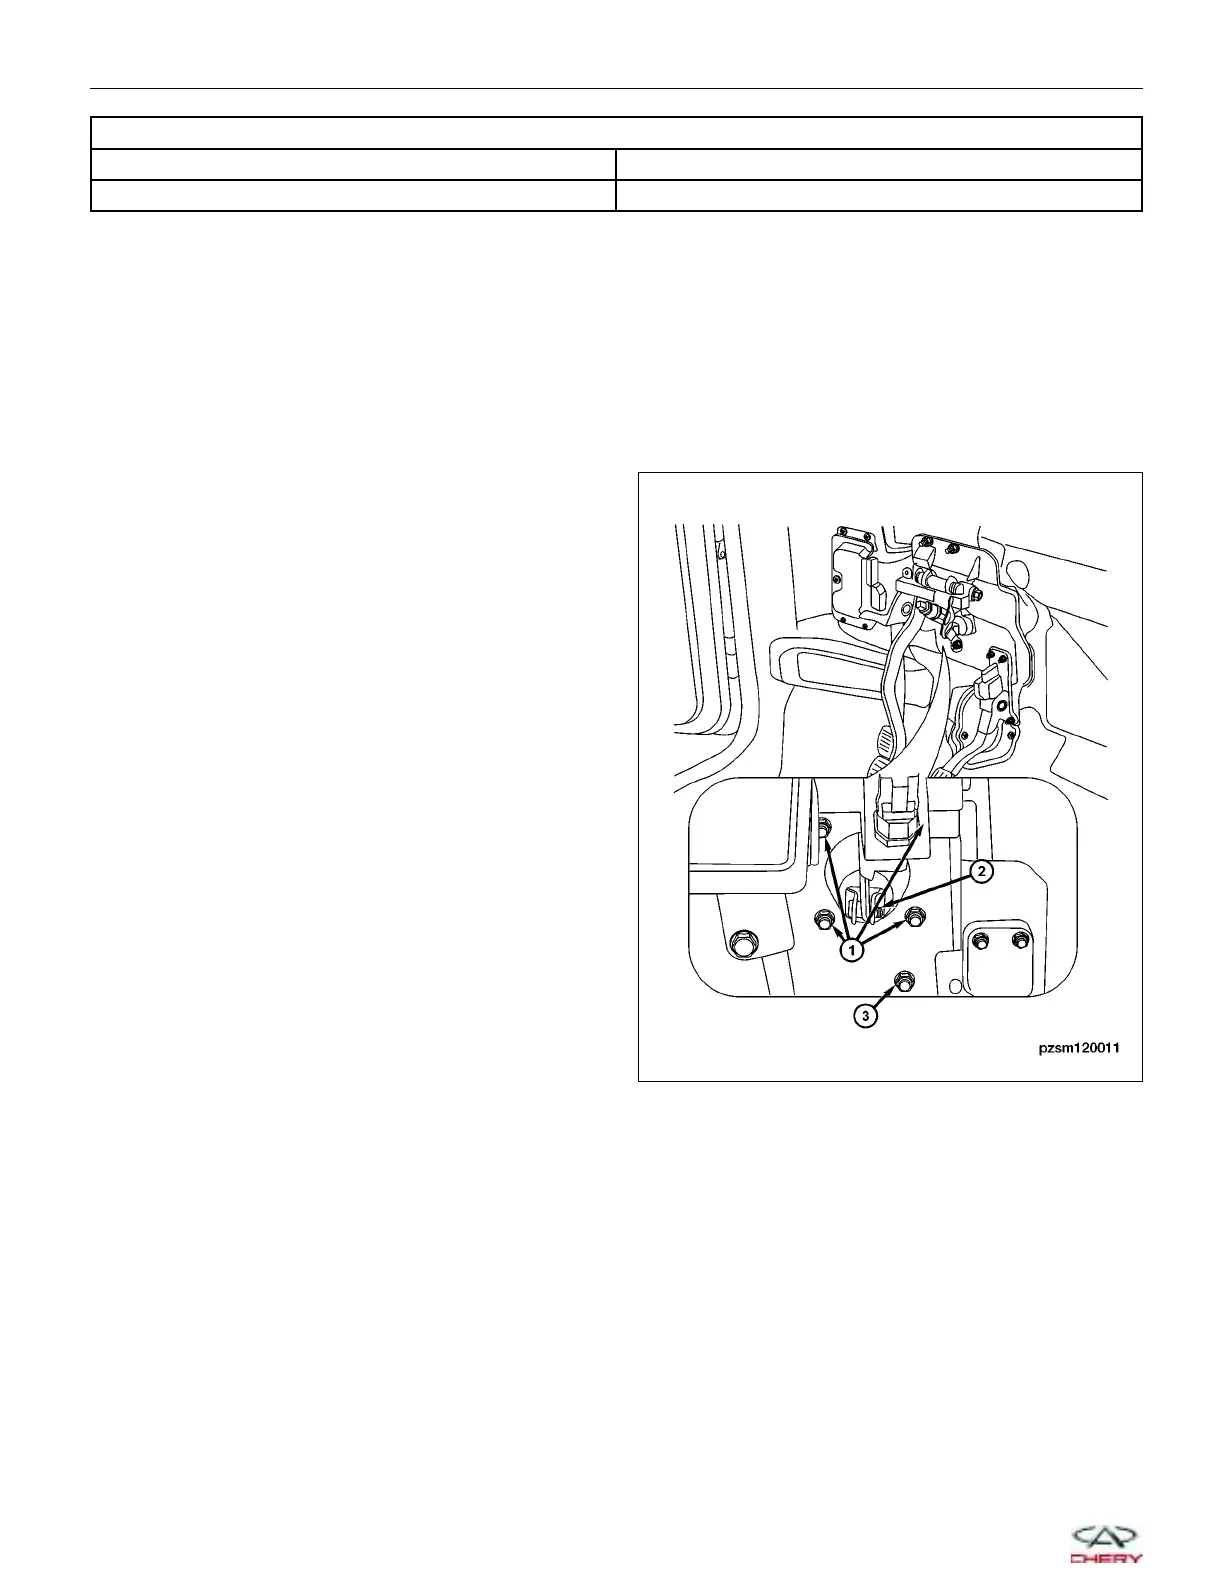
5. Remove the pin (2) from the brake booster rod.
6. Remove the nuts (1) attaching the brake pedal and
power brake booster to the dash panel.
(Tighten: Brake pedal/Power brake booster mount-
ing nuts to 25 N·m)
7. Remove the remaining nut attaching the brake
pedal (3) to the dash panel.
(Tighten: Brake pedal/Power brake booster mount-
ing nut to 25 N·m)
8. Remove the brake pedal.
9. Installation is in the reverse order of removal.
ON-VEHICLE SERVICE
PZSM120011
12–20
Chery Automobile Co., Ltd.
 Loading...