CHAPTER 4
41
Loading Inks and Materials
4/29/10 Rev G
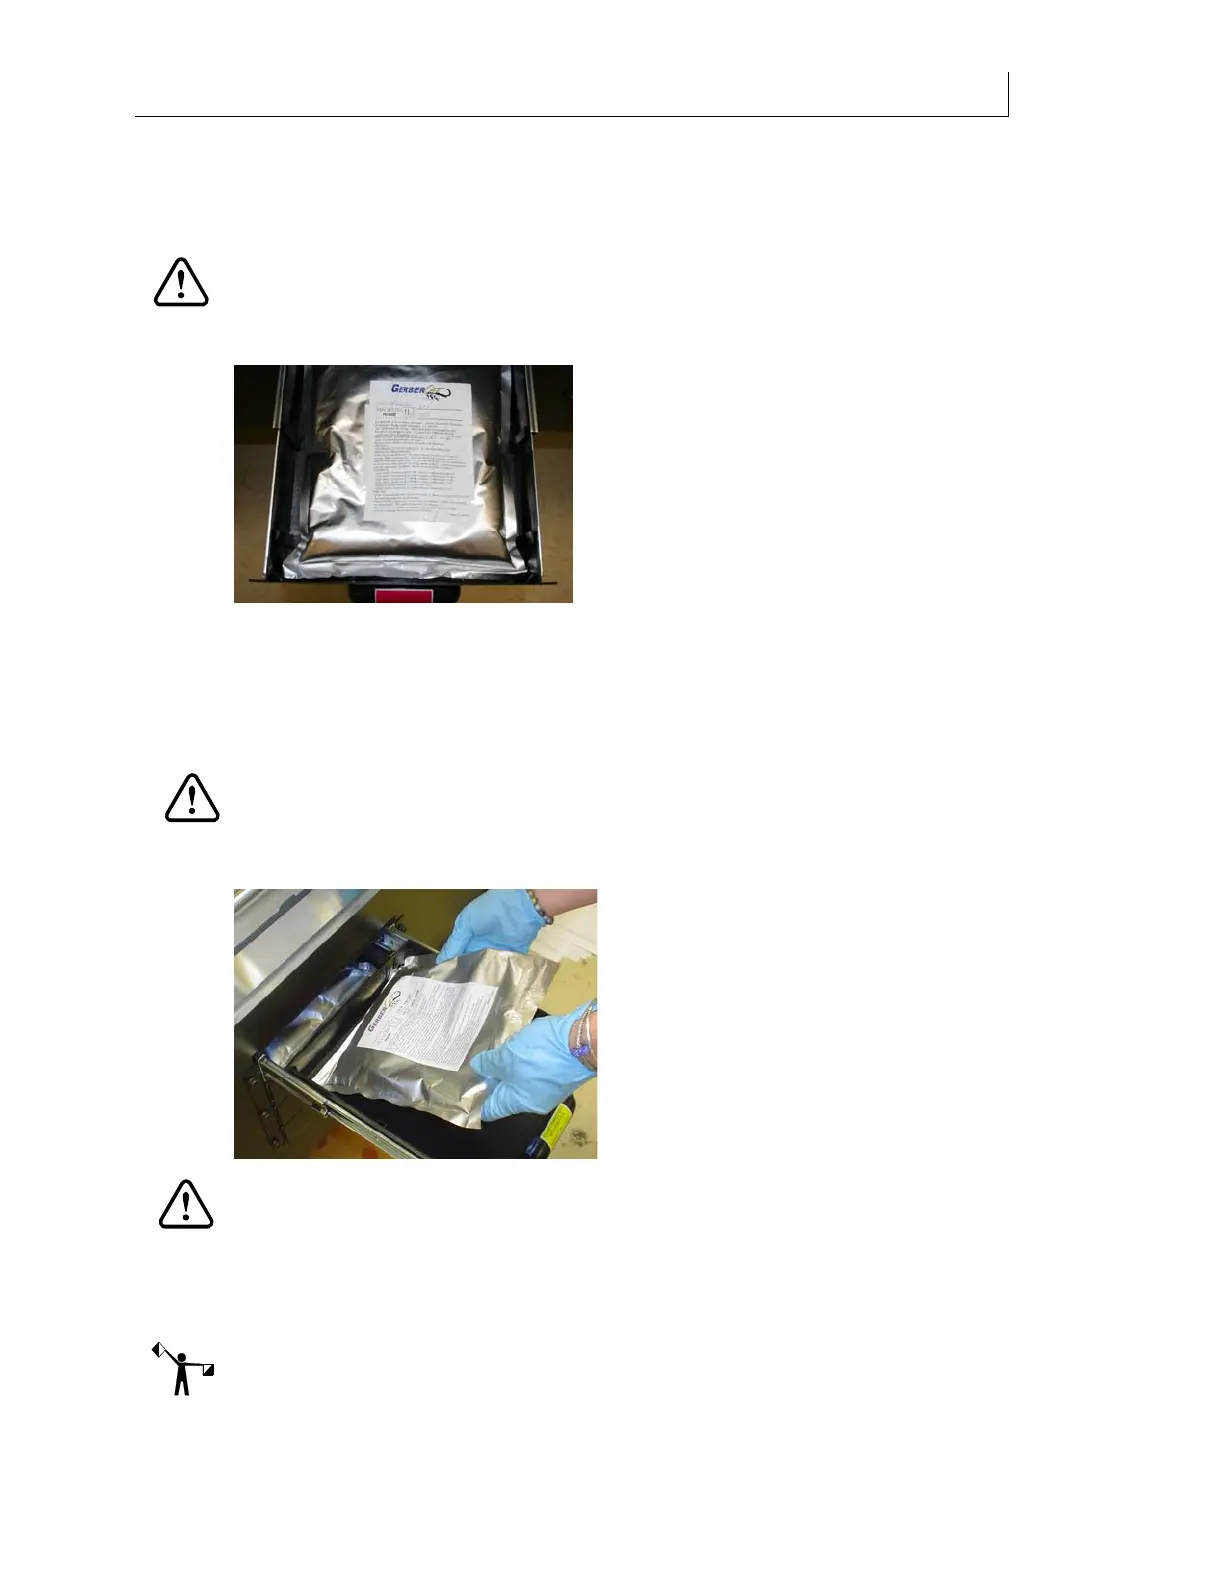
1 Open the color-coded ink pouch drawer located on the side of the Gerber Solara ion.
You should not open the ink drawer more than 10 times per pouch as excessive
opening and closing can damage the pouch and cause ink leakage in the drawer
CAUTION: Do not attempt to open the ink pouch door when the printer is actively
printing and the gantry is moving towards the drawer. If the gantry is within 4"
(10.16cm) of the drawer, the printer will stop and abort the job to avoid the gantry
contacting the open drawer when printing.
2 Unsnap the spout from the drawer clip and remove the pouch. (The pouch does not
have to be completely empty and can be reinstalled later.)
3 Wipe up any dripped or spilled ink from the bottom of the ink drawer with an all-
purpose wipe and dispose of wipe according to local laws and regulations. It is normal
to have drips of ink from the ink pouch located in the drawer above.
CAUTION: Always match the color of the ink pouch to the color-coded ink drawer.
4 Place a new ink pouch in the ink drawer and snap the spout onto the receptacle
drawer clip.
CAUTION: Dispose of empty pouches and used wipes according to local laws and
regulations. Consult the MSDS and local codes for proper disposal.
5 Close the ink drawer and the control panel screen prompts the user to estimate the
amount of ink in the pouch which was just inserted. The choices are No Change, 100%
Full, 75% Full, 50% Full, 25% Full, and Low. The default selection is No Change.
Note: The screen to choose the amount of ink in the pouch will only display when the printer is
in the Printer Ready mode. It will not display while actively printing.