CHAPTER 6
94
Routine Printer Maintenance
4/29/10 Rev G
1 When the printer is idle, remove the head access
and set it aside on an all-purpose wipe.
Note: Removing the head access door when a job is
printing will cancel the job.
2 The printer displays
Check Shelf, Access Door, and E-
stops. Press ENTER when done.
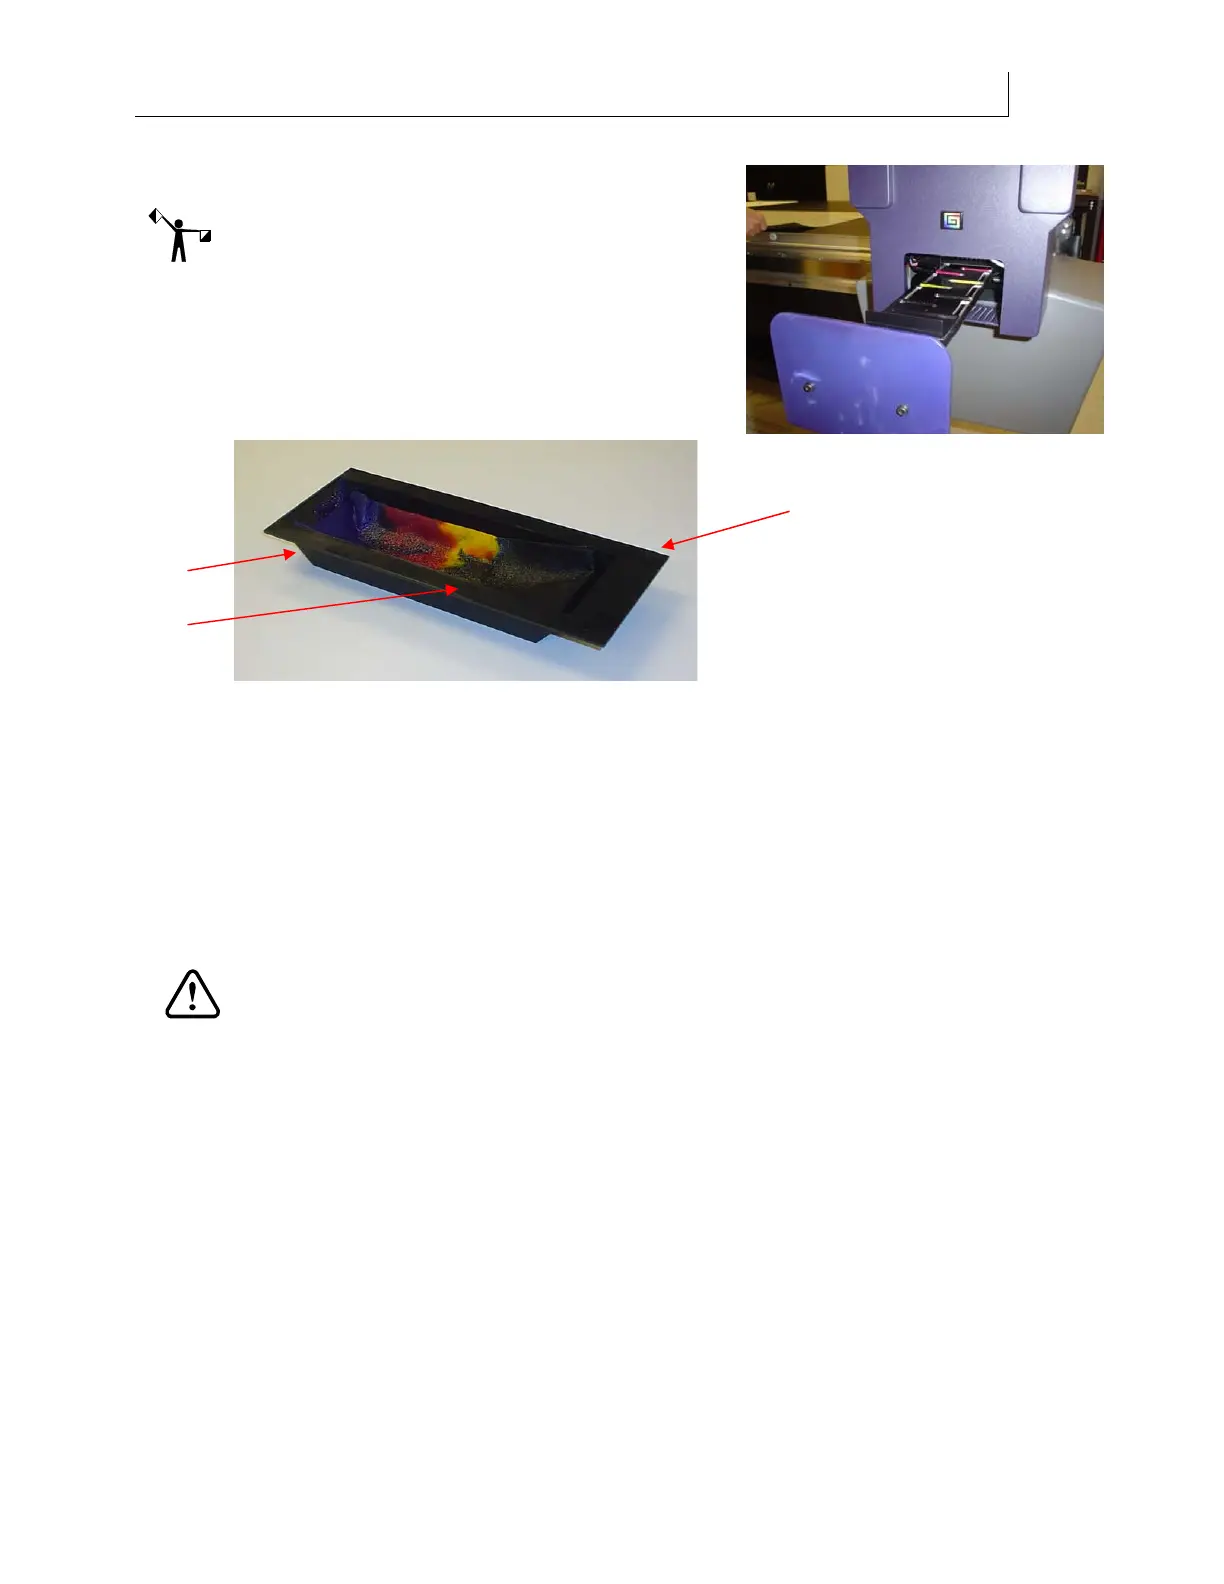
3 Remove the waste ink tray by sliding it out.
Removing the waste ink tray temporarily
suspends printhead spitting.
4 Empty the tray of any liquid ink into an appropriate disposal container.
5 Remove the saturated wipes and dispose of them according to state and local
regulations.
6 Wipe out the tray with a clean all-purpose wipe. If cured ink is present, a putty knife
and/or razor blade can be used to carefully scrape it loose and then it can be discarded
with the all-purpose wipes according to local, state, and federal regulations.
7 Thoroughly clean the exterior of the waste tray, paying special attention to the
topmost and rearmost surfaces of the tray, ensuring NO liquid ink is present.
CAUTION: Ensure NO liquids are present on the rearmost surface/fin. Liquid ink
on the rearmost surface WILL destroy waste tray sensor.
8 Dispose of ink-soaked wipes according to state and local laws and regulations.
9 Carefully fold and install two new, all-purpose wipes in the bottom of the waste ink
tray.
10 Reinstall the waste ink tray.
11 Reinstall the head access door.
12 Press ENTER. The gantry homes itself and the
Printer Ready screen displays.
Waste ink tray
Topmost surface
Rearmost surface