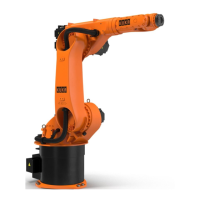
2. Unscrew 4 M3x6-10.9 (Torx) round head screws from the A4/A5 cover.
3. Carefully pull the cable through the flexible tube.
4. Unplug the connector from the robot.
Fig. 14-21: Removing the cover
1 Flexible tube
2 Cover A4/A5
3 Connector
5. Pull new cable through the flexible tube.
6. Plug connector into the robot.
7. Fasten the A4/A5 cover using 4 M3x6-10.9 (Torx) round head screws.
8. Connect the cable to the plug connection.
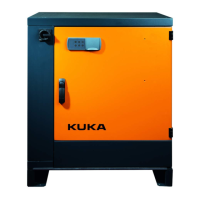
14.5.7 Exchanging the CPU
Precondition
• The robot controller is switched off and secured to prevent unauthor-
ized persons from switching it on again.
Procedure
1. Unplug the cables connected to the CPU.
2. Remove the CPU.
3. Fit the new CPU.
4. Connect the cables to the CPU.
Fig. 14-22: Exchanging the CPU
ready2_educate
BA ready2_educate V8 | Issued: 05.09.2018 www.kuka.com | 133/154
Repair