holes precisely, or the buckles will be bent. The door sill guard panel will match with the thread clip
below.
VII. Heat-insulating pad
1. Installation of heat-insulating pad of front wall
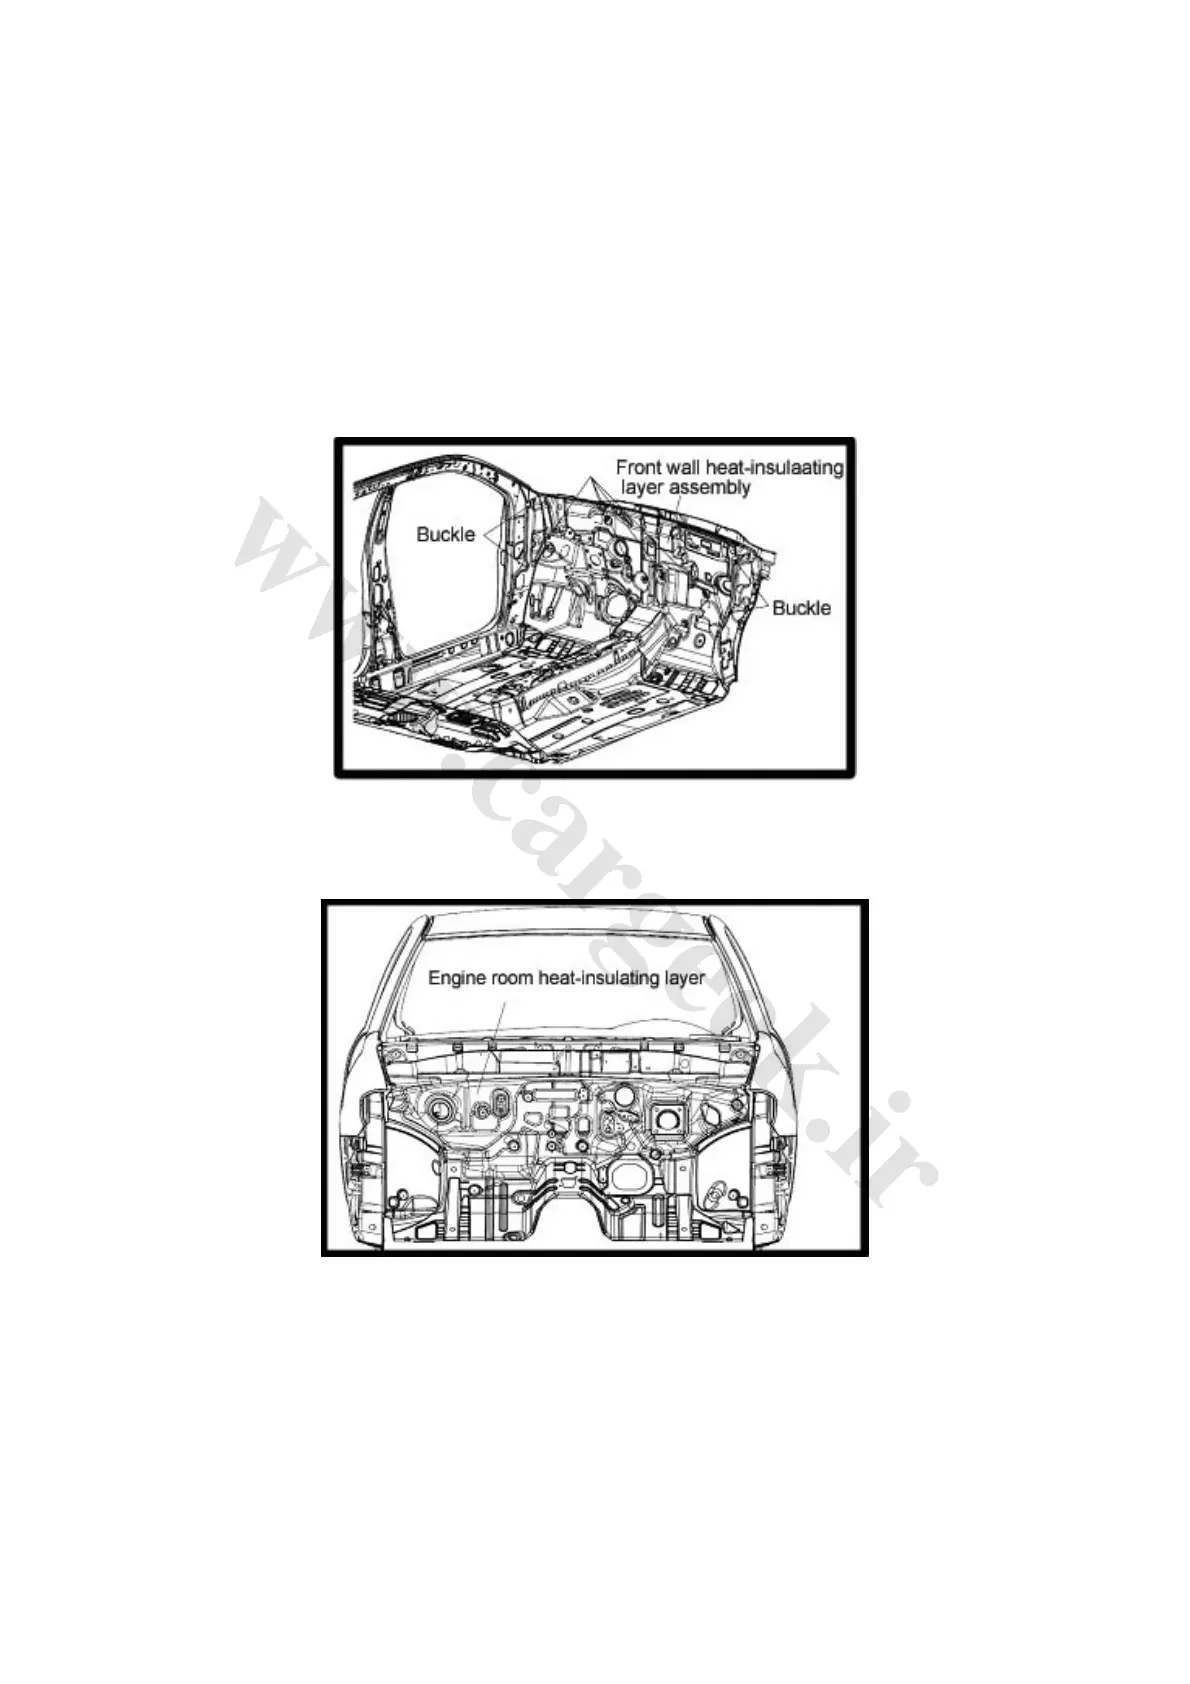
(1) First install five buckles on the buckle installing holes of the heat-insulating pad of front wall,
open the upper mouth of the pad and hang it on the beam under the windshield (see Fig. 7-30),
and after gluing its surface with the dash panel, place the five buckles into the corresponding bolts
on the dash panel.
Fig. 7-30
(2) Install two buckles on the each side respectively.
Engine room heat-insulating layer, see Fig. 7-31.
Fig. 7-31
Engine room heat-insulating layer installation: Joint the engine room heat-insulating layer with the
front side of the dash panel; after the installation of the other components of the dash panel, the
layer can be fixed. The installation of the auxiliary fascia console heat-insulating layer, see Fig.
7-32: Joint the auxiliary fascia console heat-insulating layer on the central passage cover board; if
matched well, they can be fixed by two fixing buckles, as shown in the above figure.