Page 54 of 182 TP1A002–1 English
Aug 2015
Linx 8900 Operating Manual —
Line and message settings
Linx 8900
5.1.3 Trigger to Printhead Distance
The Trigger to Printhead Distance button allows you to specify the distance between the
trigger and the printhead (see ‘Print Trigger’ on page 59 for more information about print
triggers). If the printhead and sensor do not move, the Trigger to Printhead Distance is the
same for all products printed on the selected line. The distance is zero if the printhead and
the sensor are in the same position. If the sensor position is changed, you can change the
value.
Change the Trigger to Printhead Distance
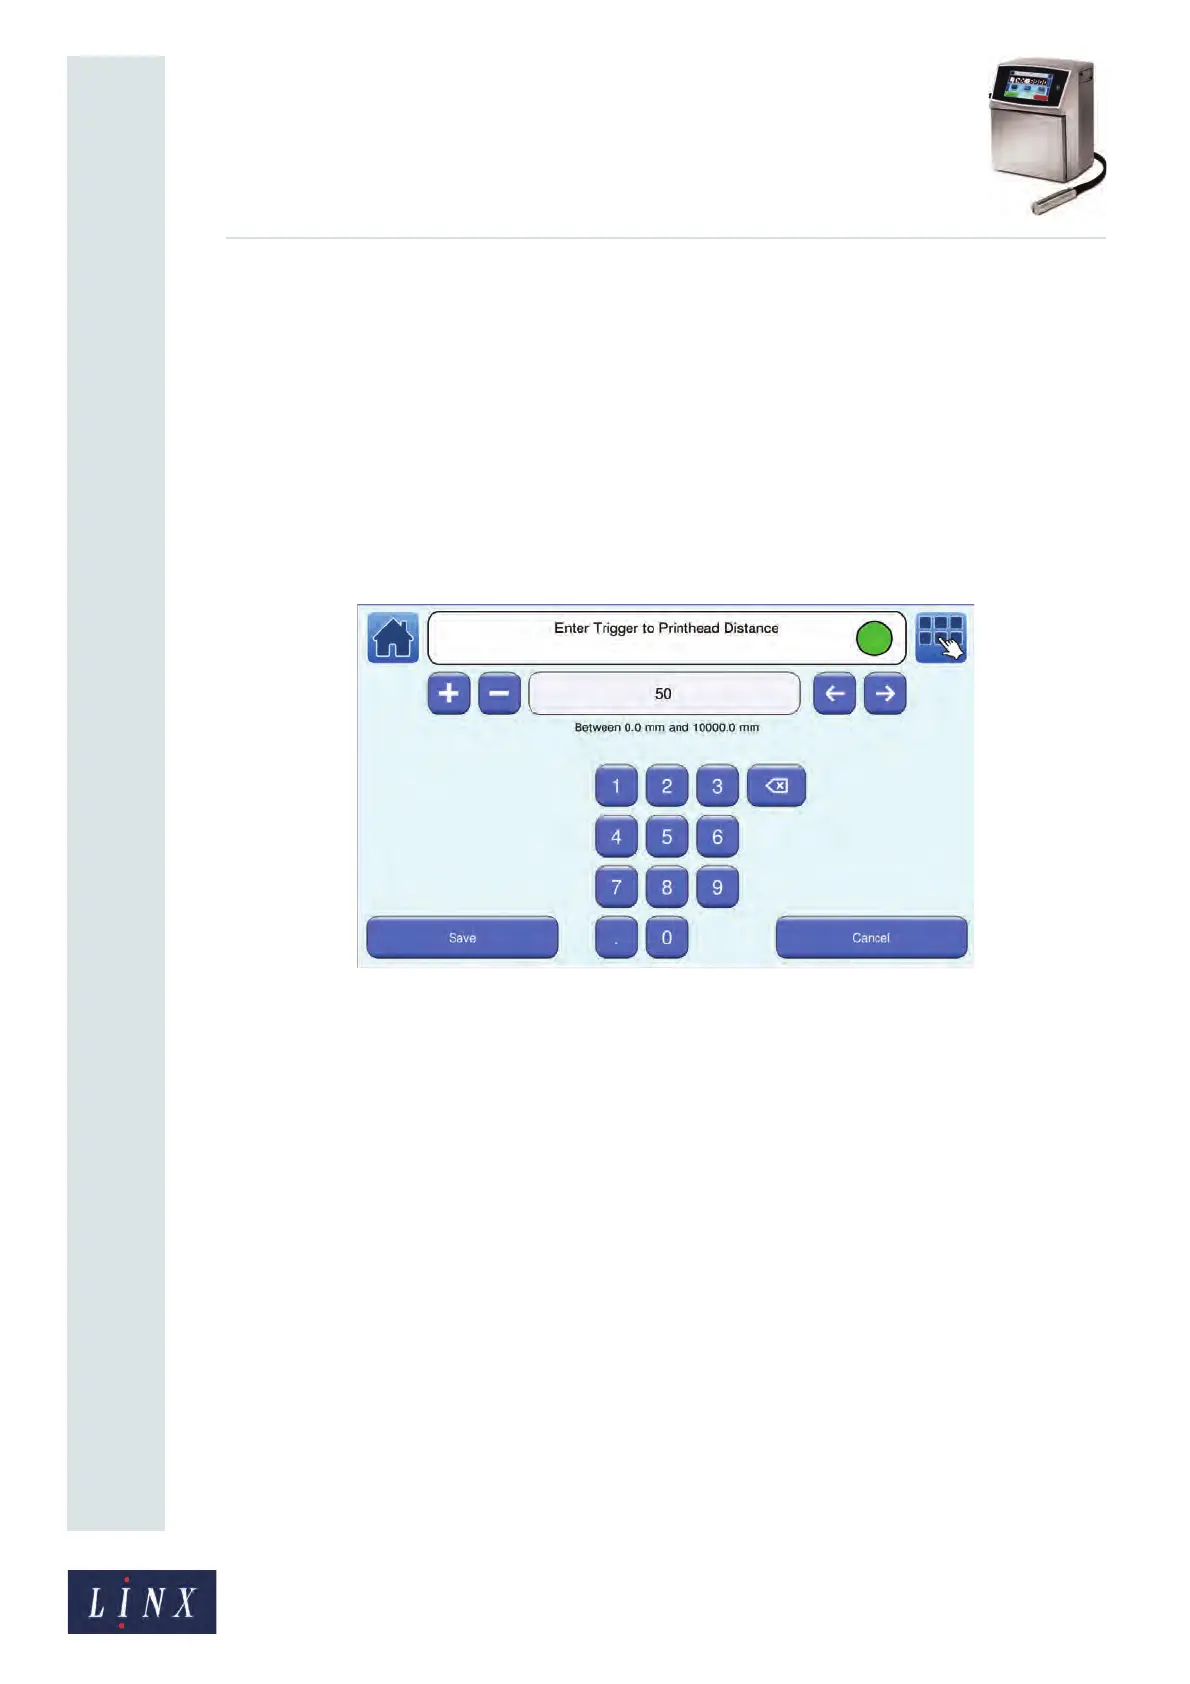
Touch the Trigger to Printhead Distance button to display the Enter Trigger to Printhead
Distance screen.
Figure 54. Enter Trigger to Printhead Distance screen
To change the Trigger to Printhead Distance:
• Use the keypad to enter a new trigger to printhead distance value.
• Use the plus and minus buttons to increase or decrease the Trigger to Printhead
Distance value.
Touch the Save button to save the selected value and return to the Line Settings screen.
Touch the Cancel button to discard any changes and return to the Line Settings screen.
5.1.4 Speed Mode
This option gives you two methods to set the speed of the line. If you do not know the line
speed or the encoder pitch, see ‘Calculate Line Speed/Calculate Encoder Pitch’ on page 58
for information about how to calculate the values. Touch the Shaft Encoder or Fixed Speed
button to select the method you require.
89137