Page 79 of 182 TP1A002–1 English
Aug 2015
Linx 8900 Operating Manual —
Line and message settings
Linx 8900
Change the Print Height
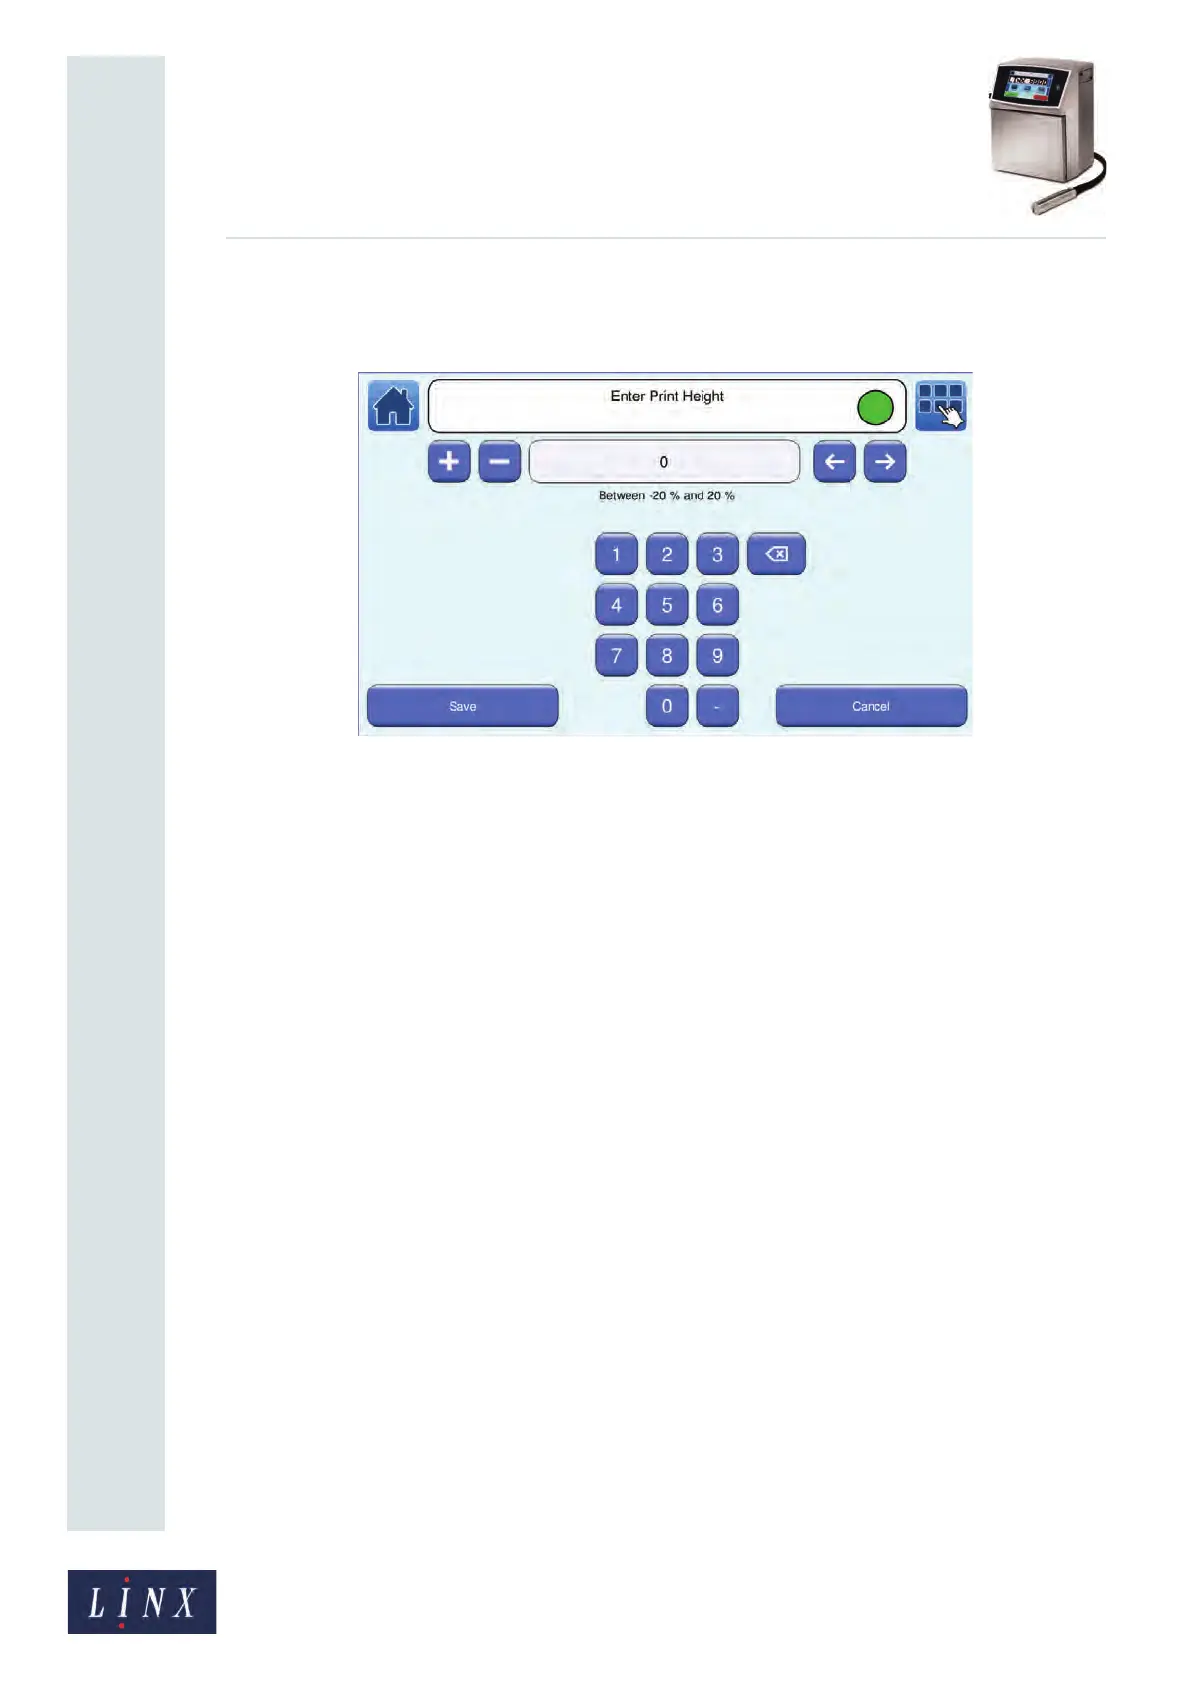
Touch the Print Height button to display the Enter Print Height screen.
Figure 81. Enter Print Height screen
The default value is 0%. Enter a negative value to decrease the character height, or enter a
positive value to increase the character height. To change the Print Height:
• Use the keypad to enter a new Print Height value.
• Use the plus or minus buttons to increase or decrease the Print Height value.
Touch the Save button to save the selected value and return to the Message Settings screen.
Touch the Cancel button to discard any changes and return to the Message Settings screen.
5.7 Advanced message settings
The Advanced Message Settings screen contains the following options:
• Print Width
• Print Delay
• Print Height
• Message Print Count
• Reset Sequential Numbers
• Horizontal Flip
• Vertical Flip