Page 4 of 182 TP1A002–1 English
Aug 2015
Linx 8900 Operating Manual —
Installation
Linx 8900
1.6 Fit the printhead to the production line
You can set the printhead at any angle. Use a Linx printhead bracket to hold the printhead
correctly and prevent vibration—a number of bracket types are available.
The distance between the end of the printhead and the product is the throw distance. To
make sure that the print quality is good, set the throw distance to the recommended
distance. The recommended throw distance for the Mk11 Midi printhead of the 8900 printer
is 12 mm (33 mm for the Carton Coding option).
1.6.1 Printhead conduit
The printer, conduit, and printhead are supplied as a unit. Follow these guidelines for the
conduit:
• Do not bend the conduit at a sharp angle. The minimum radius for the conduit is
60 mm.
• Make sure that the conduit has enough support.
• Make sure that you have access to the printhead for maintenance.
• Make sure that when any machinery guards are closed, the guards do not damage the
conduit.
• Make sure that the conduit does not touch any sharp edges.
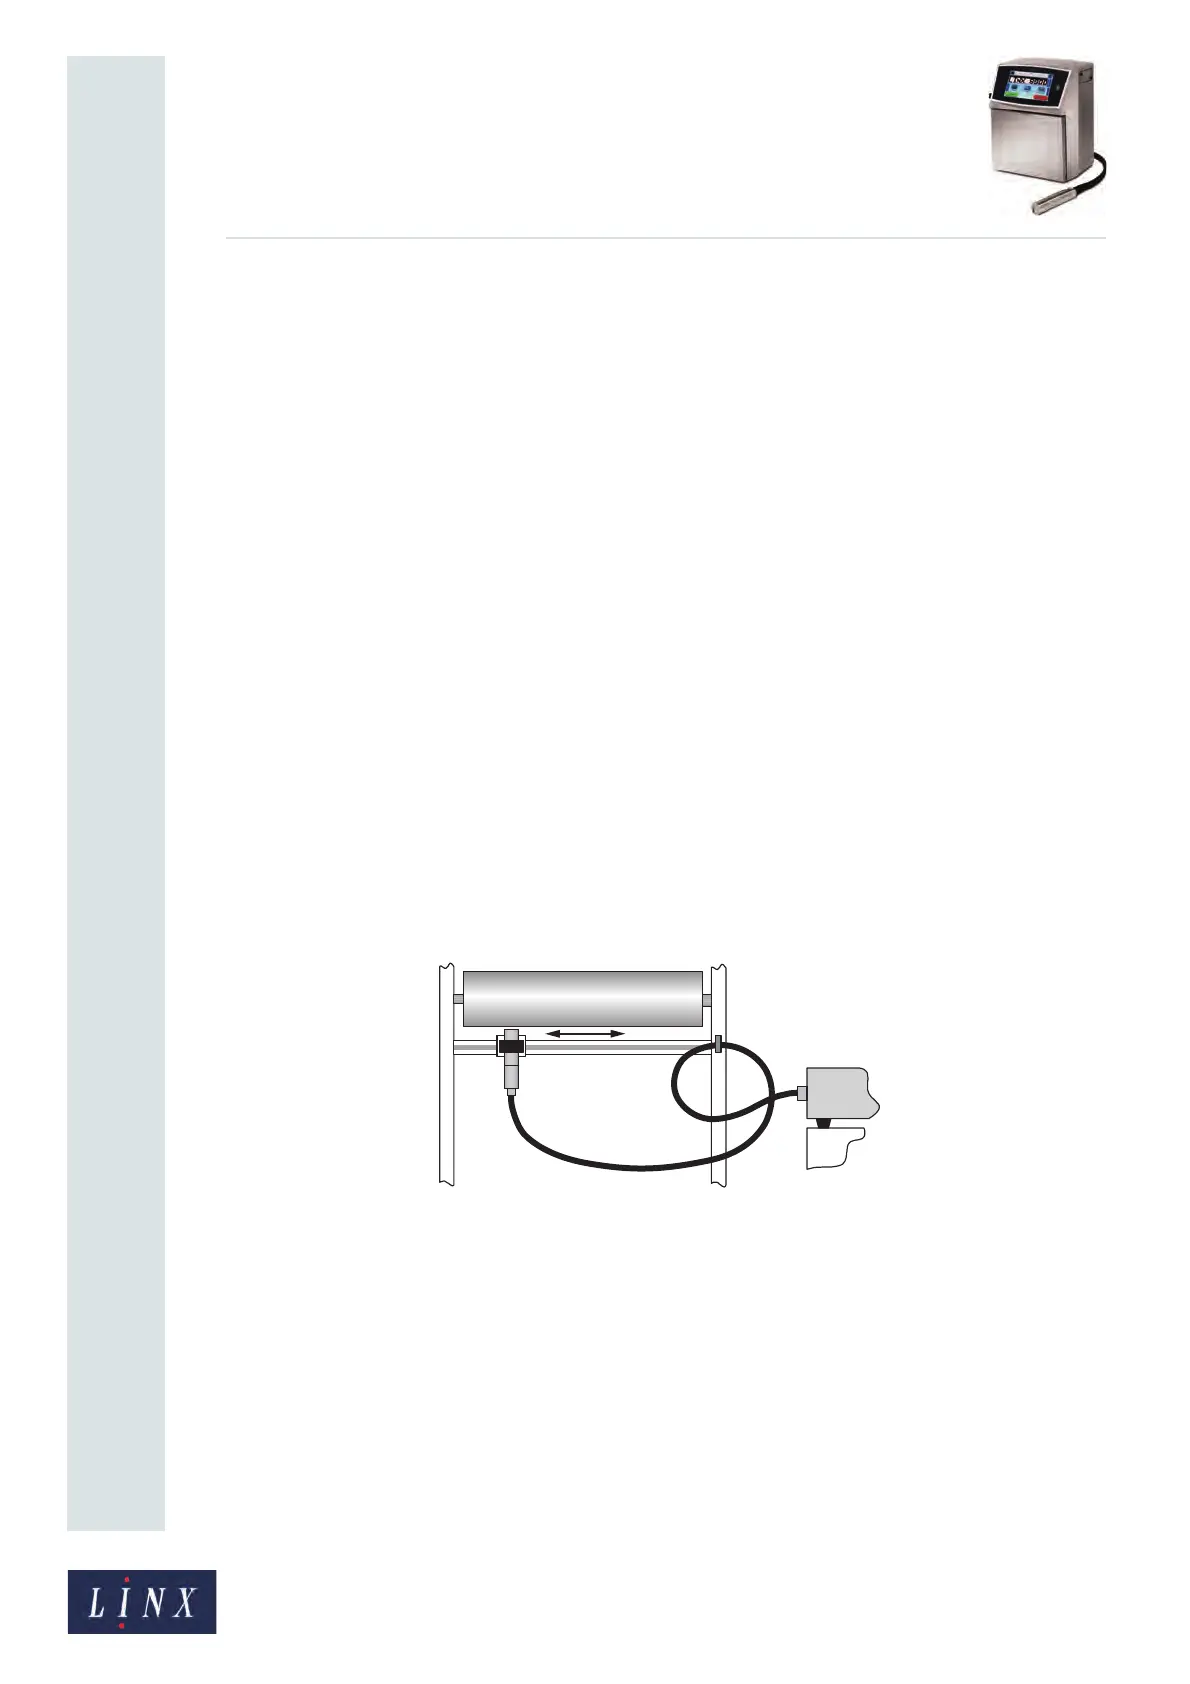
• For dynamic applications (traversing), Linx recommends that you use a 4-metre or
6-metre conduit with a minimum bend radius of 180 mm. Leave a loop in the conduit to
absorb the movement as shown below.
Figure 2. Printhead conduit with loop