P/N 9-500-0255 4-47
Service Manual
Chapter 4: Calibrations and Performance Checks
X-ray and Light Field Check and Alignment Procedures
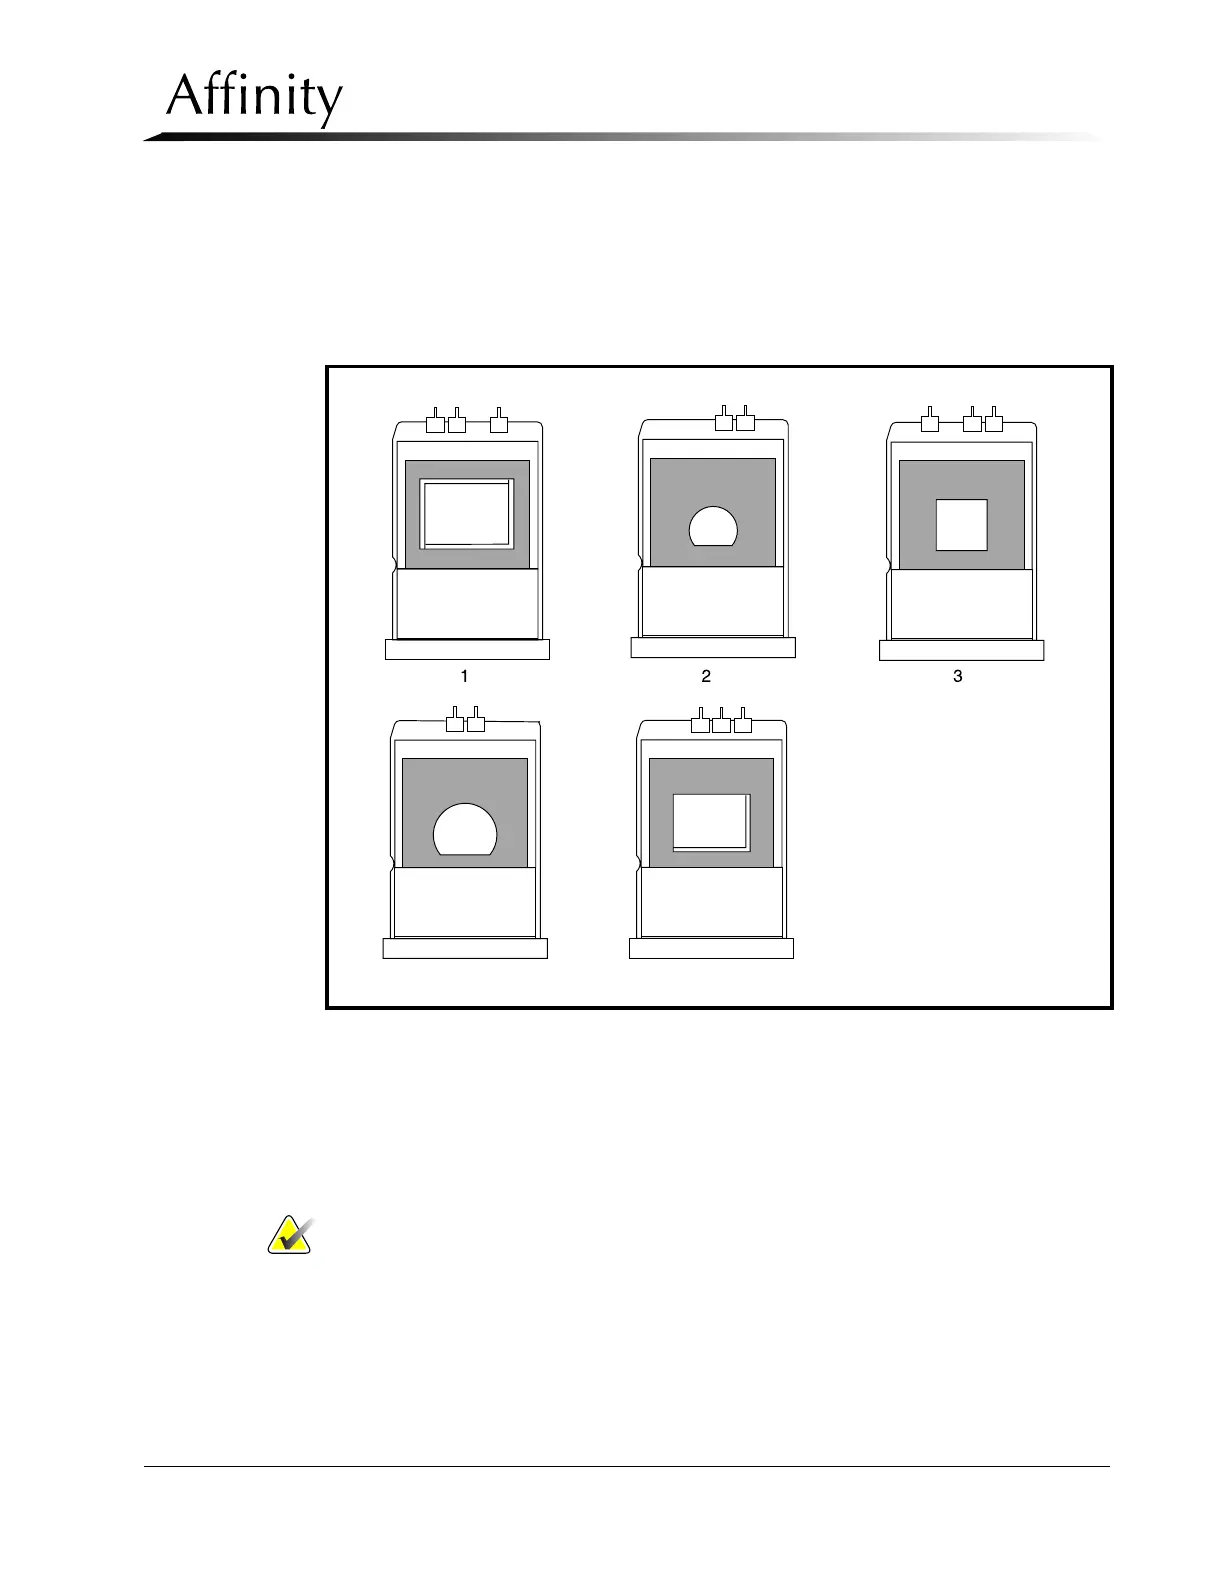
Legend for Figure 4-12
1. Auto Aperture (Large Focal Spot)
2. 7.5 cm Spot Contact (Large Focal Spot)
3. 10 cm Coned-down Contact (Large Focal Spot)
4. 7.5 cm Spot Magnification (Small Focal Spot)
5. Mag Full Field (Small Focal Spot)
Figure 4-12: Affinity Apertures
7.4 Auto Aperture Alignment
The Auto Aperture (Figure 4-12) is used for 24 x 30 cm and 18 x 24 cm Large Focal Spot
exposures and is aligned as follows:
7.4.1 Align the 24 x 30 cm Large Focal Spot
Note… The Auto Aperture must be retracted for this procedure by placing a 24 x 30
cm Cassette Sensor Simulator on the breast tray. (Use the Image Receptor
Phantom Tool, PN 9-060-0403 or, if not available, strips of reflective tape
can be used.)
1. Remove the four outer screws securing the top plate of the Aperture (Figure 4-
11, Item 1).
2. Remove the top plate and left/back alignment blade (Figure 4-11, Item 2).
45