P/N 9-500-0255 6-21
Service Manual
Chapter 6: Maintenance—Remove and Replace Procedures
Gantry Components—Remove and Replace
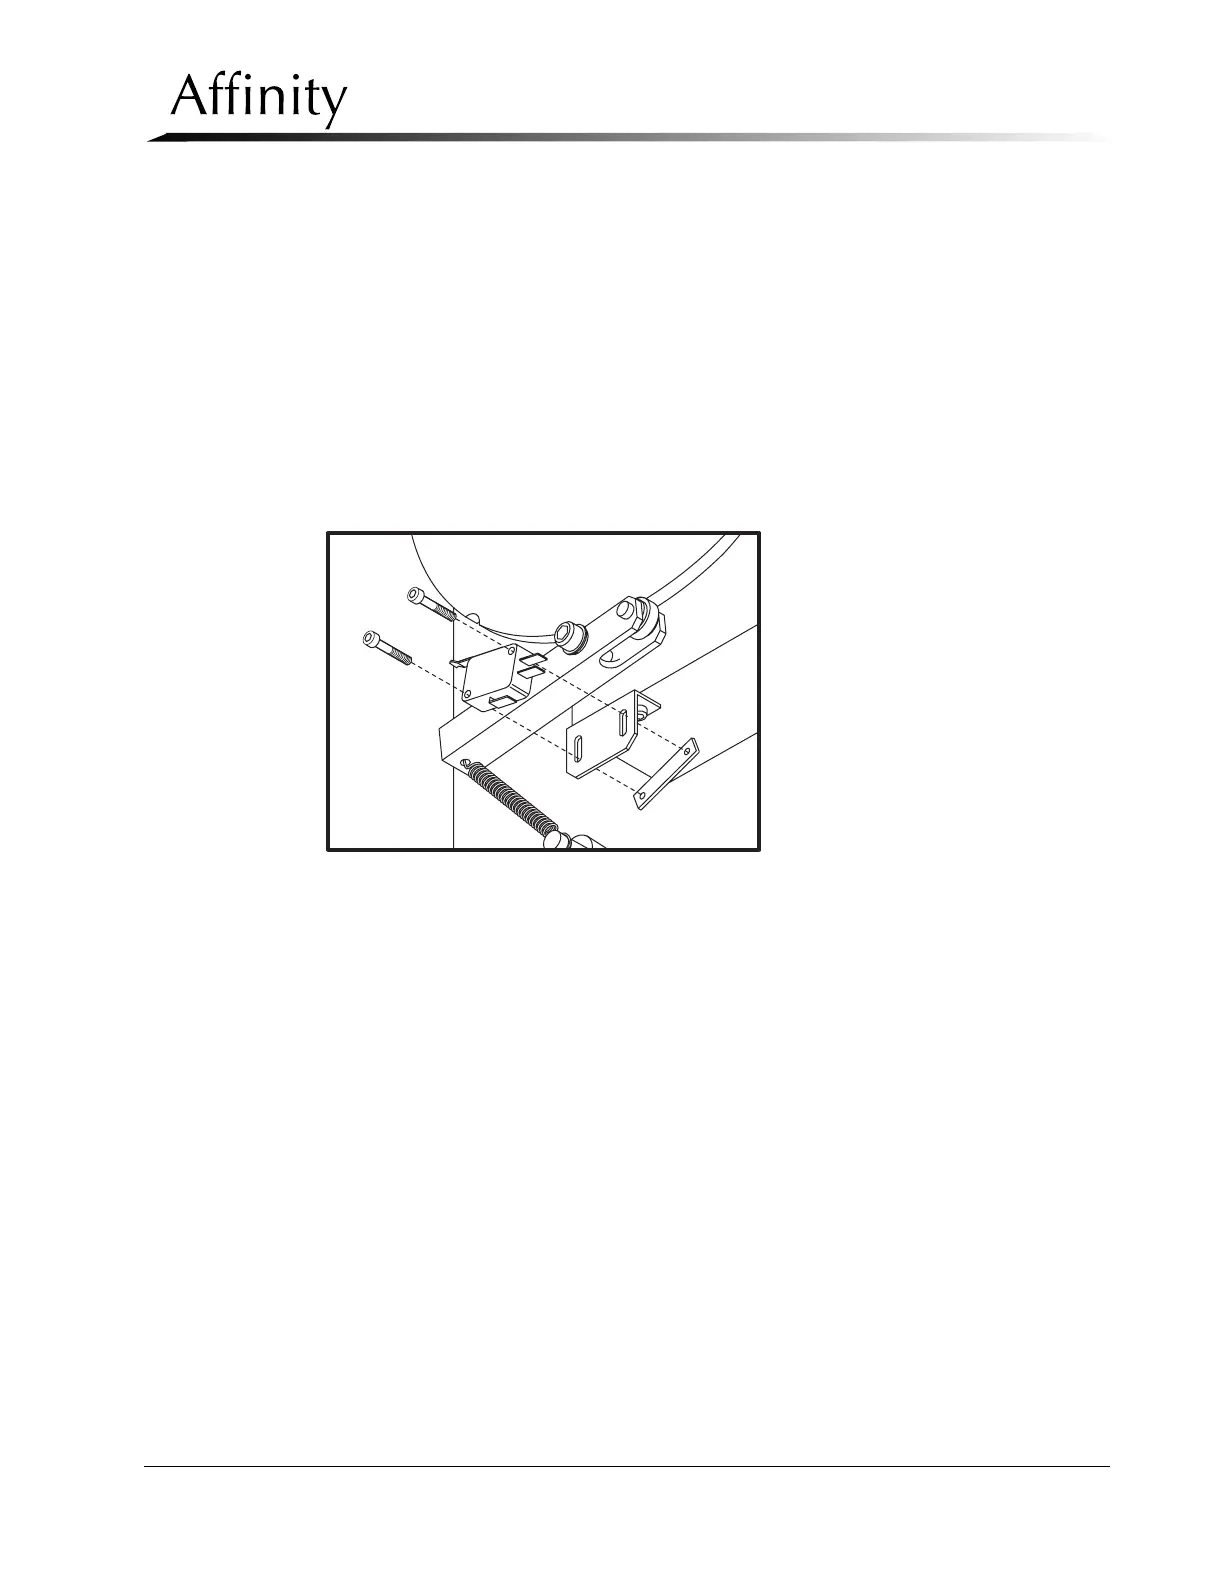
2.6.2 The C-arm Angle Detent Microswitch
The C-arm Detent Microswitch is on the rear of the vertical column, near the cam
disc. Access to the microswitch is through the upper rear gantry panel.
1. Apply power, then rotate the C-arm to the 0° position. Remove power to unit.
2. Remove the upper rear gantry panel as per Section 2.1.2. Locate the detent
microswitch below the C-arm pivot tube cam disc.
3. Note the terminal locations of the two power wires to the switch, then remove
them.
4. Remove the 2 screws that secure the switch to the switch plate. Note that the
mounting holes through the switch plate are slotted to provide switch
adjustment.
Figure 6-11: C-arm Detent Microswitch—Removal
5. Plug the 2 previously removed power wires onto their respective lugs on the
replacement microswitch. Install the new switch, but do not tighten the
mounting screws.
6. Plug the unit in and apply power. With the C-arm still at the vertical (0°), verify
that the trigger arm roller is in the cam detent.
7. Adjust the switch height so that the switch actuator arm just closes the switch,
then tighten the mounting hardware. Verify that the C-arm Angle Displays read
0°.
8. Rotate the C-arm and verify that the switch opens when the trigger arm roller is
out of the cam detent.
9. Rotate the C-arm to the following detent positions and verify correct angle
display readings: ±45°, ±90°, ±135°, +180°.