SECTION 3
TOUCHSCREEN AND TOOLBOX OPERATION
26
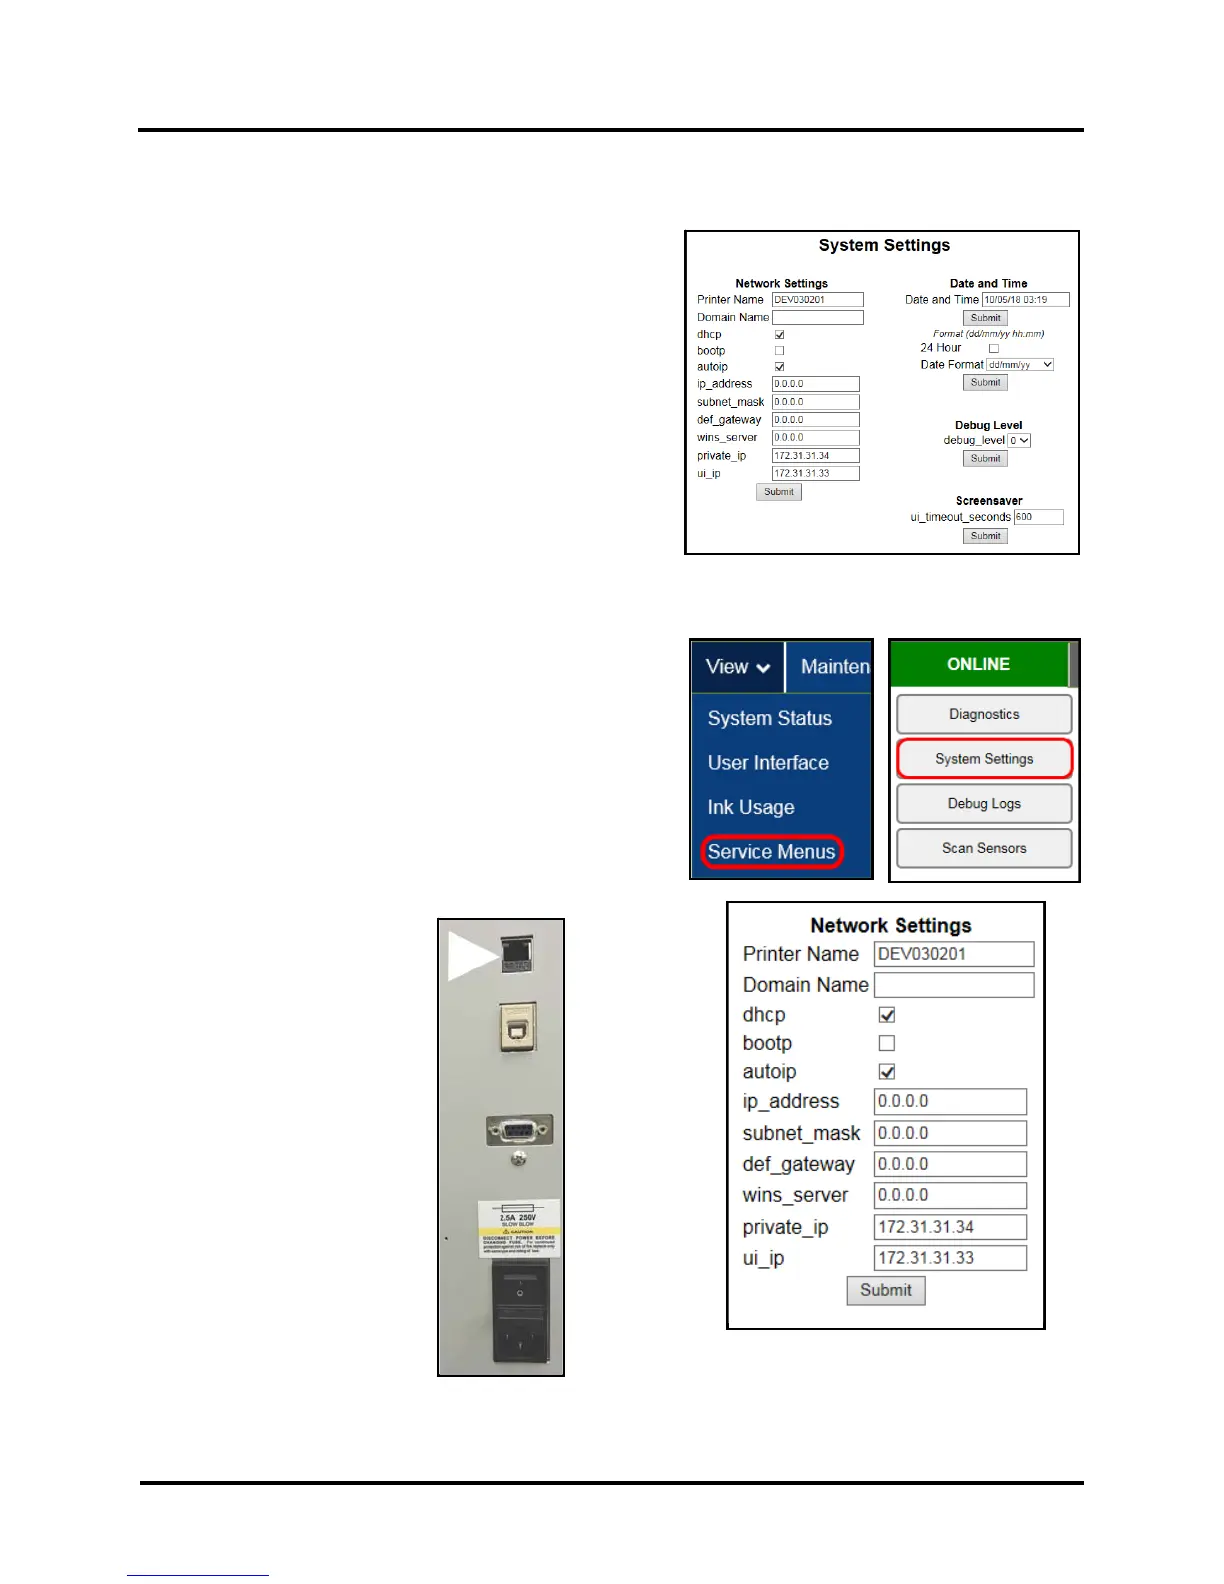
System Settings
Set up a network connection for the Printer. You can also
configure and set the Printer Date and Time, set the Debug Log
Level and Screensaver sleep timeout.
Network Settings – Permits you to view, enter or change settings to connect the Printer to your network.
Network Connection Set Up:
1. Printer is still connected to computer via USB cable.
To connect the Printer to a network: From the
Toolbox, select “View” drop-down menu, click
“Service Menus”, then click “System Settings”.
2. “System Settings” screen opens. Use Network Settings
to enter correct settings for your network.
NOTE: If manually changing the ip_address, make
sure the “dhcp” and “autoip” boxes are unchecked.
(Default is checked.) Enter changes in the appropriate
boxes. Click “Submit”.
3. Connect Ethernet cable
to Network Port on
Rear Panel of Printer.

 Loading...


