OMRON CHAPTER 6 – Projects
Release 2.0 Page 77
1, 2, 3…
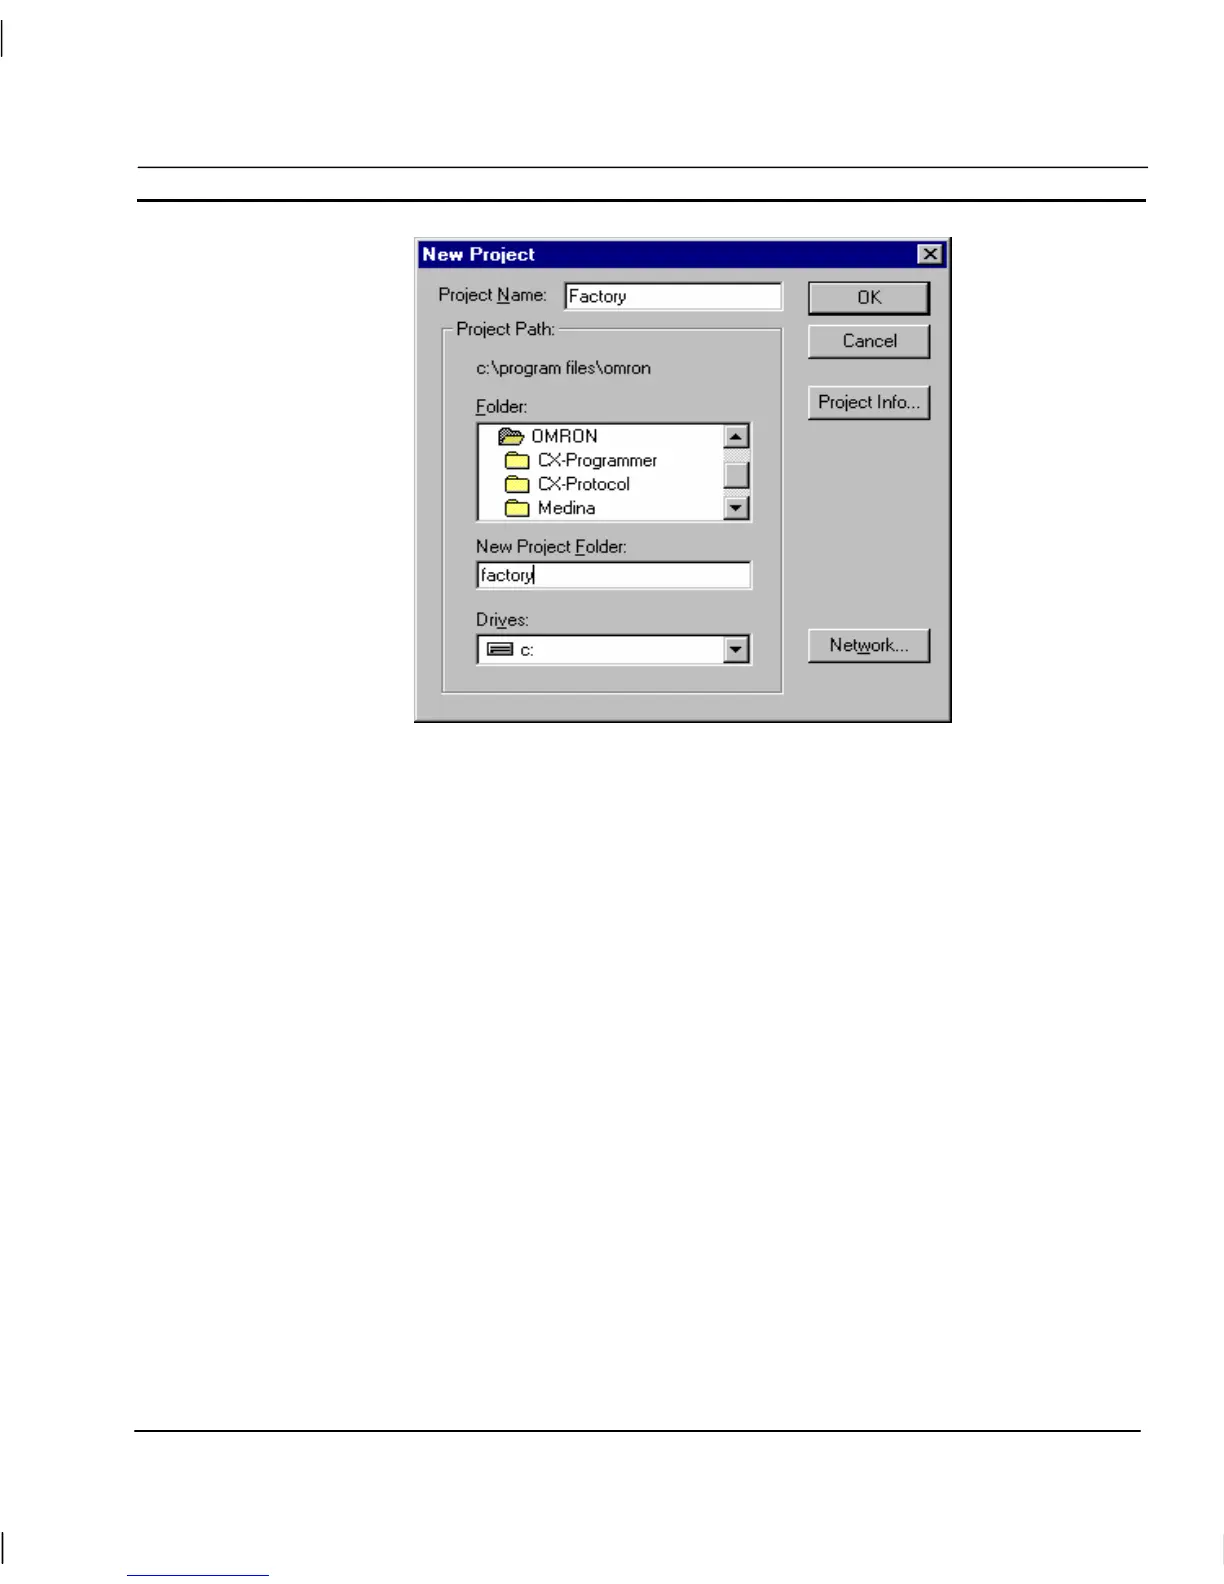
1. Locate the parent directory in which the project directory is to reside using
the Folder: and Drives: fields.
2. Enter a name for the project directory in the New Project Folder: field. If a
name is entered, the folder is created and used; otherwise the selected
folder is used. The directory name must be no more than 8 characters and
may only contain characters valid for use in MS-DOS file names.
3. Enter a name for the project in the Project Name: field. The project name
must be no more than 8 characters and may only contain characters valid
for use in DOS file names.
4. Click the OK pushbutton on the New Project dialog to create the project.
Alternatively, click the Project Info pushbutton to open the Project Information dialog, and enter a
title and some descriptive text for the new project. For details of using the Project Information dialog
refer to chapter 6, Project Information. Click the OK pushbutton on the New Project dialog to create
the project.
Note: If the PC installation of CX-Supervisor is on a networked machine, a Network
pushbutton is added to the dialog. For further information on the function of the
Network dialog, refer to the Microsoft Windows User Guide.