CHAPTER 3 – Points OMRON
Page 24 Release 2.0
Note: To individually select more than one point, click whilst holding the <Ctrl> key
down.
Note: The short-cut keyboard combinations for Cut, Copy and Paste operations are valid
within the Point Editor. Highlight one or more points and type <Ctrl>+X to cut or
<Ctrl>+C to copy; use <Ctrl>+V to paste. Since the cut and copy operations store
the information in the Windows Clipboard, points may be pasted to another CX-
Supervisor application. See also Chapter 3 Quick creation of many points.
Note: If the I/O type ends with ‘∗’ and a number, it is an array point with the shown
number of elements.
Viewing Points in the Point Editor
The Point Editor view of the points database can be tailored by filtering or sorting the available
points.
Filtering the Points in the View by Group
Points are separated into groups. To select a group, pick an entry from the Group field.
All points can be displayed by selecting <All Groups> from this list.
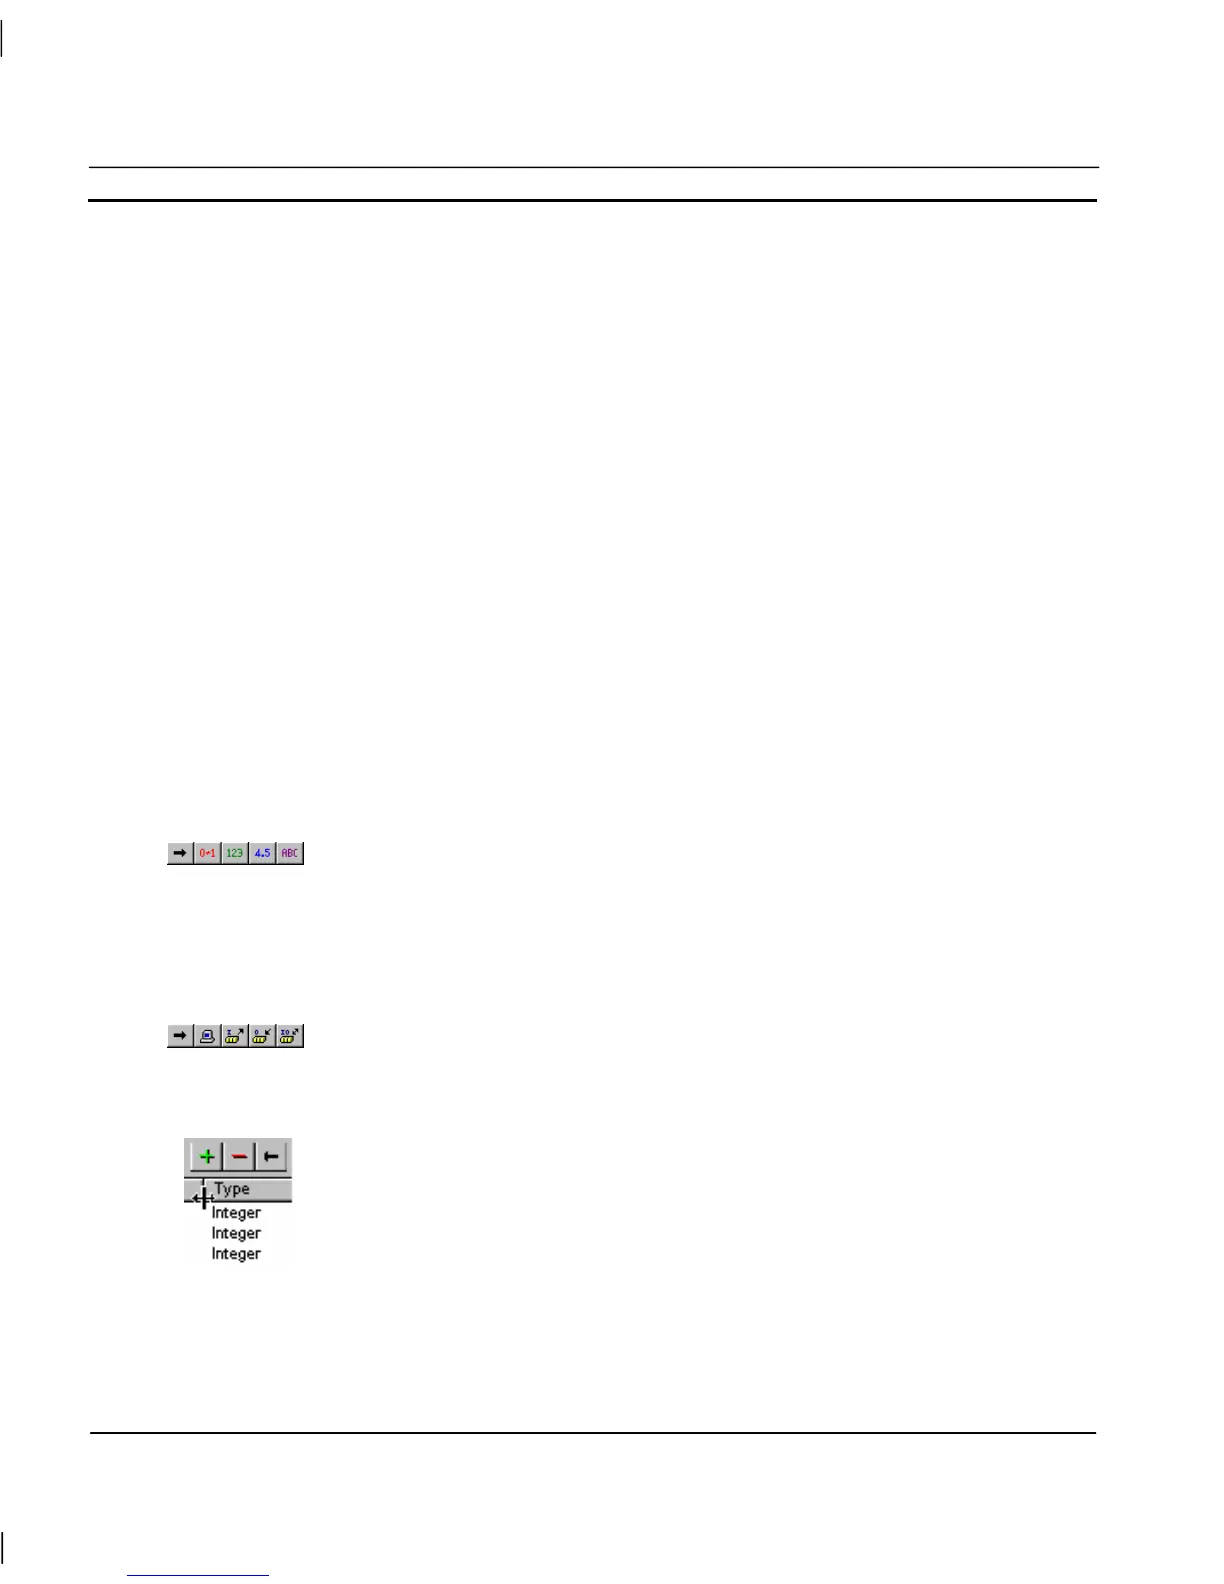
Filtering the Points in the View by Point Type
A selection of points can be displayed based on the point type. Selection of the All
Points button from the toolbar displays points of all types.
The Boolean Points button only displays points of a Boolean type. The Integer Points button, the
Real Points button and Text Points button, once selected, react in the same way.
Sorting the Points in the View by I/O Type
Points can also be filtered by I/O type. Respectively, these toolbar buttons display
All Points, Memory Points, Input Points, Output Points or Input/Output Points.
Sorting the Points in the View
Individual listed points are sorted, based on a designated field type: name, type,
input/output type or description. By clicking on the Name button, the points are
sorted alphanumerically by name. The Type button, the I/O Type button, the
Address button and Description button, once selected, react in the same way. In the
previous Point Editor example the list is sorted by Name.
The widths of the point fields can be widened or narrowed as required using the
mouse to drag the column boundaries:
A double click on the text boundaries causes the column to autosize.