3-3
3-1 Preparation Procedure
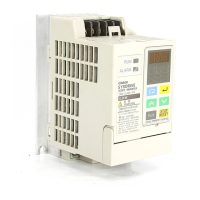
1. Installation
Install the Inverter according to installation conditions. Refer to
page 2-7
.
S Check that all the installation conditions are met.
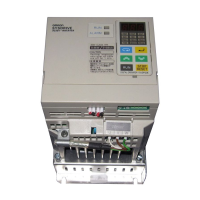
2. Wiring
Connect the power supply and peripheral devices. Refer to
page 2-10
.
S Select peripheral devices that meet the specifications, and wire them correctly.
3. Turning the Power ON
Check the necessary items, then turn the power ON.
S Check
that the power voltage is correct and the power input terminals (L1 (R), L2 (S), and L3 (T))
are wired correctly. Supply three-phase, 200 to 230 VAC (50/60 Hz) to the 200-V Inverter and
three-phase 380 to 460 VAC (50/60 Hz) to the 400-V Inverter.
S Check
that the motor output terminals (T1 (U), T2
(V), and T3 (W)) and motor are connected cor
-
rectly.
S Check that the control circuit terminals and controller are connected correctly.
4. Checking the Display Status
Check the Inverter for errors.
S If
everything is normal, the data display will show the
data selected with a monitor item indicator
.
S
If the Inverter is error
, the data display will show data indicating that the Inverter is error
. Refer to
Section 4 Operation
for details.
5. Setting the Parameters
Use the Digital Operator to set parameters required for operation. Refer to
page 3-4
.
S Set each parameter as described in this manual.
6. Test RUN
Use the Digital Operator to rotate the motor. Refer to
page 3-10
.
S Check that the motor is rotating normally.
7. Operation
Basic operation (The Inverter operates with basic settings). Refer to
page 3-13
.
Applied
operation (The Inverter performs energy-saving control, PID
control, or other applied con
-
trol). Refer to
page 3-25
.
S Refer to
3-4 Basic Operation
for operation with basic parameters only.
S Refer to
3-4 Basic Operation
and
3-5 Applied Operation
for energy-saving control, PID control,
frequency jumping, error retrying, or S-shaped acceleration and deceleration.
S Refer to
3-5 Applied Operation
for parameters in detail.
Preparing for Operation Chapter 3
 Loading...