2.28
MAINTENANCE
9924125 - 2013 RANGER RZR / RZR S / RZR 4 Service Manual
© Copyright 2012 Polaris Sales Inc.
FINAL DRIVE / WHEEL AND TIRE
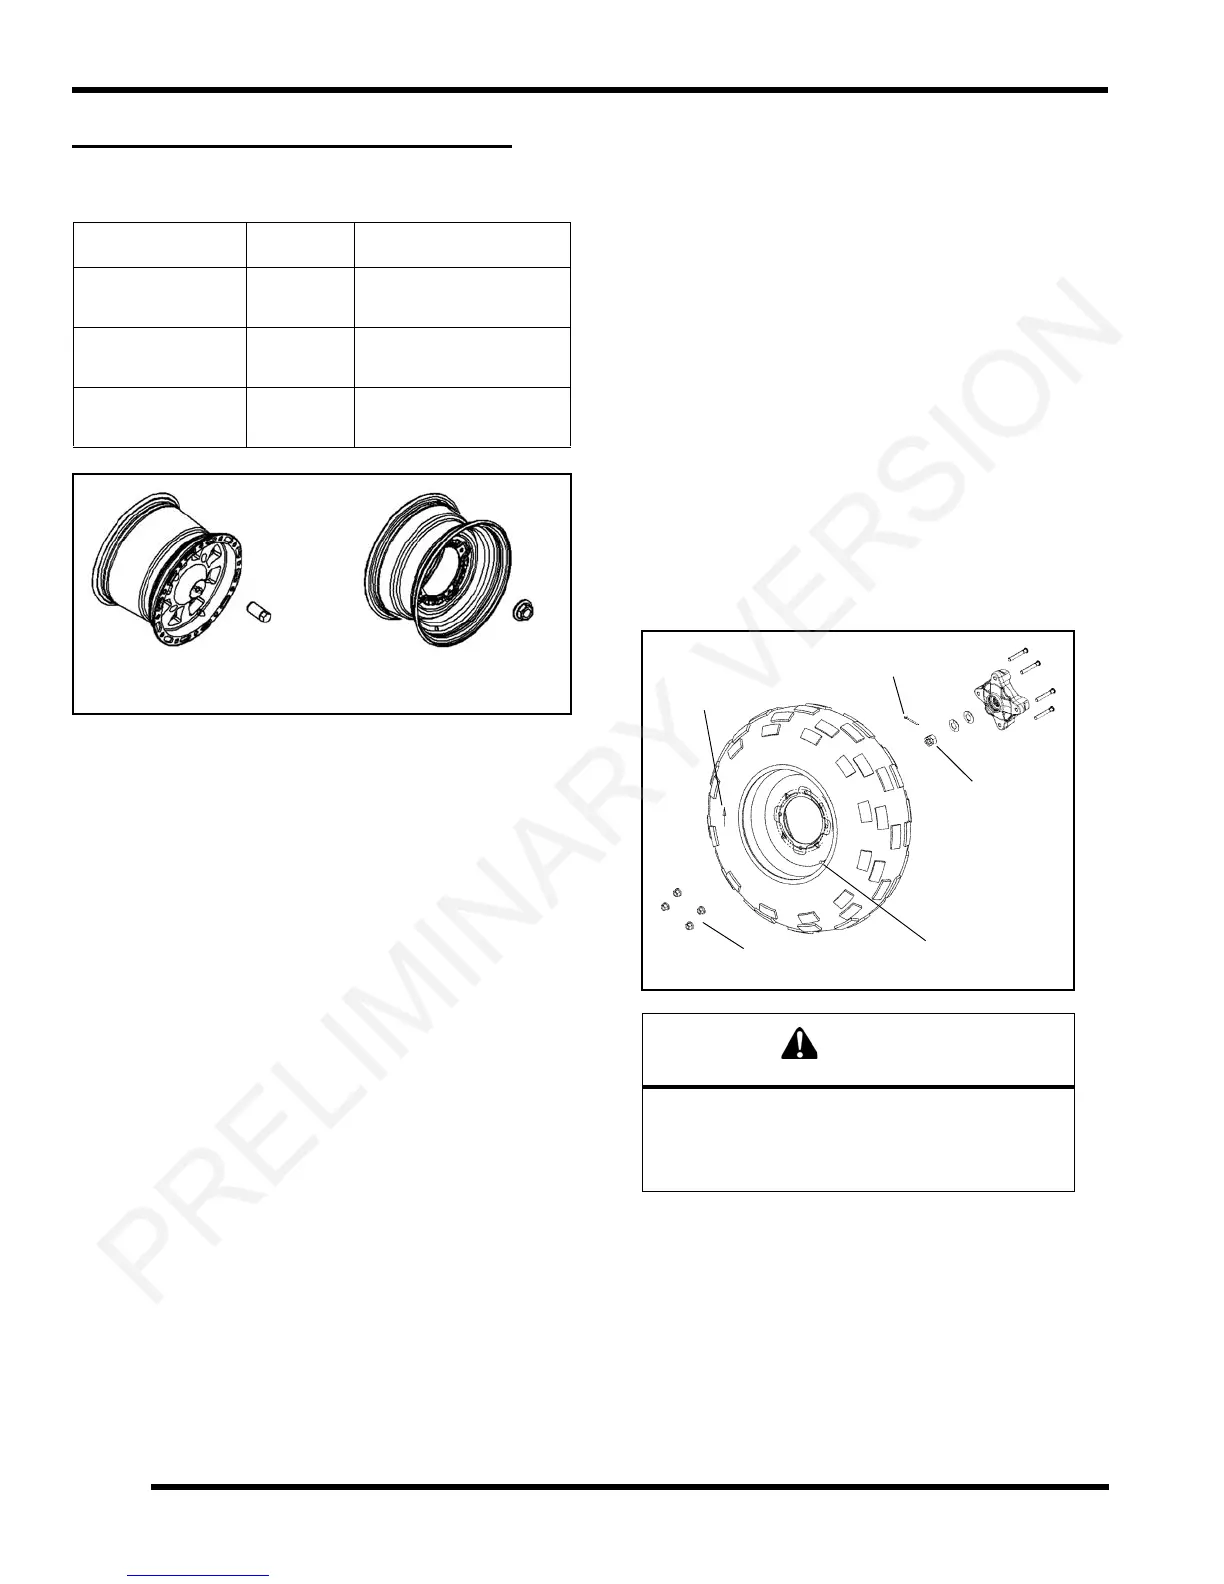
Wheel and Hub Torque Table
NOTE: Do not lubricate the stud or the lug nut.
Wheel Removal
1. Position the vehicle on a level surface.
2. Place the transmission in PARK (P) and stop the
e
ngine.
3. Loosen the wheel nuts slightly. If wheel hub removal
is re
quired, remove the cotter pin and loosen the hub
nut slightly.
4. Elevate the appropriate side o
f the vehicle by placing
a suitable stand under the frame.
5. Remove the wheel nuts and remove the wheel.
6. If hub removal is required, remove the hub nut and
washers.
Wheel Installation
1. Verify the transmission is still in PARK (P).
2. Install the wheel hub, washers, and hub nut, if
pre
viously removed.
3. Place the wheel in the correct position on the wheel
hub
. Be sure the valve stem is toward the outside and
rotation arrows on the tire point toward forward
rotation.
4. Attach the wheel nuts and finger tighten them.
5. Carefully lower the vehicle to the ground.
6. Torque the wheel nuts and/or hub nut to the proper
to
rque specification listed in the torque table at the
beginning of this section.
7. If hub nut was removed, install a new cotter pin after
th
e hub nut has been tightened.
Item Nut Type Specification
Aluminum Wheels
(C
ast)
Lug Nut
#1
30 ft-lbs + 90° (1/4 turn)
Steel Wheels
(Black
/ Camo)
Flange Nut
#2
27 ft-lbs (37 Nm)
Hub Retaining
Nu
ts
- 80 ft-lbs (108 Nm)
#1
#2
Aluminum Wheel
30 ft-lbs + 90° (1/4 turn)
Steel Wheel
27 ft-lbs (37 Nm)
If wheels are improperly installed it could affect
vehicle handling and tire wear. On vehicles with
tapered rear wheel nuts, make sure tapered end
of nut goes into taper on wheel.
Wheel Nuts (4)
Hub Nut
Use a new
cotter pin
Note
Tire Rotation
Valve stem
facing outward
(RZR Only)

 Loading...