5
9928491 R04 - 2017-2018 RZR XP Turbo / XP4 Turbo Service Manual
© Copyright Polaris Industries Inc.
5.17
DRIVEN CLUTCH ASSEMBLY
1. If necessary, replace sliders. Torque fasteners to
specification.
TORQUE
Slider Fasteners:
35 in-lb (4 Nm)
2. Line up the reference marks on the moveable and
stationary sheaves and slide the sheaves together.
3. If necessary, replace the buttons on the stationary
sheave. Torque fasteners to specification.
TORQUE
Button Fasteners:
35 in-lb (4 Nm)
4. Install the spring, limiter spacer and the helix.
5. Place the driven clutch in a universal clutch
compression tool.
6. Install the helix cover. Torque fasteners to
specification.
TORQUE
Helix Cover Fasteners:
2016-17: 8 ft-lb (11 Nm)
2018: 12 ft-lb (16 Nm)
DRIVEN CLUTCH INSTALLATION
1. Install the driven clutch on the transmission input
shaft. Install the thrust bearing, thrust washer and
snap ring.
IMPORTANT
The snap ring must be properly installed in the groove
on the shaft or the clutches will not be properly aligned
leading to difficult shifting and creeping.
2. Install the driven clutch retaining washer and bolt.
Torque bolt to specification.
TORQUE
Driven Clutch Retaining Bolt:
43 ft-lb (58 Nm)
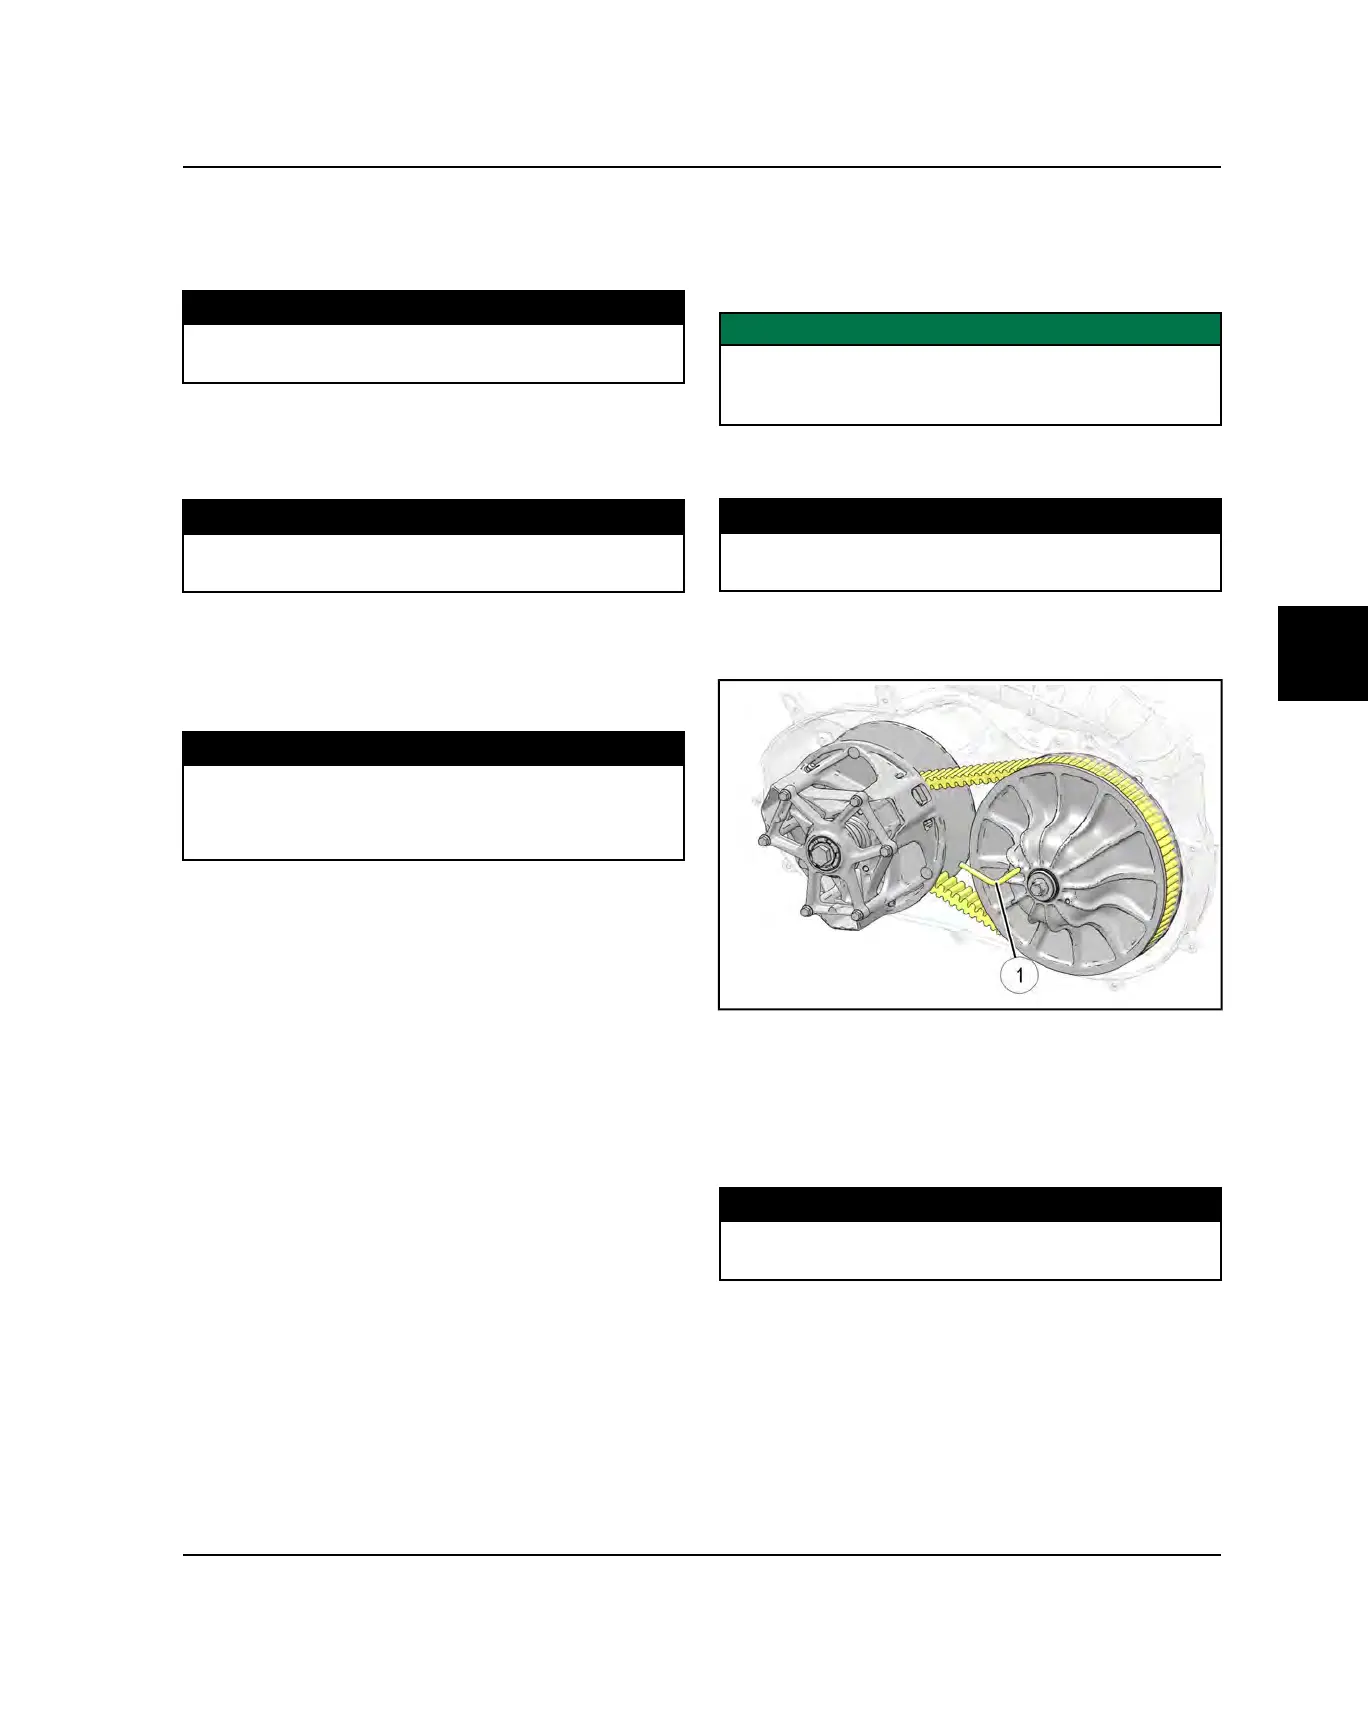
3. With the clutch spreader tool
q
installed , loop the
belt over the drive clutch and over part of the driven
clutch.
4. Rotate the driven clutch and walk the belt into the
clutch.
5. Remove the clutch spreader tool from driven clutch.
6. Rotate / spin the driven clutch and belt approximately
5-7 times to properly seat the belt in the driven clutch.
7. Install the outer clutch cover and eight screws.
Torque screws to specification.
TORQUE
PVT Cover Screws:
35 in-lb (3 Nm)
PVT SYSTEM

 Loading...