Customer Replaceable Units Carriage Board
Page 190
© Copyright 2021 Stratasys. All rights reserved.
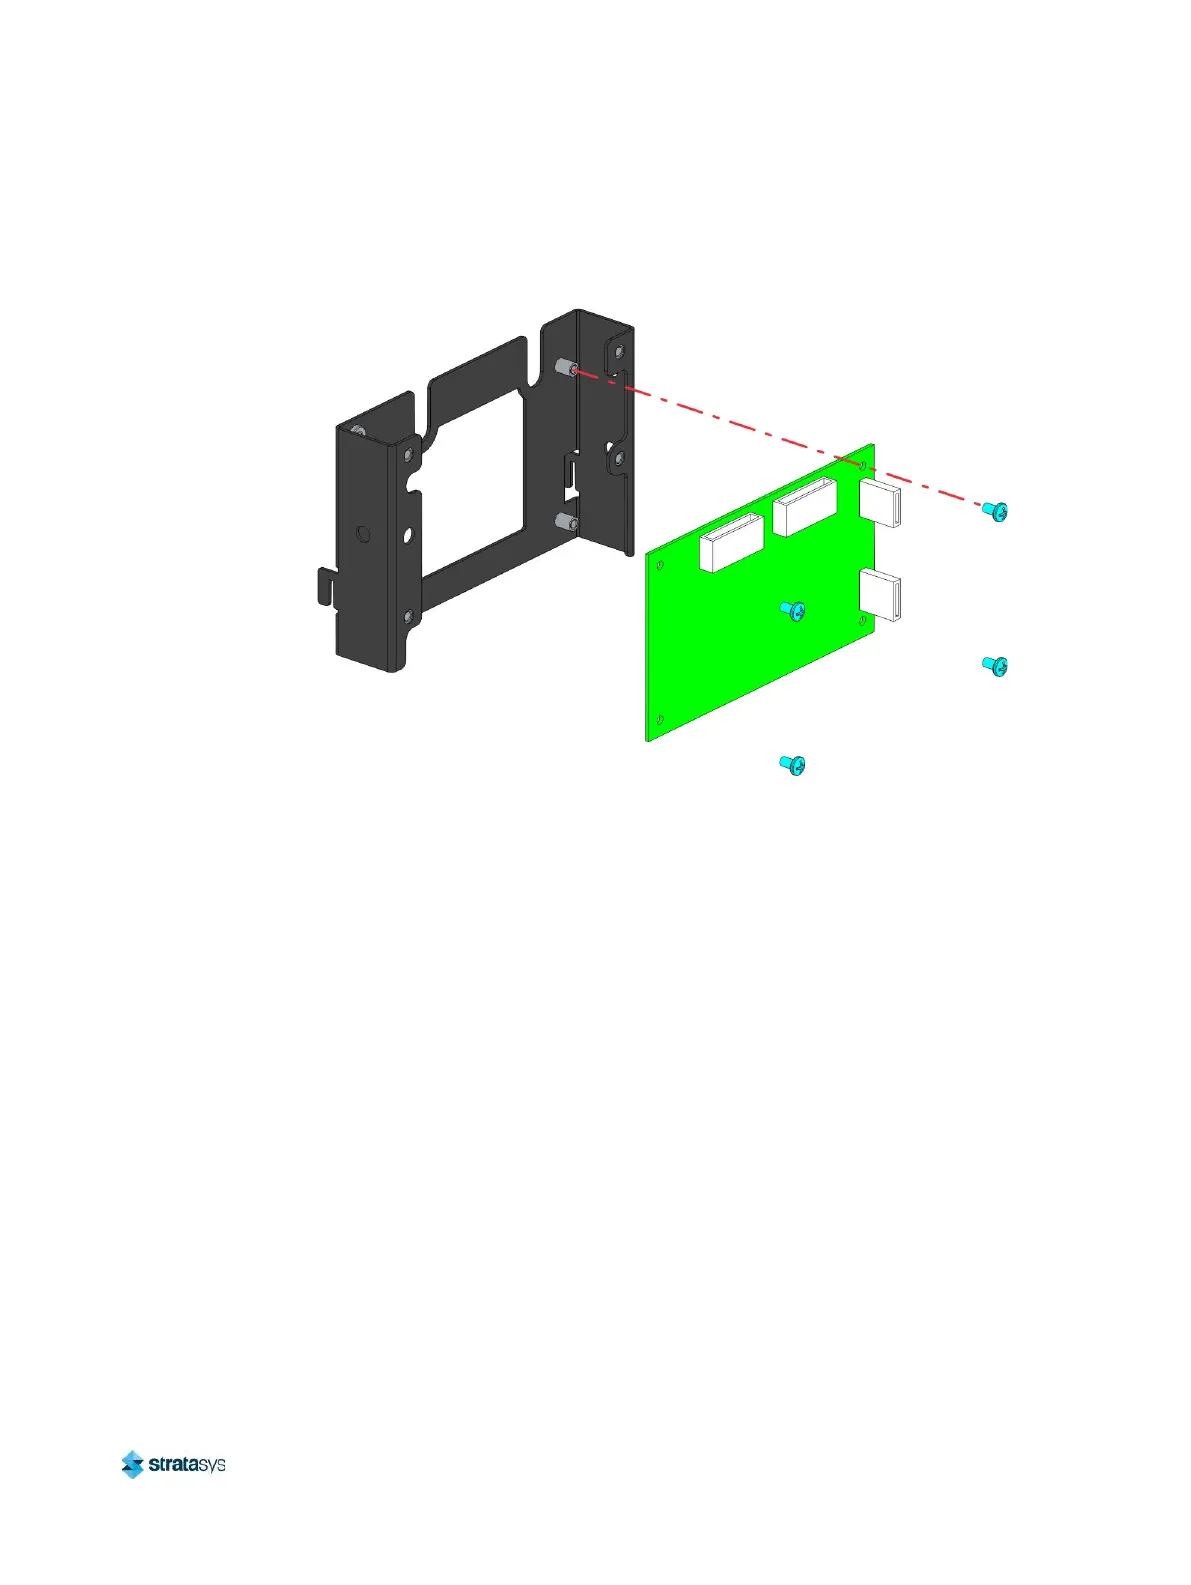
9. Using a Phillips screwdriver, remove the screws (4) securing the carriage board to the
mounting bracket. Remove the carriage board.
Figure 29: Carriage board and mounting bracket detail
Installing the Carriage Board
1. Using a Phillips screwdriver, install the screws (4) securing the carriage board to the
mounting bracket. See Figure 29.
2. Using a 3 mm hex wrench, install the screws (4) securing the cover to the carriage board
mounting bracket. See Figure 28.
3. Insert the tabs of the carriage board assembly into the slots on the back of the carriage.
Use a 3 mm hex wrench to install the mounting screw that secures the carriage board
assembly to the carriage. See Figure 27.
4. From the front of the gantry, connect the carriage board cables (2) to the carriage board
(J4, J7).
5. Reconnect the reusable cable ties (2) securing the cables to the carriage board assembly.
6. Connect the model and support head ribbon cables to the top of the carriage board.
7. Close the top access doors.
8. Power ON the printer.
9. Load material to the model and support heads.