15.3 CONFIGURING RESULTS VIEW
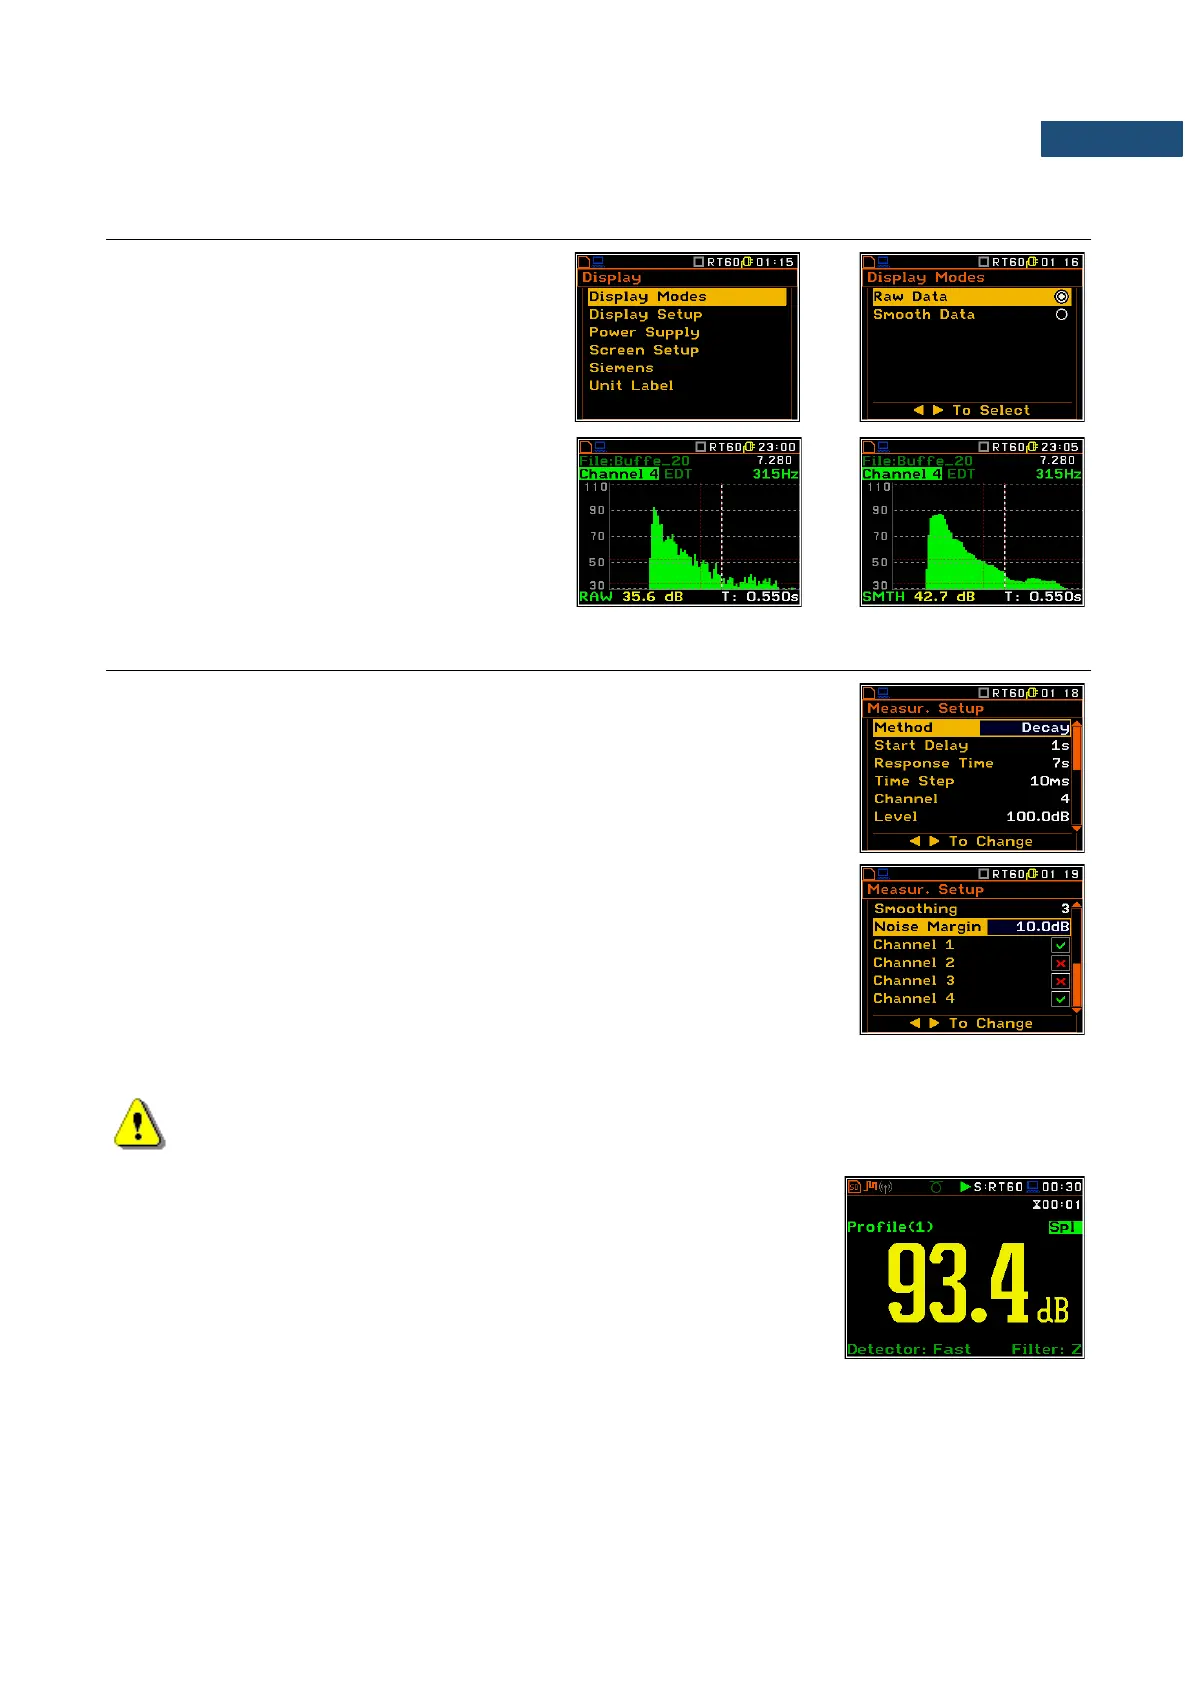
The Display Modes list of the Display menu
enables the user to select the type of data
displayed during the RT60 calculation.
Time data can be viewed as a Raw Data,
Smooth Data (or Integrated Data in case of
Impulse method).
15.4 STARTING RT60 MEASUREMENT
Measurements with the use of Decay method
1. Set parameters for Decay RT60 measurements. Most used setup is
presented below.
• Method: Decay
• Response Time: 7s
• Time Step: 10ms
• Averaging: On
• Smoothing: 3
• Noise Margin: 10.0dB
2. Place the sound power source in the measured room (for the sound power
source location - see the reverberation time measurement ISO standard).
3. Place the microphone in one of the selected measurement points (for the
measurement points location see the reverberation time measurement ISO
standard).
Note: The default measurement time of the decay curve registering (Recording Time) is
7 seconds. It can be insufficient in some applications. It is recommended to set this value to be at
least two times longer than expected reverberation time.
4. Switch on the sound power source.
5. Start the measurement process by pressing the <Start/Stop> key. While
the instrument is waiting for the trigger condition fulfilment the Spl result is
displayed.
6. Switch off the sound power source (the source should work enough long to
obtain the acoustic field stabilisation). After the trigger condition fulfilment
the instrument starts to collect data.
7. After the data recording process ends, the instrument starts the calculation
of the reverberation time results.
8. To save results press the <Save> key or use the File menu option.