(2) Select the appropriate key.
[Set]: Drains water in the pipette or tubes into the waste bottle through rinsing cup. (approx. 1 minute)
When completing, the confirmation screen of Water Drain Process 2 will be displayed.
[Cancel]: Returns to the Service Menu screen without performing the water drain sequence.
Water Drain Process 2
(3) The confirmation message “Water Drain Process 2?” will appear. Place a tissue or cloth on the rinsing
cup to prevent water splashing.
(4) Select the appropriate key.
[Set]: Absorbs water in the rinsing cup or tubes. ( Approx. 10 seconds)
When completing, the Test Menu screen will return. Discard the absorbed tissue or cloth.
[Cancel]: Returns to the Test Menu screen without performing the water drain sequence 2.
5.5.2 Dispense Volume
Verify Syringe dispensed volume.
(1) Press [Special Operate]
Æ [Service] Æ [Test Menu] Æ [Dispense Volume] keys to start, then the following
screen will be displayed.
3
Quit
Enter
6
9
Dispense Volume
Set
TUBE 1
PUSH OUT
C
4
1
0
7
5
2
8
Volume
Ready
Replace Rack? YES!
Sysmex
IP
100 uL
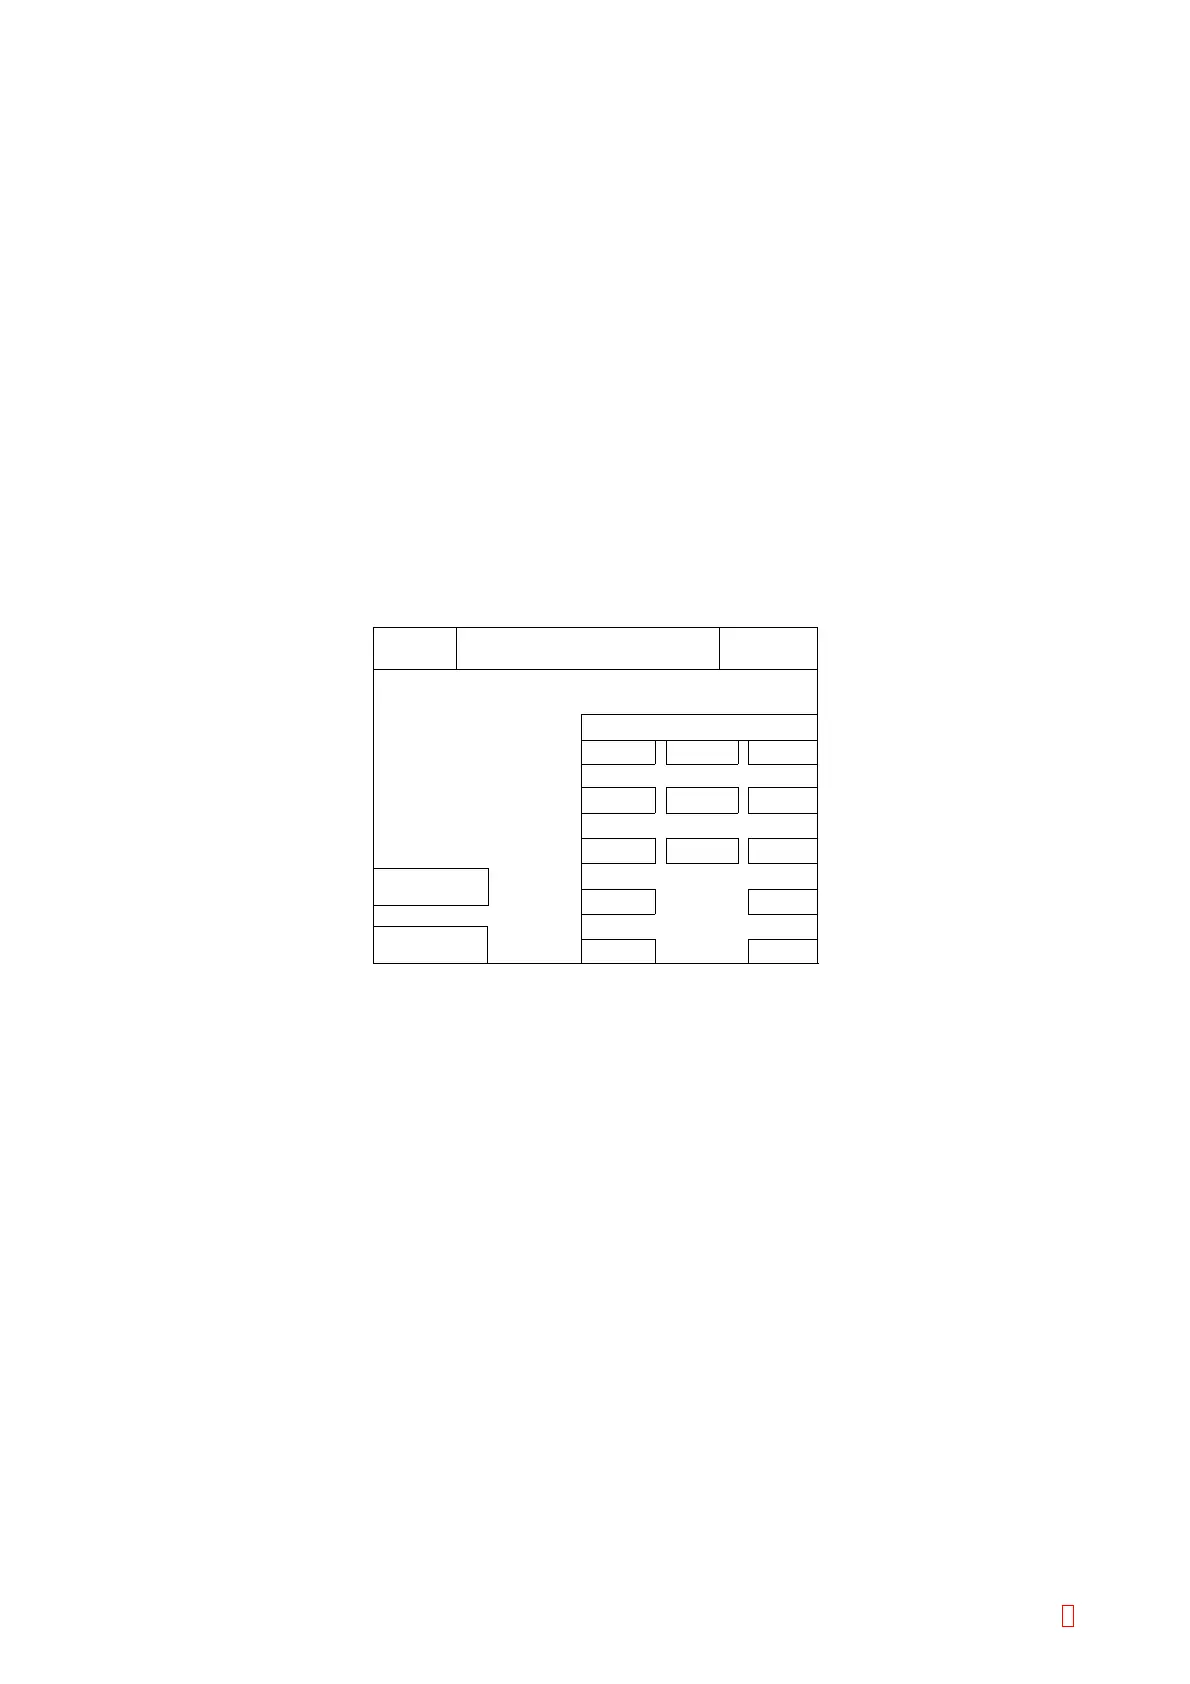
Figure 5-6-3: Drain Liquid Confirmation Screen
(2) To verify dispensed volume.
1) In advance, measure the prepared test sample by the electric balance.
2) Put the sample cup or tube containing distilled water on Sample 1 position.
3) The position to dispense can be selected. Select either “TUBE 1” or “BLOOD 2” using [PUSH OUT]
key. Pressing [PUSH OUT] alternates “TUBE 1” and “BLOOD 2”.
4) When selecting “TUBE 1”, put a new reaction tube in #1 position of Reaction Tube Rack.
When selecting “BLOOD 2”, put the sample cup or sample tube containing distilled water in #2
position of sample rack.
5) Input the dispensed volume using numeric keys between 1 and 250 µL.
6) Set the input volume by pressing [Enter] key.
7) Press [Set] key to perform the dispensing operation.
After dispensing, measure the test sample by the electric balance.
8) If dispensed volume is OK, press [Quit] key. Then the screen will return to the Test Menu display.
CA-500 Series S/M 5-10 Revised December 2001 8