CA-500 Series S/M 4-9-2 Revised May 2003
13 ECR 303C012
4.2.7 LED Auto Calibration 13
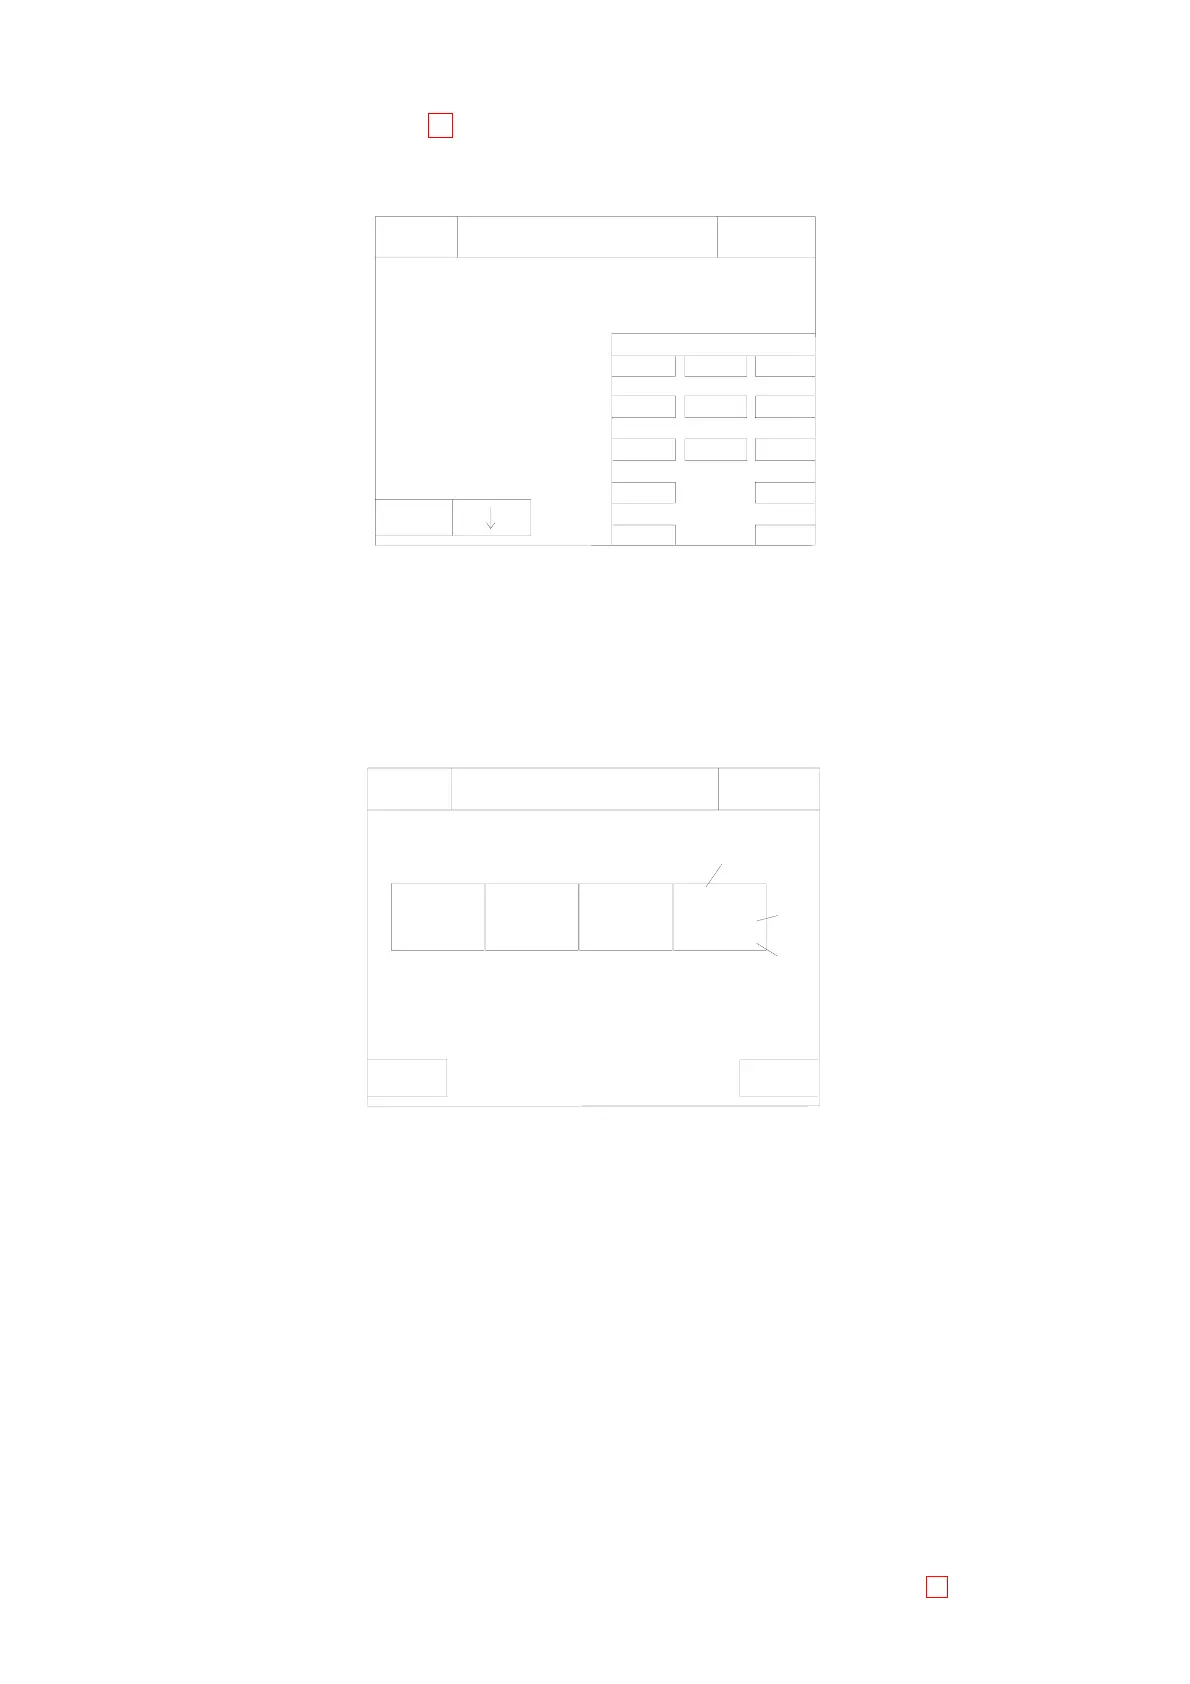
(1) Press [Special Operate]-[Calibration] keys. The LED Calibration screen will appear.
Please set Calibrator
Vial Type
LED Calibration
Ready
Replace Rack? YES!
on Reagent Holder 1
Set
Target Value
Sysmex
Reagent Holder 11.
C
and set Clean1 on
0
1
4
Quit
Enter
2
5
3
6
Cup
900
IP
89
Press [set] key.
7
(2) Enter a target value.
Enter an indicated value (100 - 999) which is given in the calibrators table of assigned values for
calibration using the numeric keys, and press [Enter] key.
(3) Select a container of the calibrator for calibration.
Move the cursor to “Vial Type” using [χ] and [ω] keys, and press [Next] key to select the container.
(4) Set the calibrator for calibration to the reagent holder 1 and set CA CLEAN I to the reagent holder 11.
(5) Press [Set]-[OK] keys to start LED calibration.
When the operation is completed, the LED Calibration Update Confirmation screen will appear.
(3)
(2)
(1)
CH1
CH3
Cancel
CH4
OK
130
ERR1
22
CH3
OK
130
CH2
*OK
45
CH1
IP
Please refer to Operator's Manual
Sysmex
Set
Weak, but still available:
Ready
Replace Rack? YES!
LED Calibration Update Confirmation
Too weak to use:
Displayed contents
(1) Channel No.
(2) LED status
(3) OK: Available
*OK: Available. However, replacement is required within a few months.
ERRxx: Not available
(6) When updating a new adjustment value, press [FIX] key.
When the status of all channels is OK
The new adjustment value is saved, and returns to the LED Calibration screen.
When there is a channel with a calibration error
The confirmation screen will appear.
Press [Cancel] key to return to the LED Calibration Update Confirmation screen.
Press [OK] key to save the new adjustment value, and return to Calibration screen.
(7) Take out the calibrator for the calibration, and set the former reagent.