CA-500 Series S/M 4-18-2 Revised May 2003
13 303C012
4.3.7 Continuous Z Position Adjustment Procedure of Pipette (Ver.00-14 or later) 9
(1) XY Adjustment (“[4]reag 1”) (“[5]reag 9”) (“[6]reag 10”) (“[7]reag_rinse”) (“[8] buffer”)
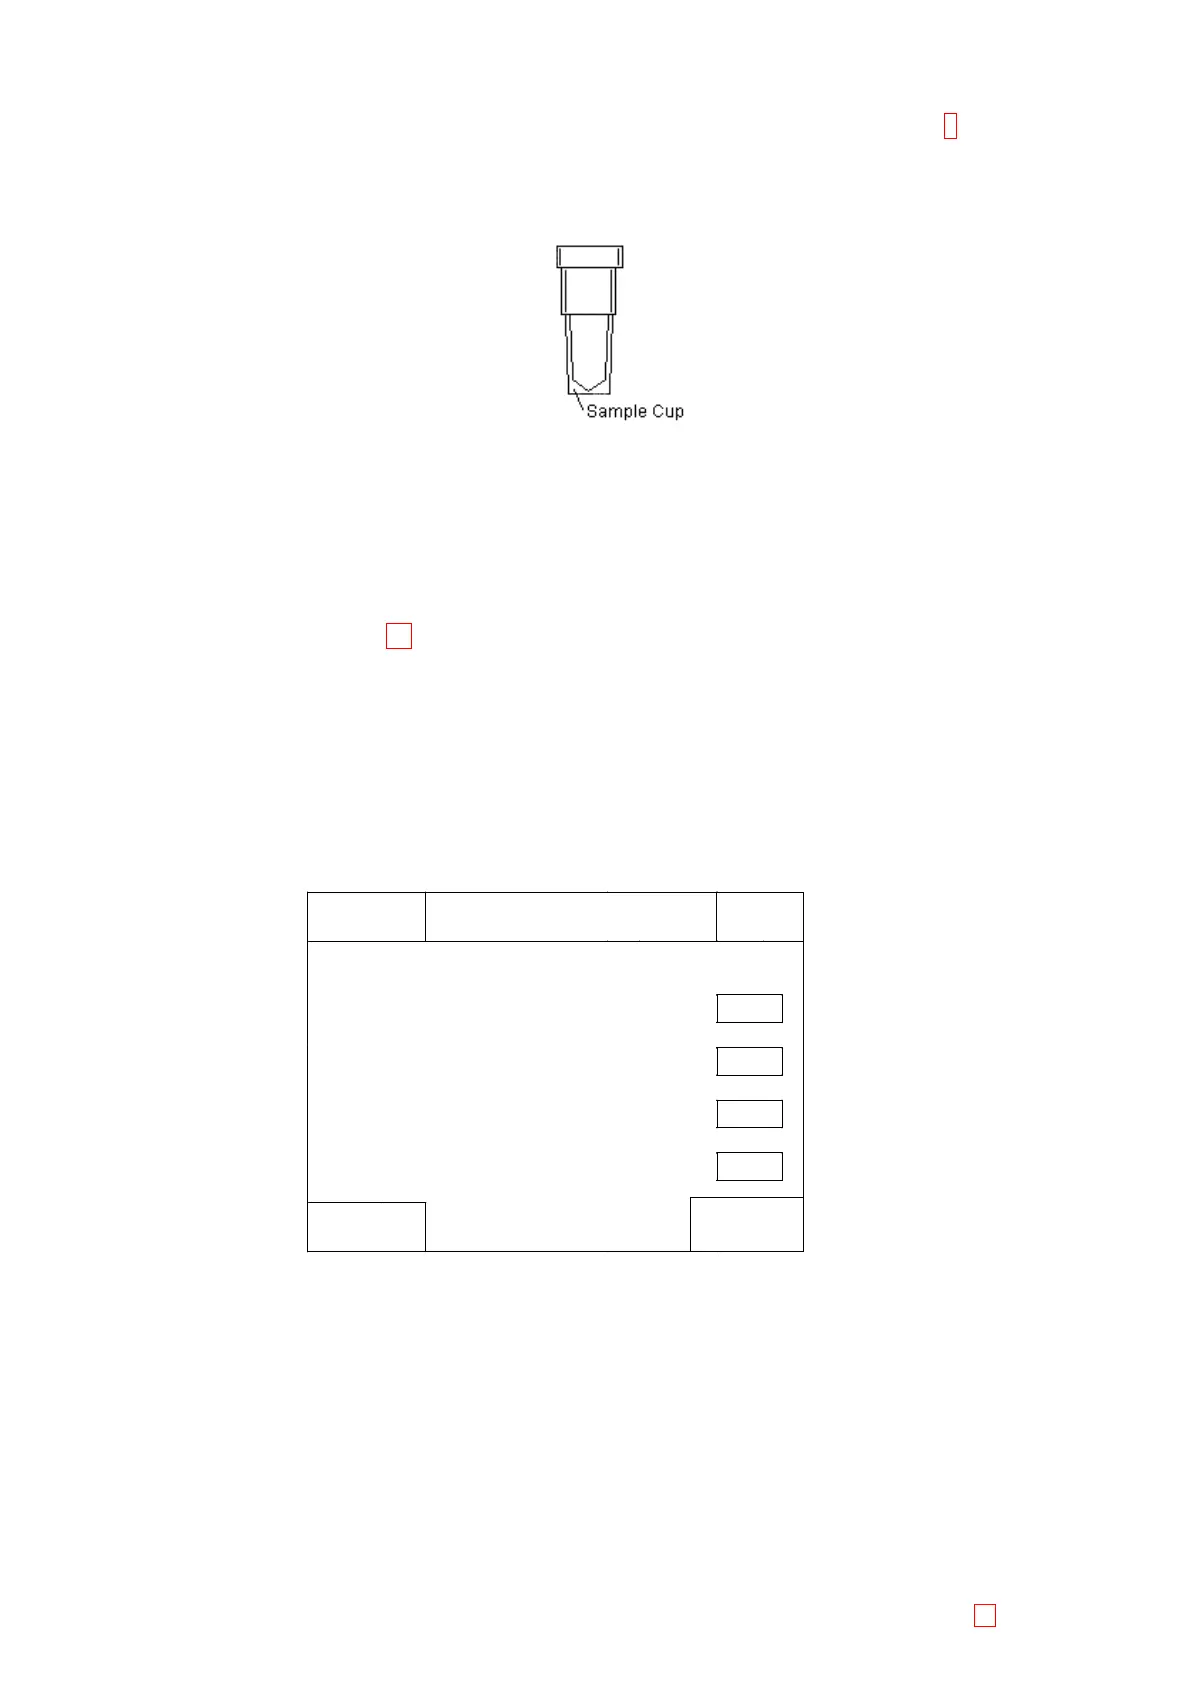
1) Set the sample cup to the reagent rack No.1.
Figure 4-3-13: Sample Cup
2) Verify that the “[4]reag 1” is shown on the left center of the screen. If not, change to “[4]reag 1” by
using [Pos. -] and [Pos. +] keys.
3) Move the pipette to the setting position by using [XY TEST] key.
4) Use [n], [p], [m], and [Æ] keys to adjust the pipette tip to become the center of the sample cup.
5) Adjust “[5] reag 9”, “[6] reag 10”, “[7] reag_rinse” and “[8] buffer” in the same way.
(2) Z Continuous Adjustment 13
1) Select “Reag1” by pressing [Pos+], [Pos-].
2) Press [Enter Pulses] and increase Z pulse by 50 steps using the numeric key.
3) Save parameters by pressing [Return]-[Fix].
4) Enter “Mecha Position” screen again.
5) Set Z-axis Position Adjustment Tools (031-0171-4) for Reag1 through Reag10, Rinse and Buffer
(12 places).
6) Select “Reag 1” by pressing [Pos +], [Pos -] and press [Z adjust].
7) Check the check-boxes of [Z adjuster], [Continuous].
Sysmex
Ready
Replace Rack ? OK
IP
Reagent Z continuous adjustment
Adjuster Z Adjuster
V
4mLvial+60uL
Adjust Mode Continuous
V
Single
Set
Return
Figure 4-3-14: Reagent Z continuous adjustment
8) Press [Set] to carry out Auto Z-axis Position Adjustment.
9) Press [Return]Æ[Fix] to save parameters.
When there is no available Z-axis Position Adjustment Tools, carry out the adjustment as below.
1) Dispense 60uL of distilled water into the 4mL sample cups and set the sample cups for Reag1
through Reag10, Rinse, Buffer (12 places).
2) Press [Z adjust] and check the check-boxes of [4mL vial + 60µL], [Continuous].
3) Press [Set] to carry out Auto Z-axis Position Adjustment.
4) Press [Return]Æ[Fix] to save parameters.
When ‘Single’ is selected, Z position adjustment at each of R1 to R10 can be performed individually.