Configuration
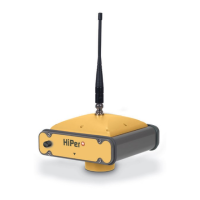
Topcon HiPer+ Operator’s Manual
2-10
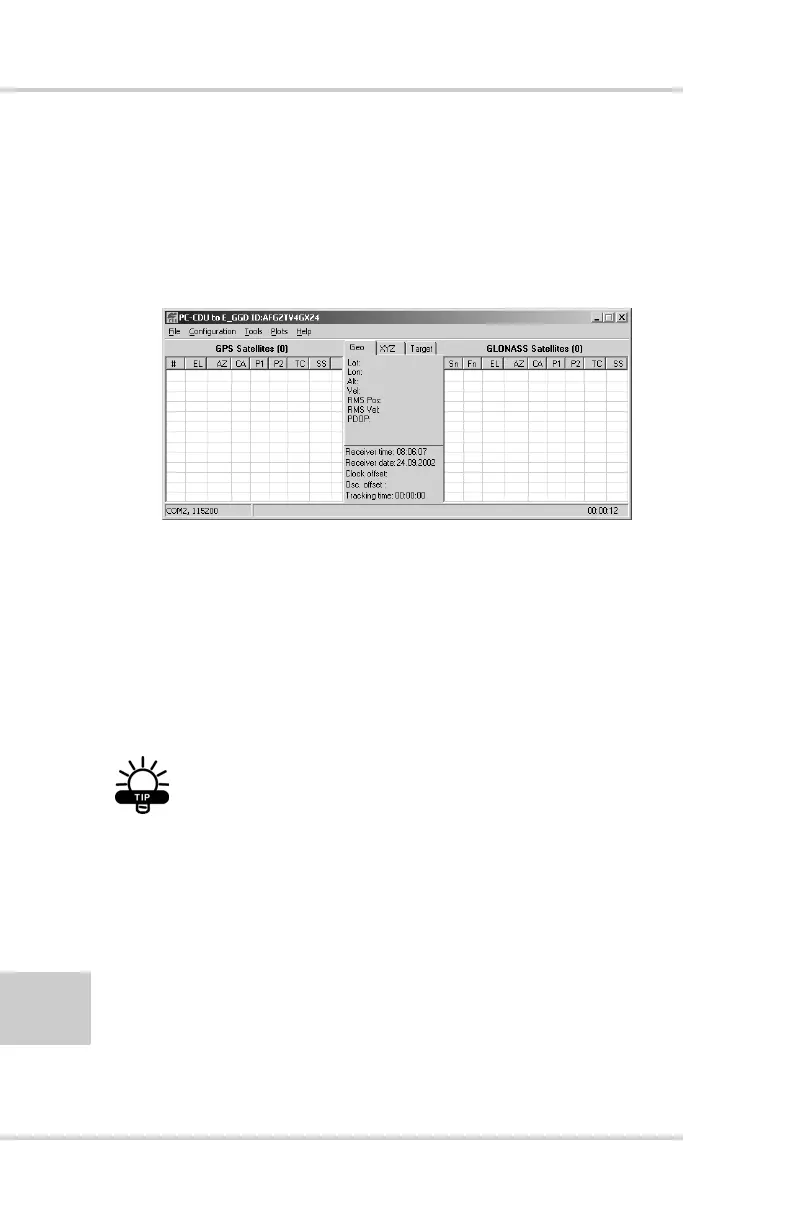
Once a PC-CDU connection with the receiver has been
established, the current communications settings—such as,
port name, baud rate (if applicable), and flow control (if
applicable)—display in the lower-left corner of the main
window of PC-CDU. A timer begins to count up in the
lower-right corner as well (Figure 2-5).
Figure 2-5. PC-CDU Connection Established
HiPer+ Configuration
You use PC-CDU to configure the various parts of the HiPer+
receiver. Any settings you make using PC-CDU will be saved in
the receiver’s memory, and will be reflected when you use the
MINTER. The full range of PC-CDU configuration and function
is outside the scope of this manual.
TIP
Refer to the PC-CDU User’s Manual to manage
all possible HiPer+ receiver configurations.
The following configuration is recommended for the most
common applications. However, you can select configuration
parameters as needed for your particular jobsite.