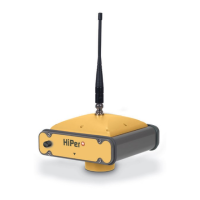
Setup and Survey
Topcon HiPer+ Operator’s Manual
3-4
height must first be calculated using the radius of the
antenna, then the offset can be added. The offsets are not
the same number because of the difference in location
between the slant measuring point and the vertical
measuring point.
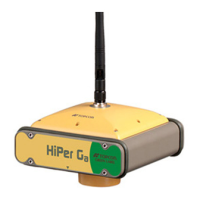
5. Record the receiver serial number, antenna height, point
name, and start time in the field notes.
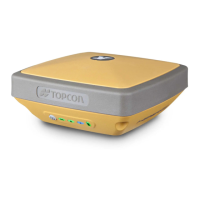
6. Press the power key and release it to turn the receiver on.
The STAT (status) light (LED) will blink red at first.
7. Once the receiver has locked on to one or more satellites,
the STAT light will blink green for GPS satellites, orange
for GLONASS satellites, and a short red blink indicating
it has not solved a position. Four or more satellites
provide optimal positioning.
8. Once the short red blink is gone, the receiver has a
position and surveying can begin. You should wait for
green and orange lights before beginning data collection.
This ensures that the receiver has the correct date and
time, and is locked on to enough satellites to ensure good
quality data.
The process of locking on to satellites normally takes less
than one minute. In a new area, under heavy tree canopy,
or after resetting the receiver, it may take several minutes.
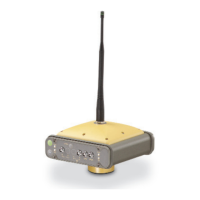
Collect Data
9. To begin collecting data, press and hold the FN
(function) key for more than one second and less than
five seconds.
10. Release the FN key when the REC (recording) LED light
turns green. This indicates that a file has opened and data
collection has started. The REC LED blinks each time
data is saved to the internal memory.