Operating the Autosampler 108
4
Note: For instructions on setting Needle Position and Purge, see Section 4.6.2,
Programming Step Functions.
2. From the Edit: Step Function screen (Figure 4-11
), press the down-arrow key to
move the cursor to the Option? field.
3. Press the right-arrow key to move the cursor to the Trns field (Figure 4-11
). The
Trns Page key appears on the screen.
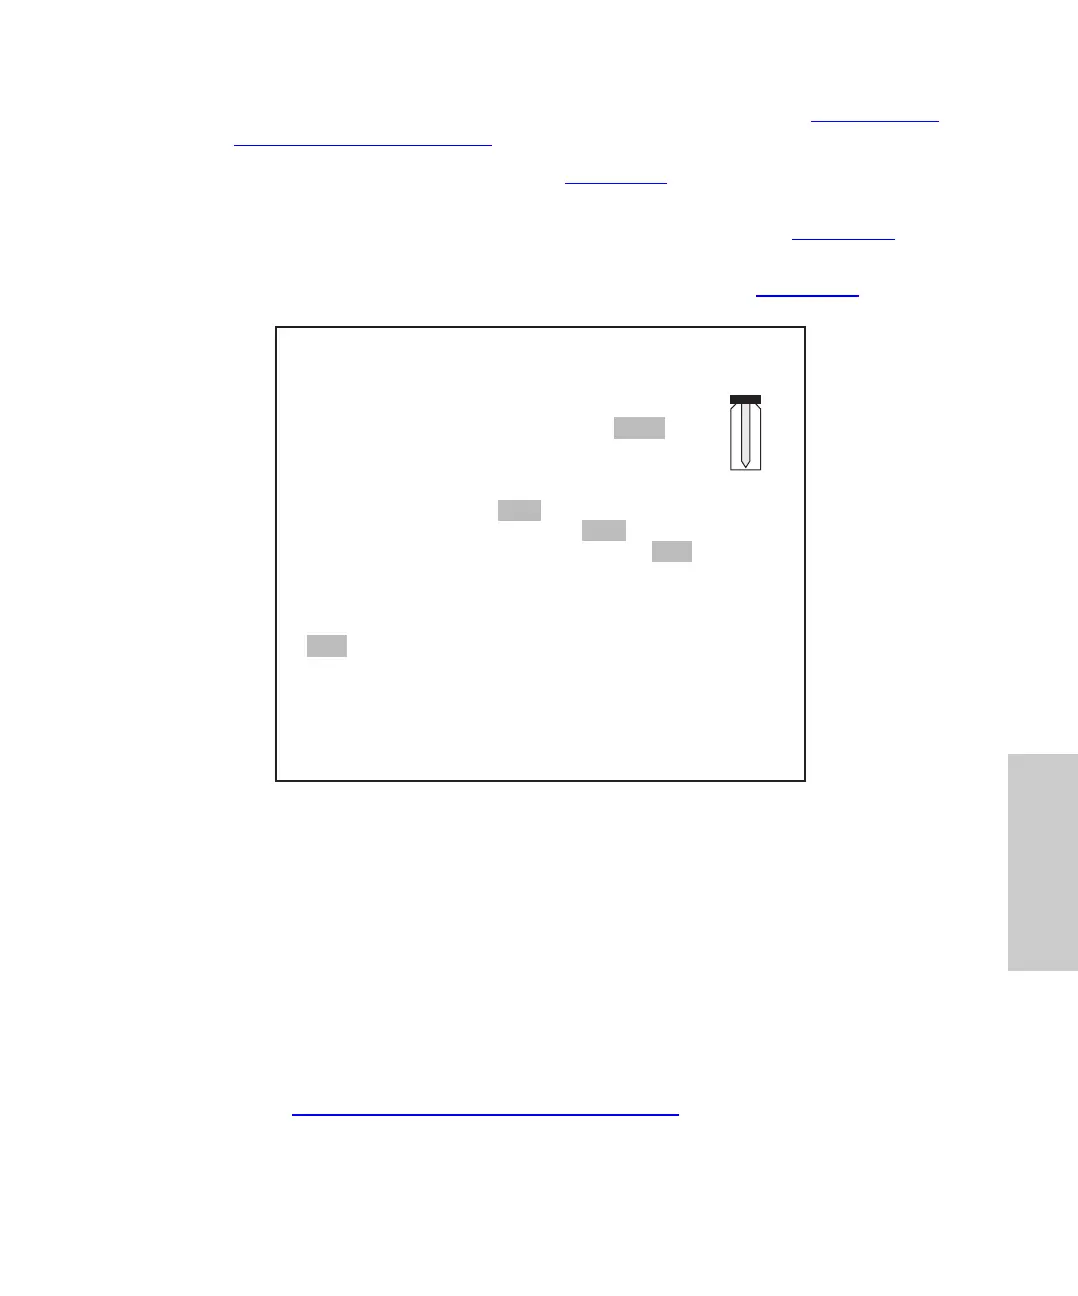
4. Press Trns Page to display the Edit: Auto Transfer screen (Figure 4-17
).
Figure 4-17 Auto Transfer Screen
5. At the Run Transfer field, select Yes (default).
6. Move the cursor to Transfer Sequence? field. Select a transfer sequence:
• Step – Transfers one time at the beginning of a step. The solution is transferred
from the specified vial into only the first sample vial in the step.
• Vial (default) – Transfers one time for each vial in the step. The solution is
transferred to each sample vial before the first injection of each vial.
• Inj – Transfers before every injection from every vial. Use this method for
multiple (progressive) dilutions of samples.
Note: Section 4.6.5.3,
Example Auto Transfer Run, includes examples of each
transfer sequence.
IDLE
Edit: Auto Transfer 1 of 1 Trns
Editing Step:
Run Transfer? Yes No
Transfer Sequence? Step Vial Inj
Dispense Needle (%) 25 50 75 100
Vial
1
2
Trans
Vol
10.0
20.0
Step
Function
Delete
Table
Delete
Line
#
Mix
1
2
Mix
Vol
10.0
20.0
Delay
Time
1.0
1.0
Purge
Time
1.0
1.0