EasyManuals Logo
Home>Xerox>Printer>Phaser 4600

Xerox Phaser 4600 Service Manual

Xerox Phaser 4600
409 pages
To Next Page IconTo Next Page
To Previous Page IconTo Previous Page
Page #157 background imageLoading...
Page #157 background image
04/2016
4-35
Phaser 4600/4620/4622 Printer Service Manual
REP 7.6
4 Repairs and Adjustments
Revised
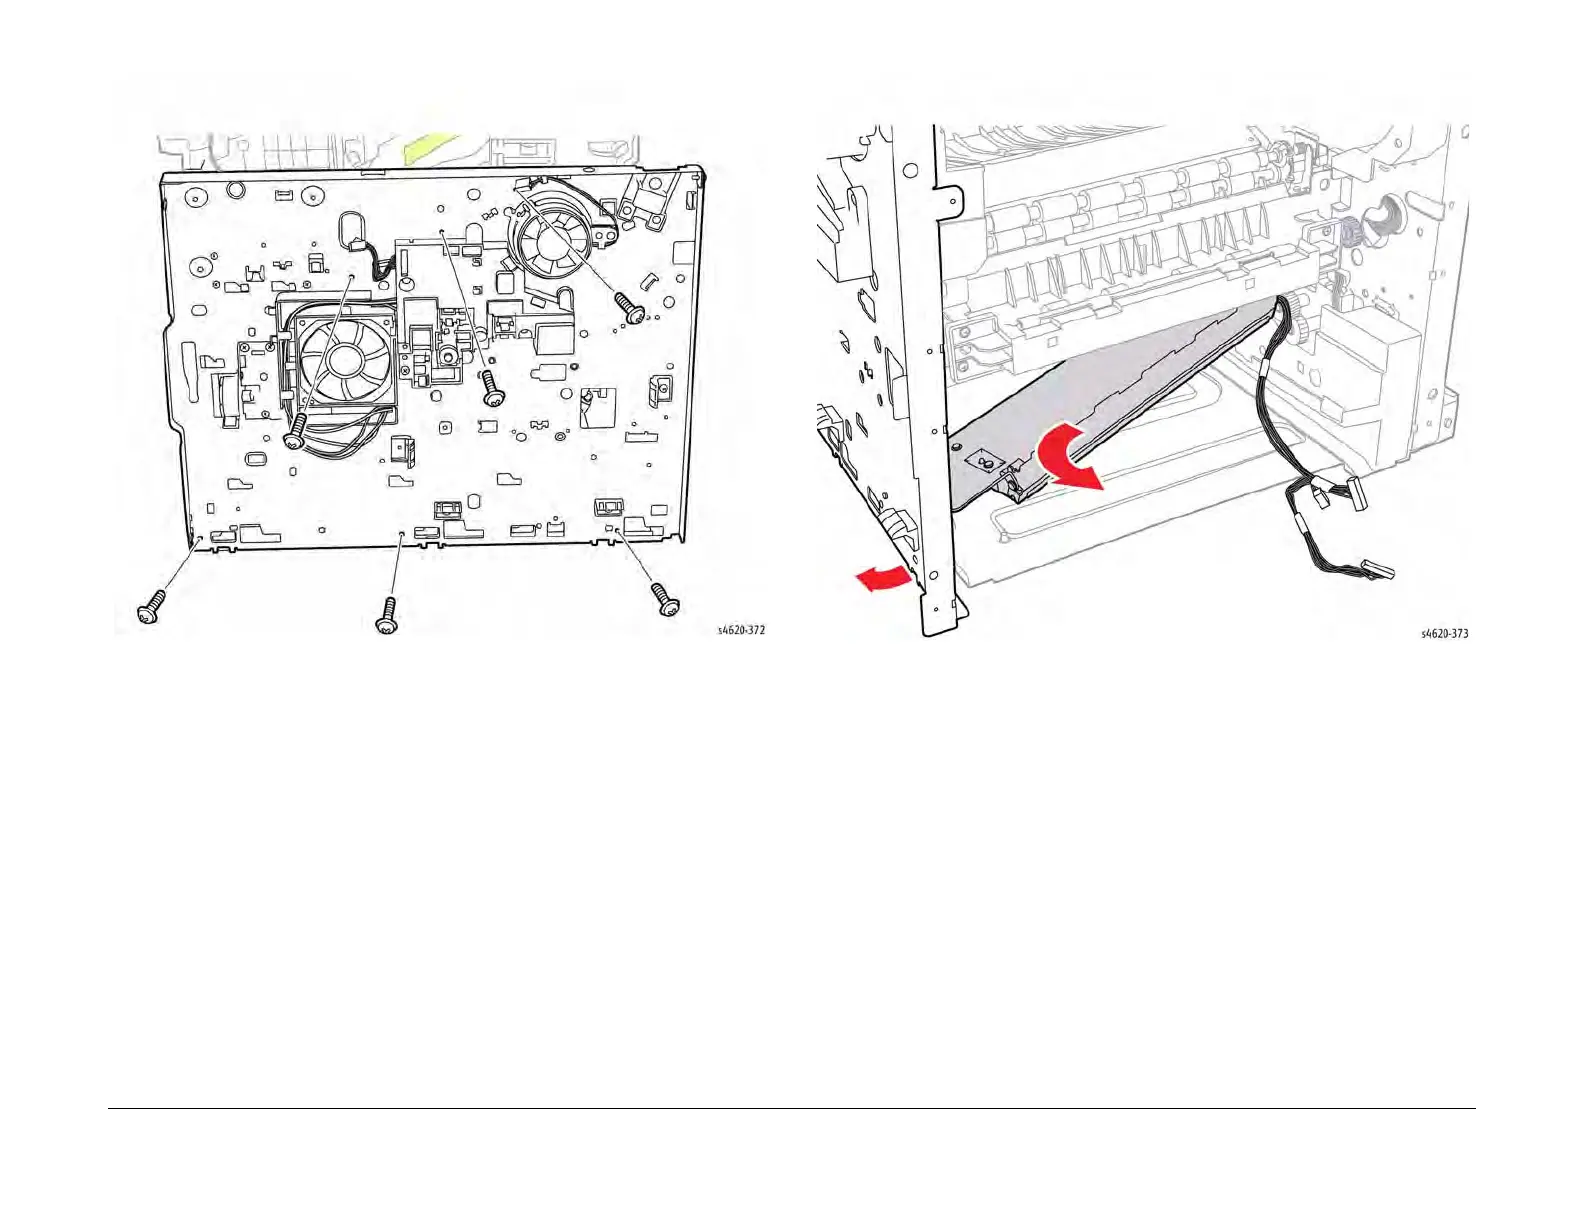
Figure 10 Remove the left side lower LSU frame and left chassis screws
31. Hold the left side chassis and release the Tray 2 baseplate from the chassis to remove
the Tray 2 Feeder Assembly from the chassis, Figure 11.
Figure 11 Remove the Tray 2 Feeder Assembly and baseplate
Replacement
Perform the removal steps in reverse order. Pay particular attention to chassis alignment fea-
tures, bosses and pins, as you install each component. Do not overtighten fasteners in plastic.

Table of Contents

Other manuals for Xerox Phaser 4600

Questions and Answers:

Question and Answer IconNeed help?

Do you have a question about the Xerox Phaser 4600 and is the answer not in the manual?

Xerox Phaser 4600 Specifications

General IconGeneral
BrandXerox
ModelPhaser 4600
CategoryPrinter
LanguageEnglish

Related product manuals