EasyManuals Logo

Xerox Phaser 4600 Service Manual

Xerox Phaser 4600
409 pages
To Next Page IconTo Next Page
To Previous Page IconTo Previous Page
Page #210 background imageLoading...
Page #210 background image
04/2016
4-88
Phaser 4600/4620/4622 Printer Service Manual
REP 10.4, REP 10.5
Revised
4 Repairs and Adjustments
Figure 2 Remove the Upper Option Connector
REP 10.5 Lower Option Harness
Parts List on PL 3.10
Removal
WARNING
Use safe handling procedures when removing the module. Refer to GP 15. The module
is heavy.
WARNING
Switch off the electricity to the machine. Disconnect the power cord from the customer
supply while performing tasks that do not need electricity. Electricity can cause death or
injury. Moving parts can cause injury.
1. Remove the IOT from Tray 3, if installed.
2. Remove the Duplex Unit, REP 10.1.
3. Remove the Right Cover, REP 28.2.
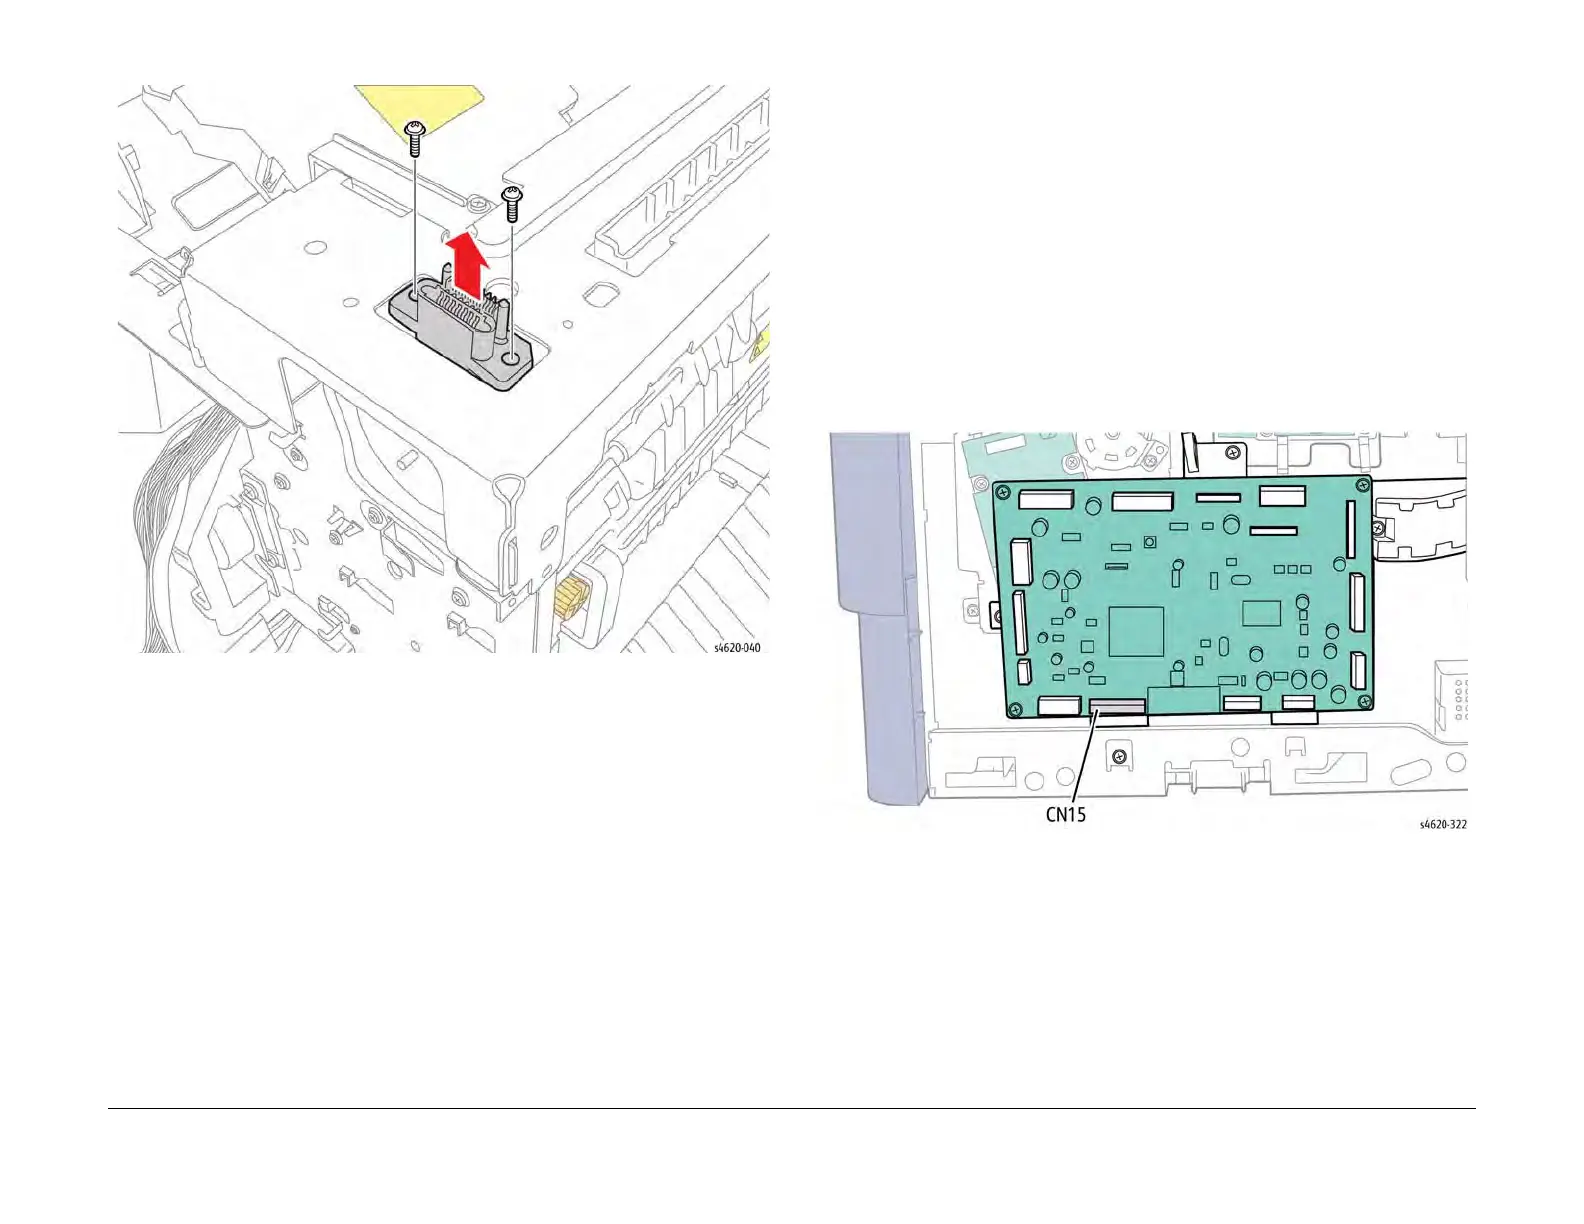
4. Disconnect CN15 from the MCU Board, Figure 1.
Figure 1 Disconnect CN15 from the MCU Board
5. Move the printer so the right side overhangs the edge of the work surface.
6. Remove 2 screws (metal) that secure the connector to the chassis,

Table of Contents

Other manuals for Xerox Phaser 4600

Questions and Answers:

Question and Answer IconNeed help?

Do you have a question about the Xerox Phaser 4600 and is the answer not in the manual?

Xerox Phaser 4600 Specifications

General IconGeneral
Print TechnologyLaser
Print ResolutionUp to 1200 x 1200 dpi
Monthly Duty CycleUp to 275, 000 pages
Maximum Paper Capacity3, 750 sheets
Processor533 MHz
Supported Operating SystemsWindows, Mac OS, Linux
ConnectivityUSB 2.0, Ethernet 10/100/1000Base-T
Memory256 MB
Maximum Paper Size8.5 x 14 inches
Print LanguagesPCL 6, PostScript 3
Duplex PrintingStandard
Weight25.9 kg

Related product manuals