8-24 Phaser 6125/6130 Color Laser Printer Service Manual
Service Parts Disassembly
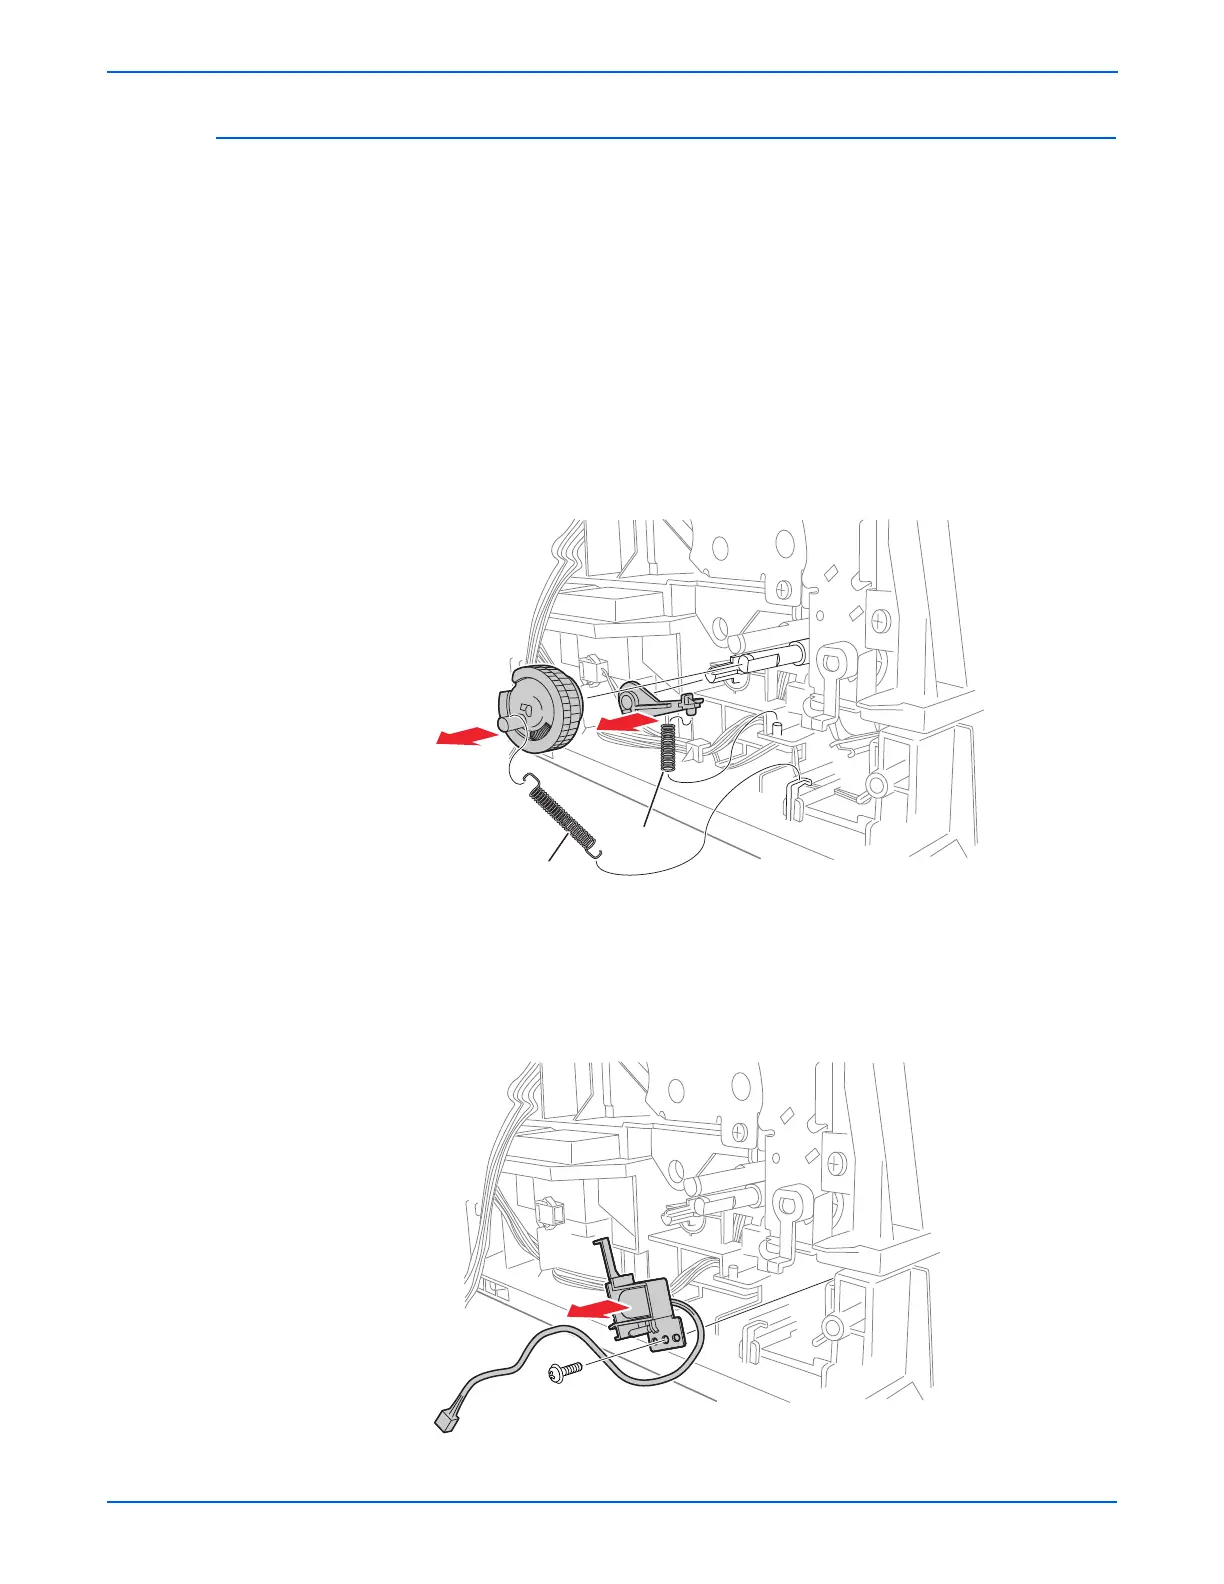
Feed Solenoid
(PL3.1.98)
The first step in this procedure requires removal of the Drive Clutch Kit
and all of the printer’s covers except the Front Cover.
1. Remove the Feed Drive Assembly (page 8-22).
2. Release the Feed Gear Return Spring from the hook on the printer frame.
Leave the spring connected to the arm on the Feed Gear.
3. Release the Feed Gear retainer hook and slide the Feed Gear off the
Feed Shaft.
4. Remove the Lever Spring from the printer.
5. Release the Feed Lever hook and slide the Feed Lever off the shaft.
6. Release the Feed Solenoid harness from the cable restraints on the
frame.
7. Unplug the Feed Solenoid connector (P/J231). Allow the relay connector
to remain with the printer side of the harness.
8. Remove the screw (silver, tap, 8mm) that fastens the Feed Solenoid to
the printer and remove the Feed Solenoid.
s6130-089
Feed Return Spring
Lever Spring
s6130-090

 Loading...


